Instant Pot Lasagna
This post may contain affiliate links. As an Amazon Associate I earn from qualifying purchases. For more information, please visit my disclosure page.
You will make your family so happy when you serve them Instant Pot Lasagna for dinner! It’s hearty and filling, loaded with flavor, and covered with melted cheese. I took my favorite lasagna recipe and scaled it down to fit in a 7 x 3 inch springform pan that sits atop a tall steamer rack inside your Instant Pot.
For even more delicious pressure cooker recipes, check out the Instant Pot Recipes page.
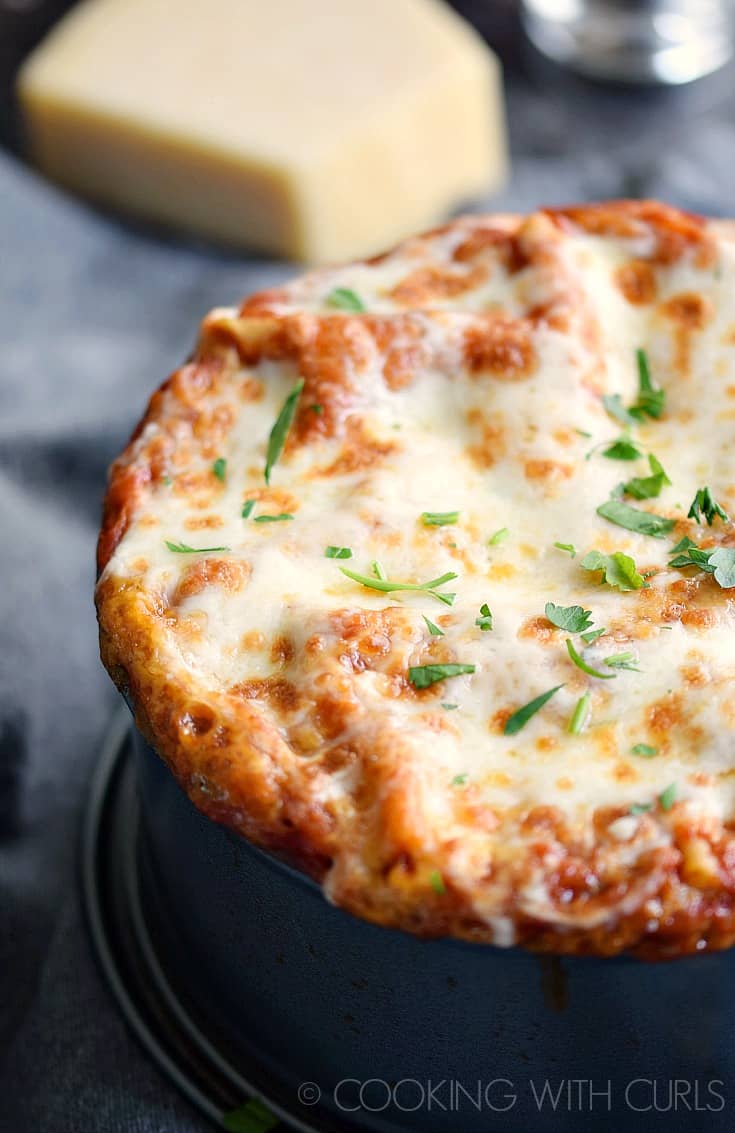
I’m not going to lie to you, this Instant Pot Lasagna is still a bit time consuming. You still need to brown the ground beef and Italian sausage, and you still need to layer your ingredients….but your cooking time significantly reduced!!
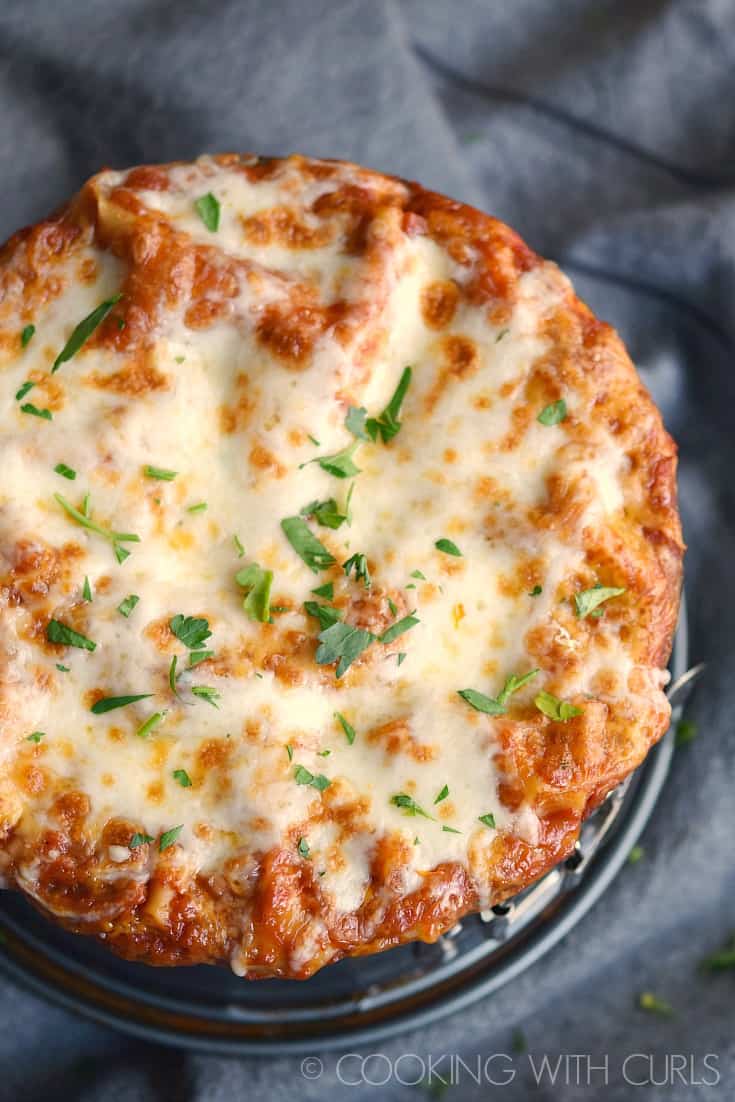
How to make Instant Pot Lasagna:
Let’s start with the Meat Filling:
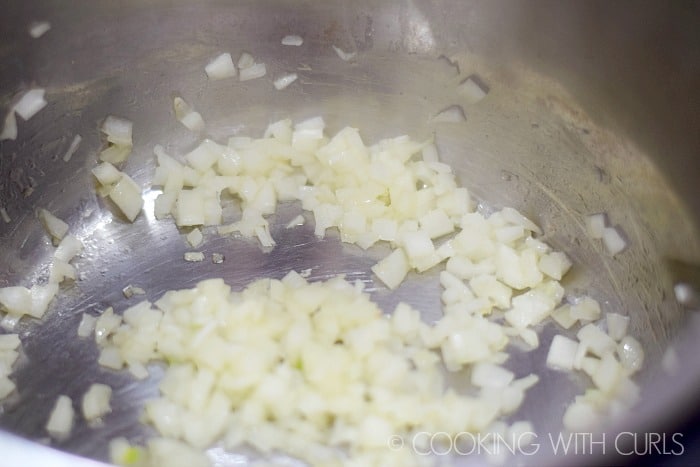
Press the “Sauté” button and wait for the display to say HOT. Add the oil and the onions. Cook until softened, about 3 minutes, stirring occasionally to keep them from burning…..
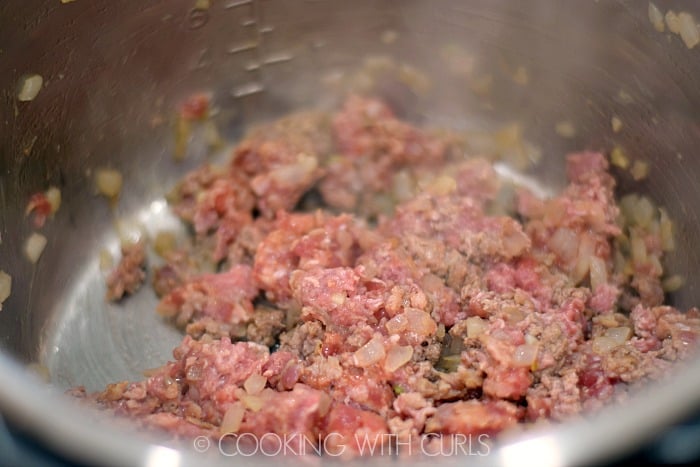
Add the garlic, stir for one minute, then add the ground beef and Italian sausage. Stir and cook until thoroughly cooked…..
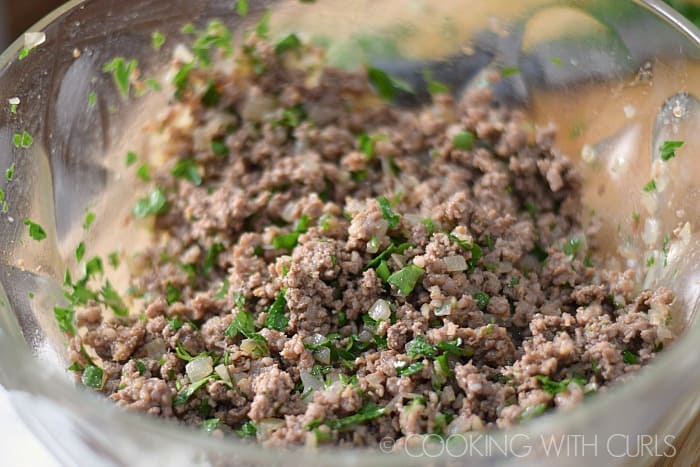
Remove the meat and drain. Place in a large bowl and stir in the Italian parsley. Set aside…..
Cheese Filling:
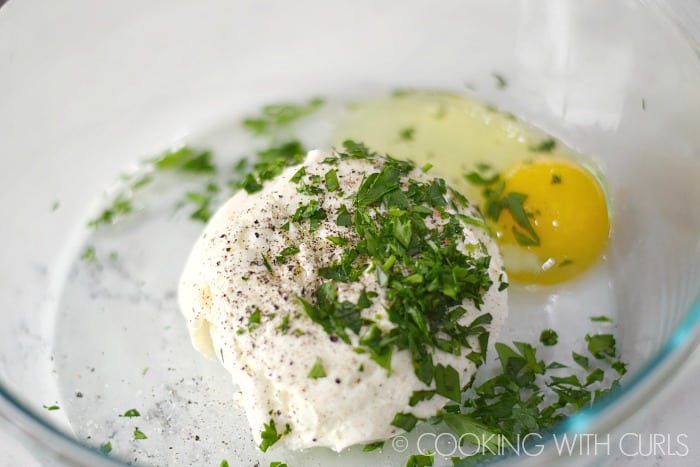
Mix the ricotta, egg, salt, pepper, and parsley together in a medium sized bowl…..
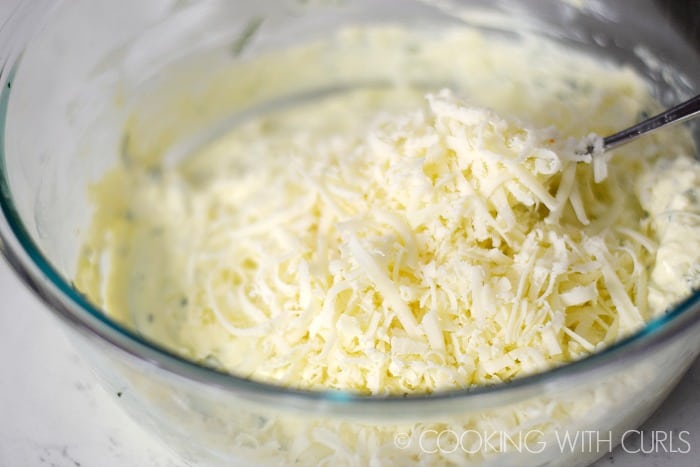
Stir in the Parmesan and mozzarella cheese. Set aside…..
To Assemble:
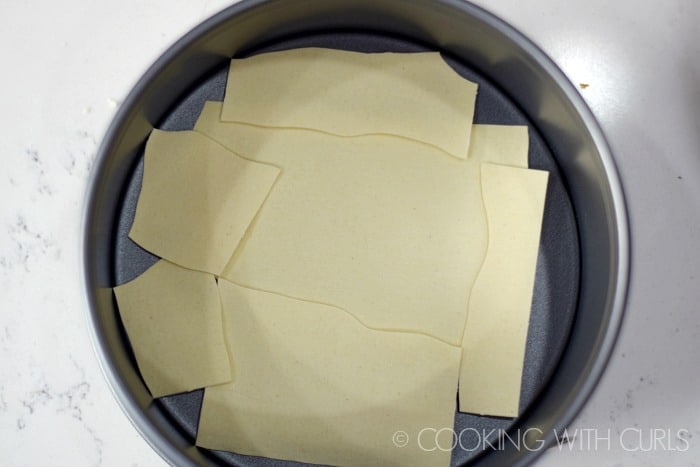
Break apart noodles and lay them across the bottom of the pan…..
Pour 1 cup of sauce over the noodles, spread to cover…..
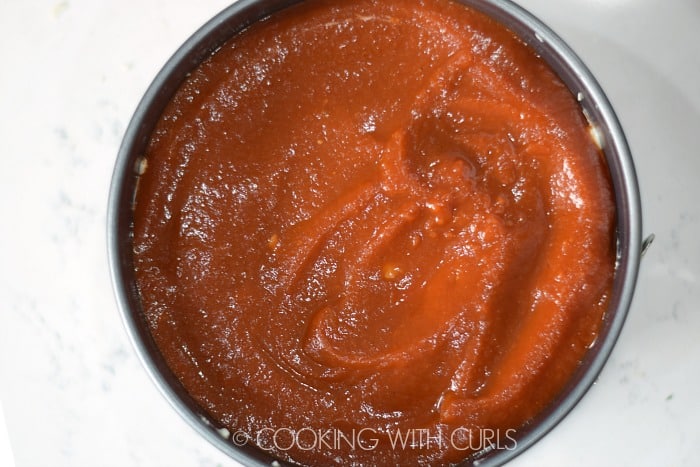
Spread half of the meat filling over the sauce…..
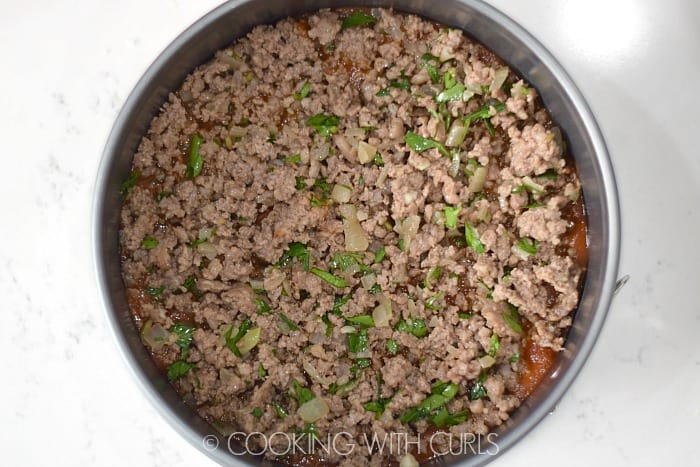
Spread half of the cheese filling over the meat…..
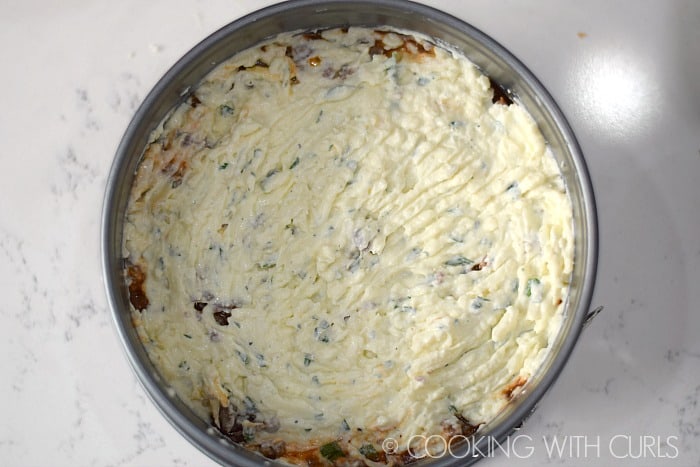
Add a second layer of noodles…..
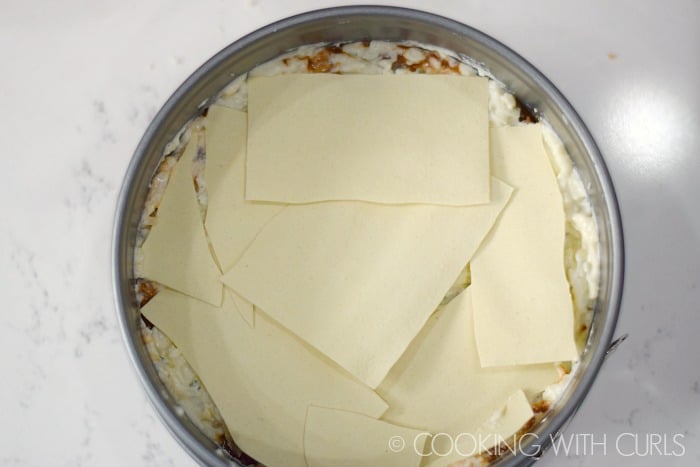
Spread 1 cup of sauce over the noodles…..

Add a second layer of the remaining beef filling, then a second layer of the remaining cheese filling.
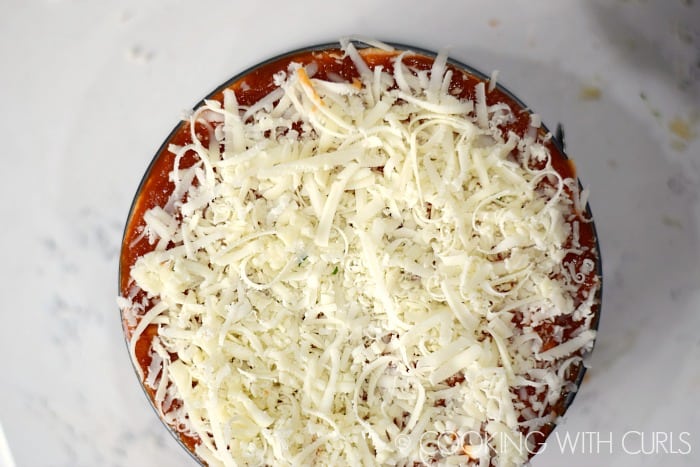
Next add an additional layer of noodles, top with .5 cup of sauce, and .5 cup of mozzarella cheese…..
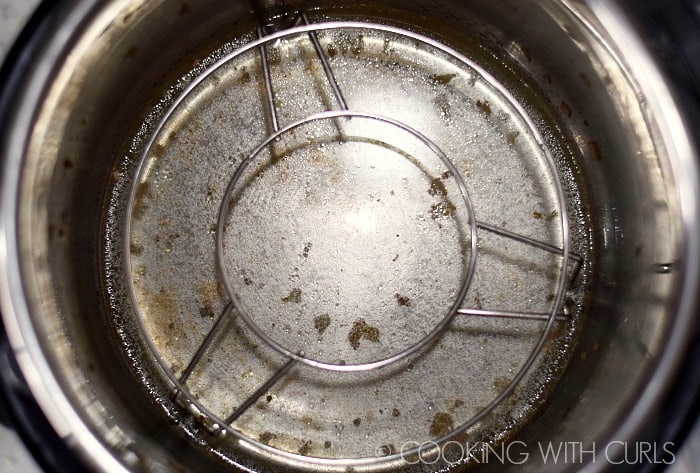
Pour 1.5 cups of water into the liner of your pressure cooker and add the steamer rack…..
Carefully place the lasagna on top of the rack. Secure the lid and check to make sure the knob is in the “Sealing” position.
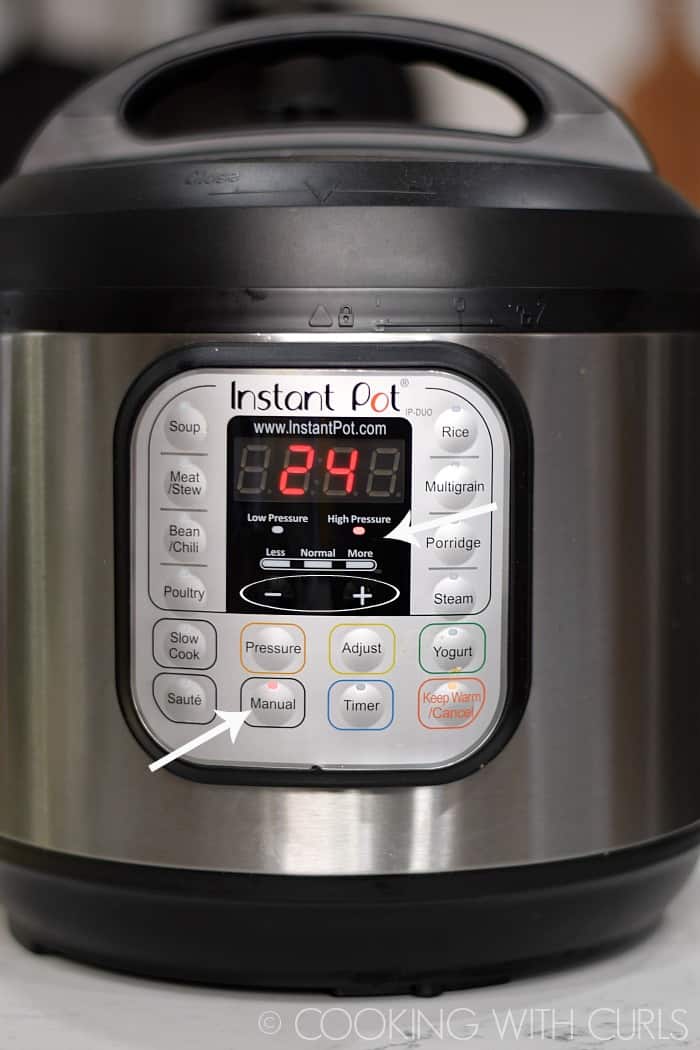
Press the “Manual” button and use the + and – buttons to set the time for 24 minutes on High Pressure…..
When the pressure cooker beeps, allow the pressure to release naturally for 15 minutes. Release any remaining pressure by turning the knob to “Venting”.
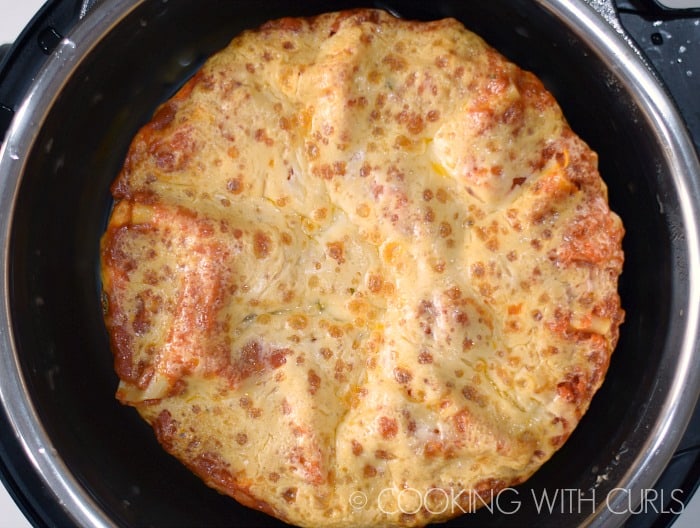
Carefully remove the pan from the liner. I used a dish towel, but oven mitts would be thicker.
Place the pan on a baking sheet and broil until the cheese is bubbly and golden brown.
Remove the pan from the oven and allow to rest for 10 minutes.
Release the lever on the pan and remove the ring. You may need to run a knife along the edge to separate the cheese from the sides of the pan. Carefully slide the lasagna onto a large plate.
Slice and serve…..
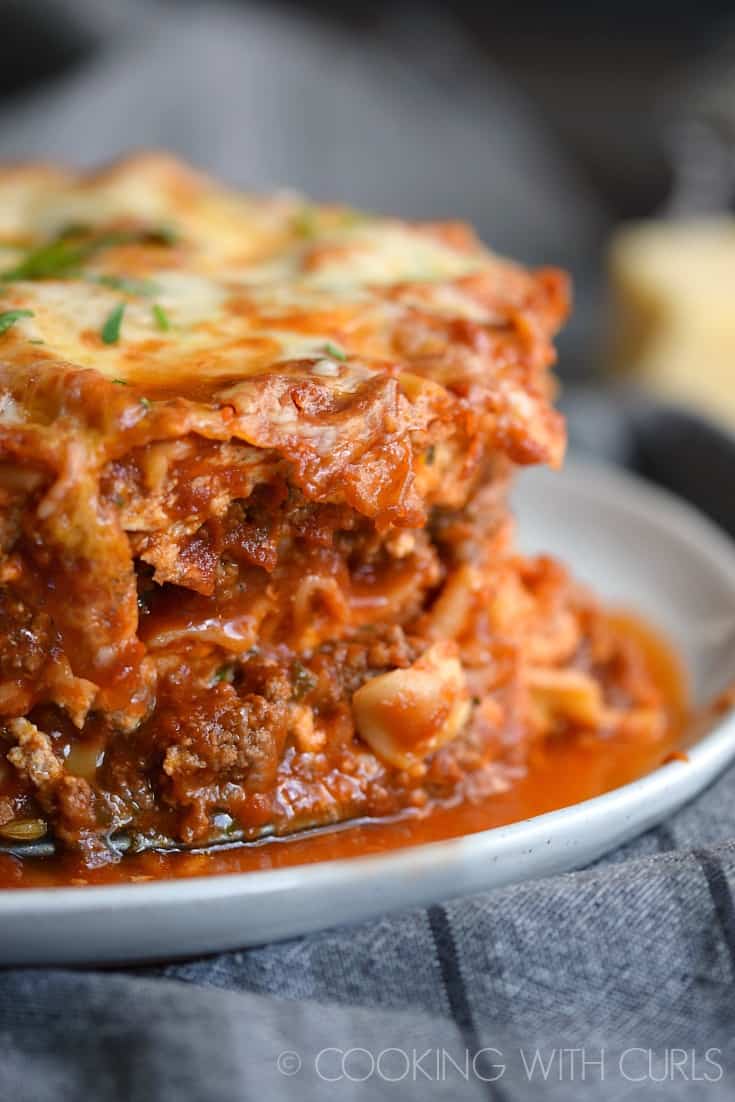
Yum…Yum…Yum!!! Oh my gosh, so delicious!
Recipe Notes:
contains affiliate links
- This 6 quart Instant Pot is used to create all of my recipes. I do not know the substitutions that would be needed to make this recipe in a different size pressure cooker.
- Nordic Ware Springform Pan that I used is technically only 2 3/4″ tall, so my filling was at the top! The Nordic Ware pan is half the price of the Fat Daddio Push Pan, assuming you can find it in stock.
- Retriever Tongs would be an excellent option for removing the pan from the pot. I will need to add them to my list.
- I use this Steamer Rack to keep the pan up above the water while cooking.
- Barilla Oven-Ready Lasagne noodles were used in this recipe and do not require boiling.
- To save on time, precook the meat filling ahead of time on the stove.
Looking for a larger amount of Lasagna? Check out my Slow Cooker Lasagna…..
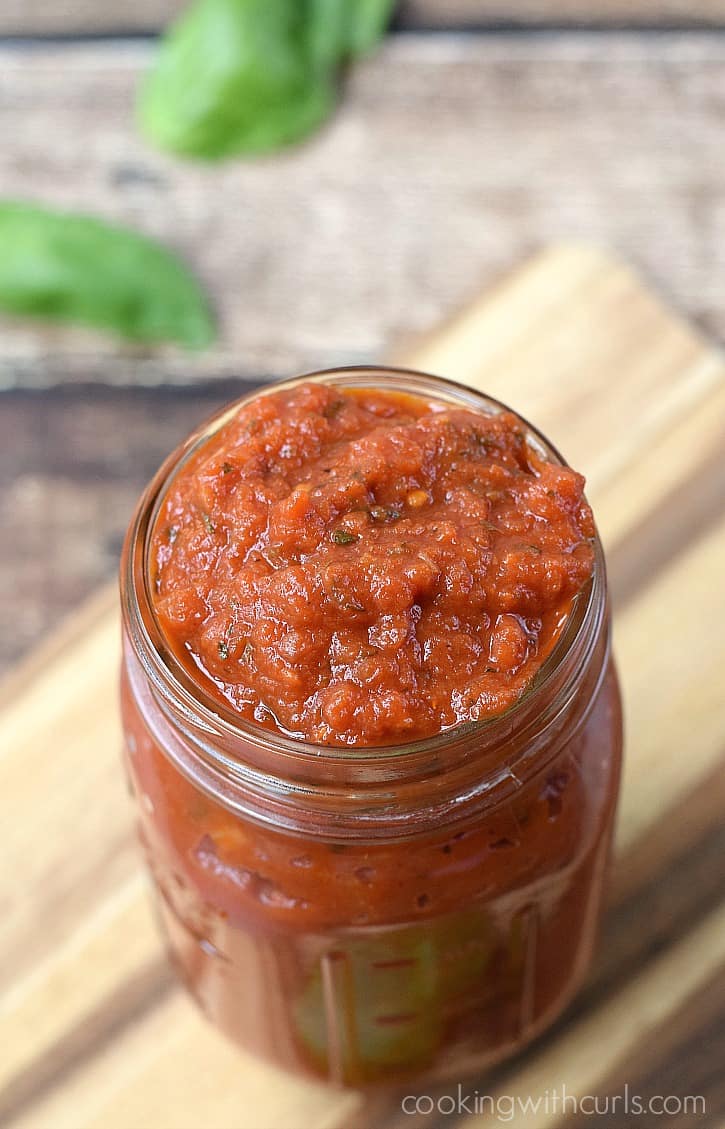
I used Ragu Traditional Sauce to keep things really simple, but this Classic Marinara Sauce recipe is quite delicious if you have more time to spare…..
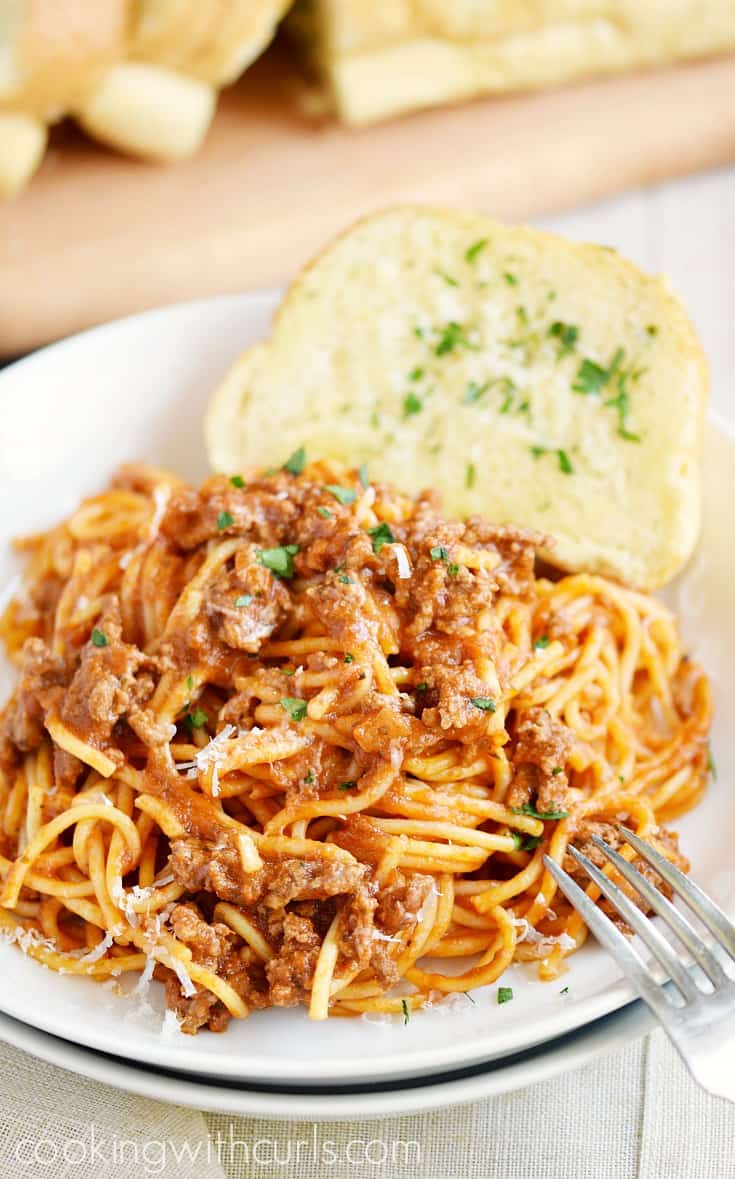
If you don’t feel like layering an Instant Pot Lasagna, give my Instant Pot Spaghetti a try…..
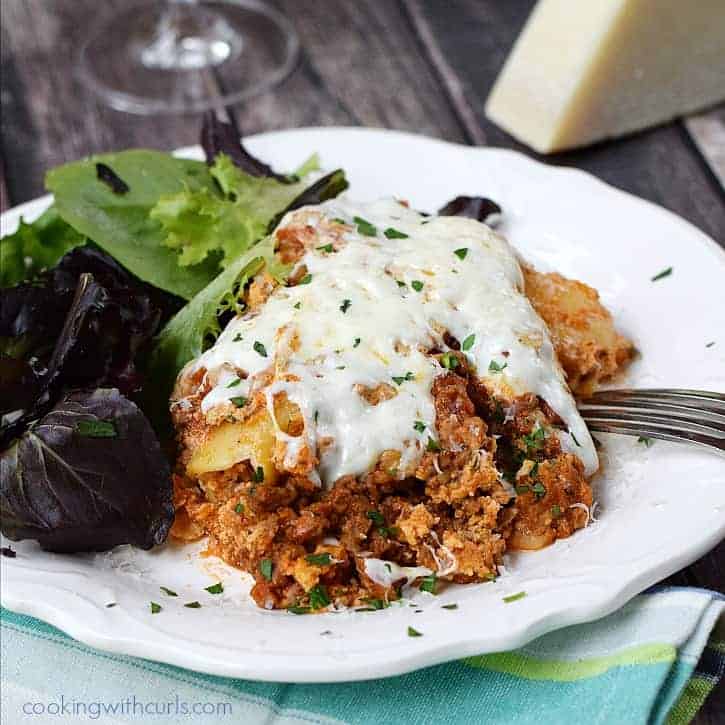
Enjoy!!

Instant Pot Lasagna
Equipment
Ingredients
Meat Filling
- .5 cup yellow onion diced
- 1 tablespoon olive oil
- 1 large clove fresh garlic minced
- .5 pound extra lean ground beef 97% lean
- .5 pound Italian sausage I used sweet Italian
- .25 cup chopped Italian parsley
Cheese Filling
- 1 cup ricotta cheese I used whole milk
- 1 large egg
- .25 teaspoon sea salt
- .25 teaspoon black pepper
- 1 tablespoon Italian parsley
- .25 cup Parmesan cheese finely grated
- 1 cup grated mozzarella cheese
For Assembly
- 5 no-boil lasagna noodles broken into pieces
- 2.5 cups pasta sauce
- .5 cup grated mozzarella cheese
Instructions
Meat Filling
- Press the “Sauté” button and wait for the display to say HOT. Add the oil and the onions. Cook until softened, about 3 minutes, stirring occasionally to keep them from burning.
- Add the garlic, stir for one minute. Add the ground beef and Italian sausage. Stir and cook until thoroughly cooked.
- Remove the meat and drain. Place in a large bowl and stir in the Italian parsley. Set aside.
Cheese Filling
- Mix the ricotta, egg, salt, pepper, and parsley together in a medium sized bowl.
- Stir in the Parmesan and mozzarella cheese. Set aside.
To Assemble
- Break apart noodles and lay them across the bottom of the pan.
- Pour 1 cup of sauce over the noodles, spread to cover.
- Spread half of the meat filling over the sauce.
- Spread half of the cheese filling over the meat.
- Add a second layer of noodles.
- Spread 1 cup of sauce over the noodles.
- Add a second layer of the remaining beef filling, then a second layer of the remaining cheese filling.
- Add and additional layer of noodles, top with .5 cup of sauce, and .5 cup of mozzarella cheese.
- Pour 1.5 cups of water into the liner of your pressure cooker and add the steamer rack.
- Carefully place the lasagna on top of the rack. Secure the lid and check to make sure the knob is in the “Sealing” position.
- Press the “Manual” button and use the + and – buttons to set the time for 24 minutes on High Pressure.
- When the pressure cooker beeps, allow the pressure to release naturally for 15 minutes. Release any remaining pressure by turning the knob to “Venting”.
- Carefully remove the pan from the liner. I used a dish towel, but oven mitts would be thicker.
- Place the pan on a baking sheet and broil until the cheese is bubbly and golden brown.
- Remove the pan from the oven and allow to rest for 10 minutes.
- Release the lever on the pan and remove the ring. You may need to run a knife along the edge to separate the cheese from the sides of the pan. Carefully slide the lasagna onto a large plate. Slice and serve.
Notes
- I used a Nordic Ware Springform Pan which is technically only 2 3/4″ tall, so my filling was at the top! The Nordic Ware pan is half the price of the Fat Daddio Push Pan, assuming you can find it in stock.
- Retriever Tongs would be an excellent option for removing the pan from the pot. I will need to add them to my list.
- I use this Steamer Rack to keep the pan up above the water while cooking.
- I used Barilla Oven-Ready Lasagne noodles that do not require boiling.
- To save on time, precook the meat filling ahead of time on the stove.




Hello I was wondering if I can use little loaf pans, to make lasagne rolls for individuals servings? I have a vegetarian in the fanily.
Thanks
Rhonda
Gorgeous-thanks for sharing.
Which instant pot do you use?
Thank you for sharing on #omhgff last week, this week your recipe is being featured on our Linkup!
It looks amazing!!
It has been shared on Pinterest, G+ and Twitter
Hope you will stop by and link again, be sure to share.
Have a great weekend!
I cooked this tonite for my husband. Hes very picky and its the first time ive fixed anything in my spring pan in my instapot. It was very easy. I did make more meat and used a little more sauce. It looked really nice and hed neen craving lasagne. It as perfect. Cooked well and looked great! The taste he said was perfect! I have enough for for another meal! Thank you so much. I couldnt taste it but next time i will make a gluten free one for me. I can use your recipie and use gf noodles for me. I could make it twice in one night so we could eat the same thing.
I am so glad you both liked it Marti!!
This recipe was a perfet size for my small family. It was easy and delicious!