Gingerbread Cookies
This post may contain affiliate links. As an Amazon Associate I earn from qualifying purchases. For more information, please visit my disclosure page.
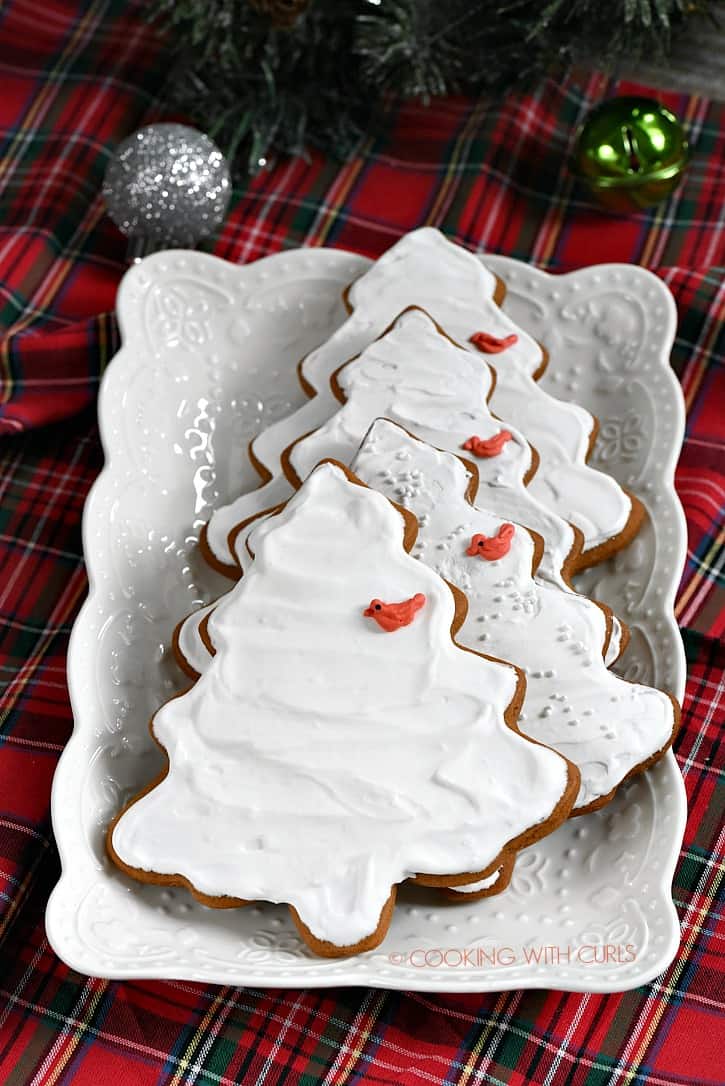
Fill your home will the scent of ginger, cinnamon and cloves when you bake these delicious Gingerbread Cookies this holiday season! Then top them off with royal icing or a simple cookie glaze, and don’t forget to get the kids involved. They will love choosing their favorite shapes and playing with all of the sprinkles and decorations…..

I kept my Gingerbread Cookies pretty simple, but you can make them as elaborate as you like!
How to Make Gingerbread Cookies:
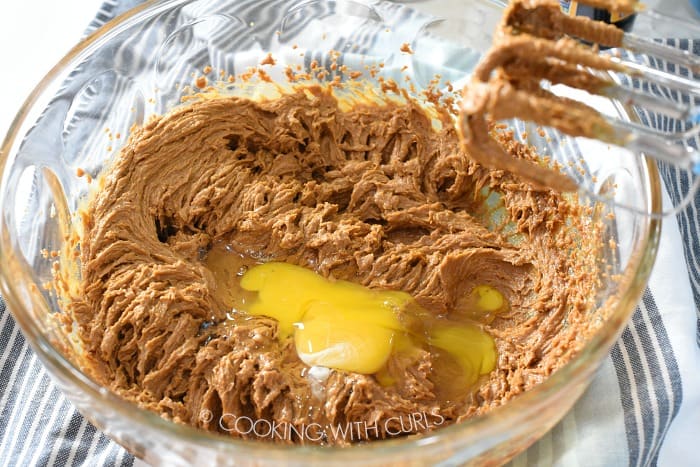
Beat the butter and sugar together in a large bowl until creamy. Add the molasses and egg…..
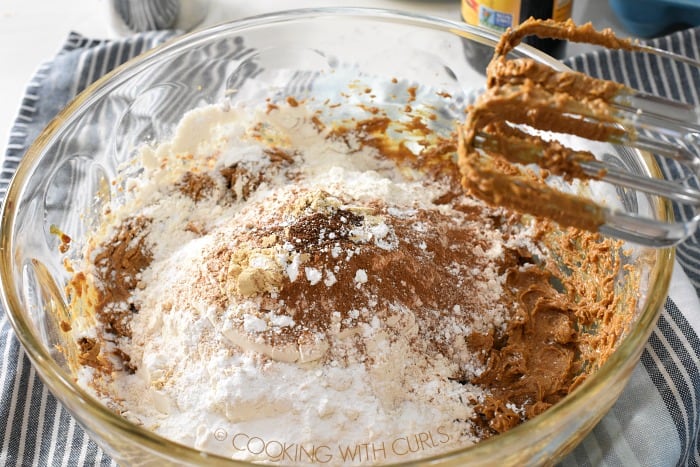
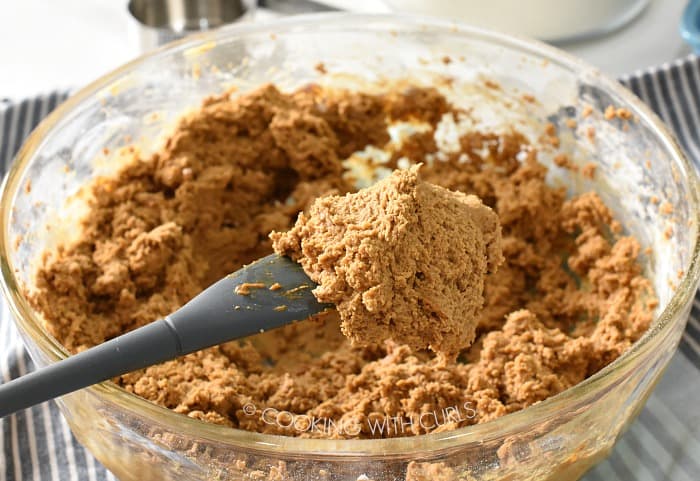
Mix in the flour, salt, baking soda, ginger, cinnamon and cloves…..
to create a stiff, yet moist batter…..
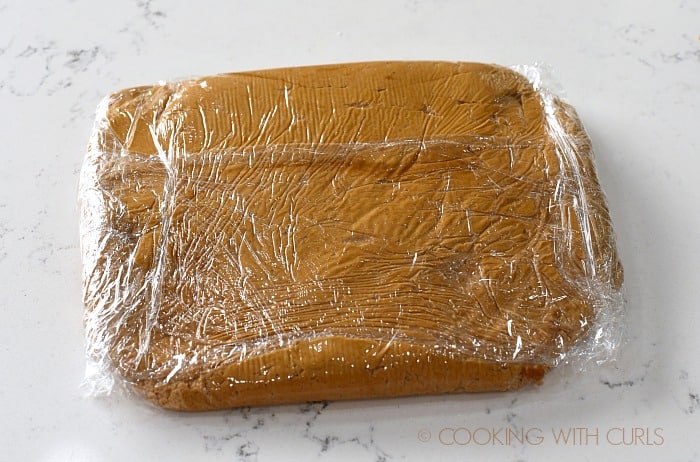
Divide the dough in half and pat each half into a flat rectangle. Wrap each half in plastic wrap and chill for 2 to 3 hours…..
Preheat oven to 375 degrees. Line 3 baking sheets with parchment paper, set aside.
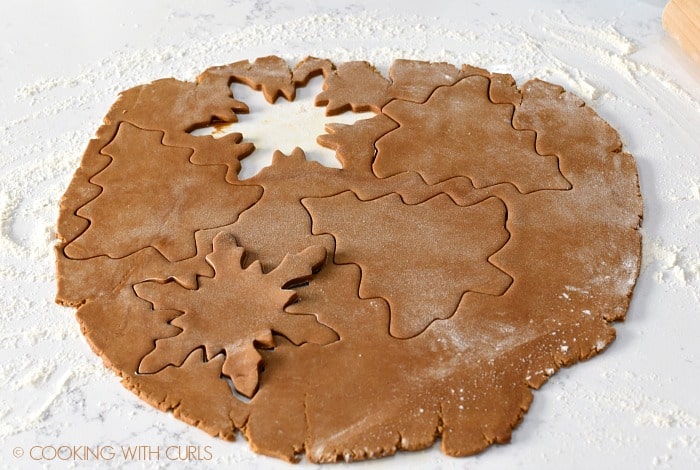
Roll dough out on a floured work surface to 1/4-inch thick. Cut out shapes with floured cookie cutters, cutting them as close to one another as possible to minimize waste…..
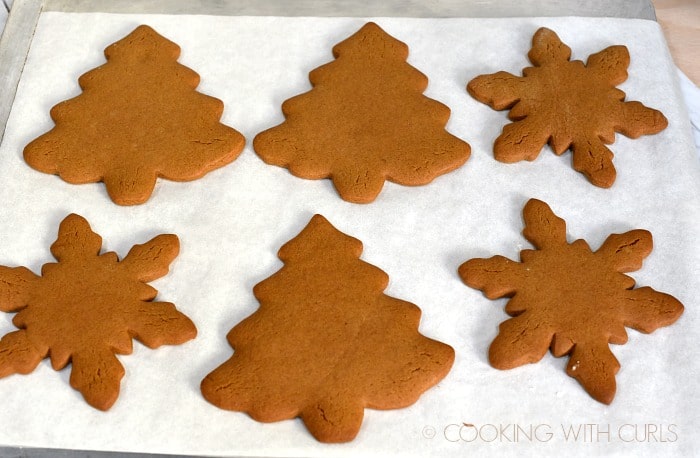
Place the cookie on the prepared baking sheets and bake for 10 to 12 minutes…..
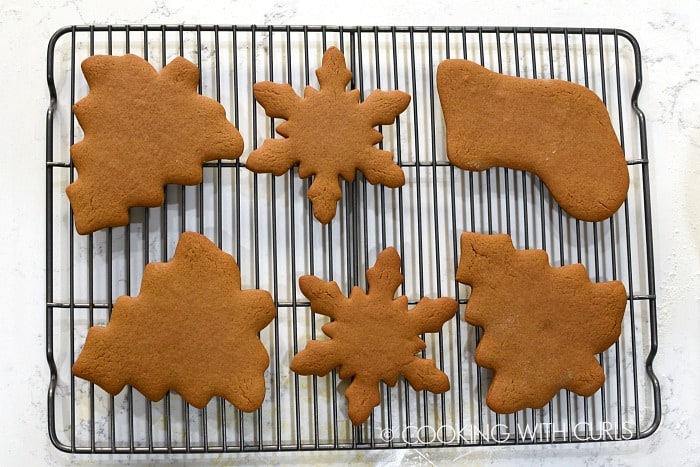
until cookies feel firm to the touch and are lightly browned around the edges. Let the cookies cool on the baking sheet for a few minutes before moving them to a wire cooling rack…..
Repeat the process with the remaining dough.
Once the Gingerbread Cookies are completely cool decide how you are going to decorate them…..
How to Decorate Gingerbread Cookies with Royal Icing:
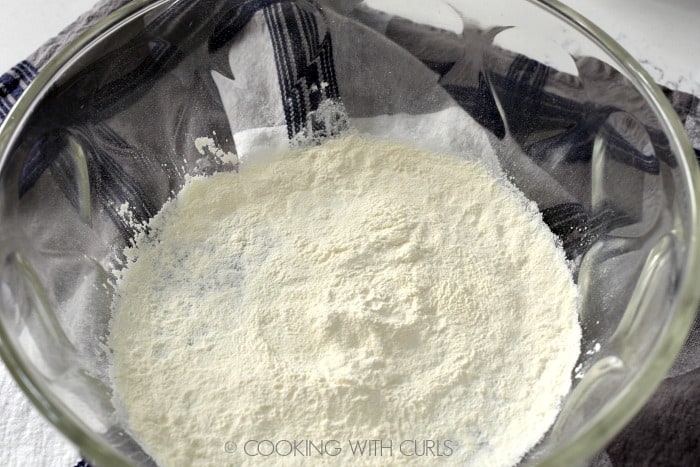
Add the meringue powder and water to a large bowl…..
^^^That is what meringue powder looks like^^^
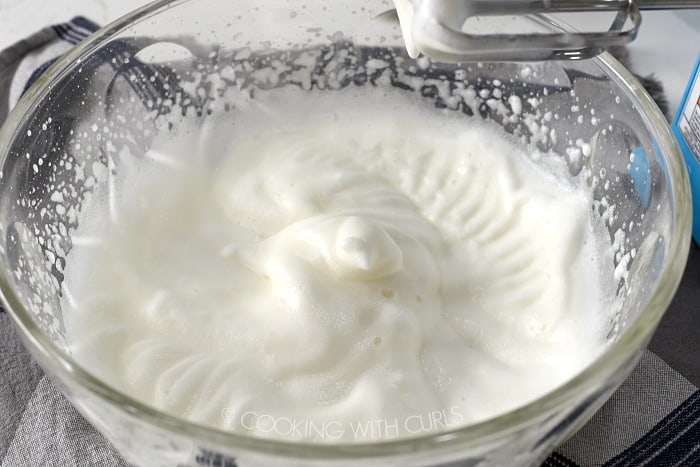
Beat until soft peaks form…..
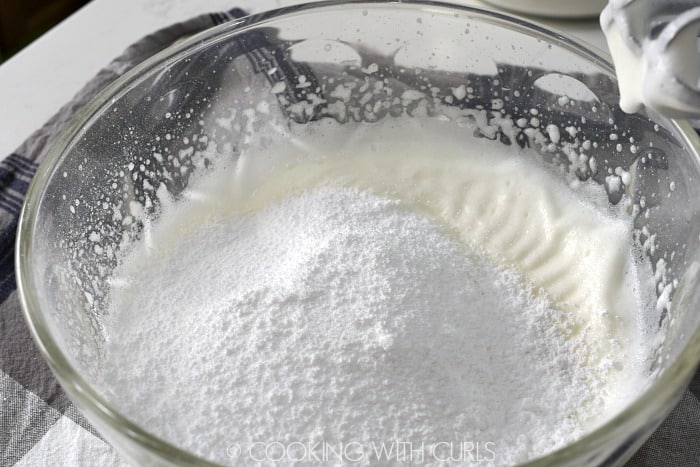
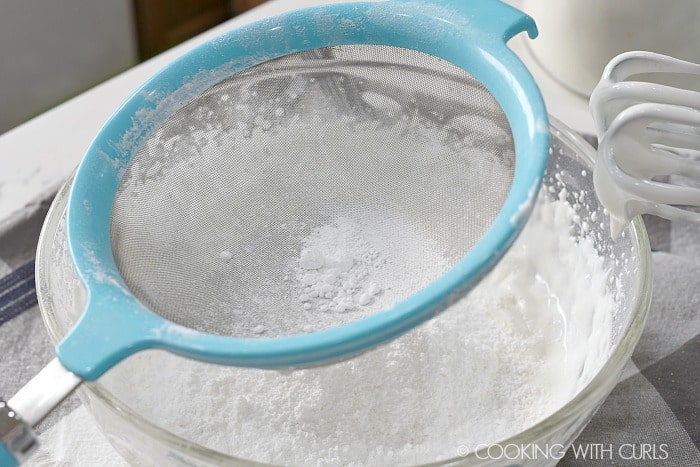
Add the sifted powdered sugar one cup at a time…..
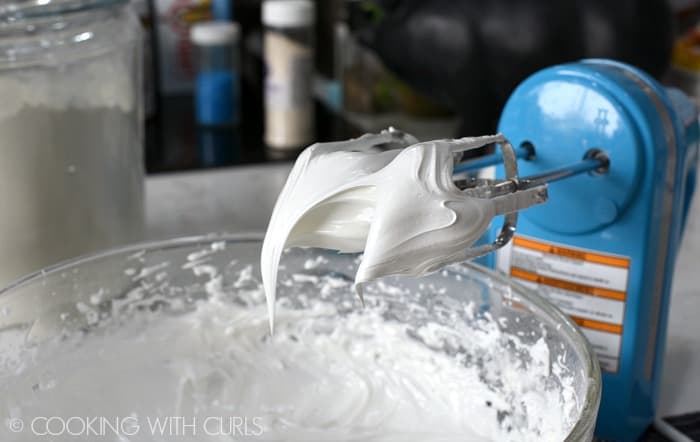
and continue beating until the icing is spreadable and glossy…..
To color the Icing:
Add icing to a small bowl, add gel coloring and thoroughly mix to combine. Use separate bowls for each color.
To outline the edges of the cookies:
Fill a squeeze bottle, pastry bag, or zipper top bag with icing and a decorative tip. Gently squeeze the icing around the edges of your cookies and allow to harden.
Go back and fill in the center of the cookie with icing. Decorate with decorative sprinkles and sugars while icing is still wet. The icing will harden as it dries.
To frost the Gingerbread Cookies:
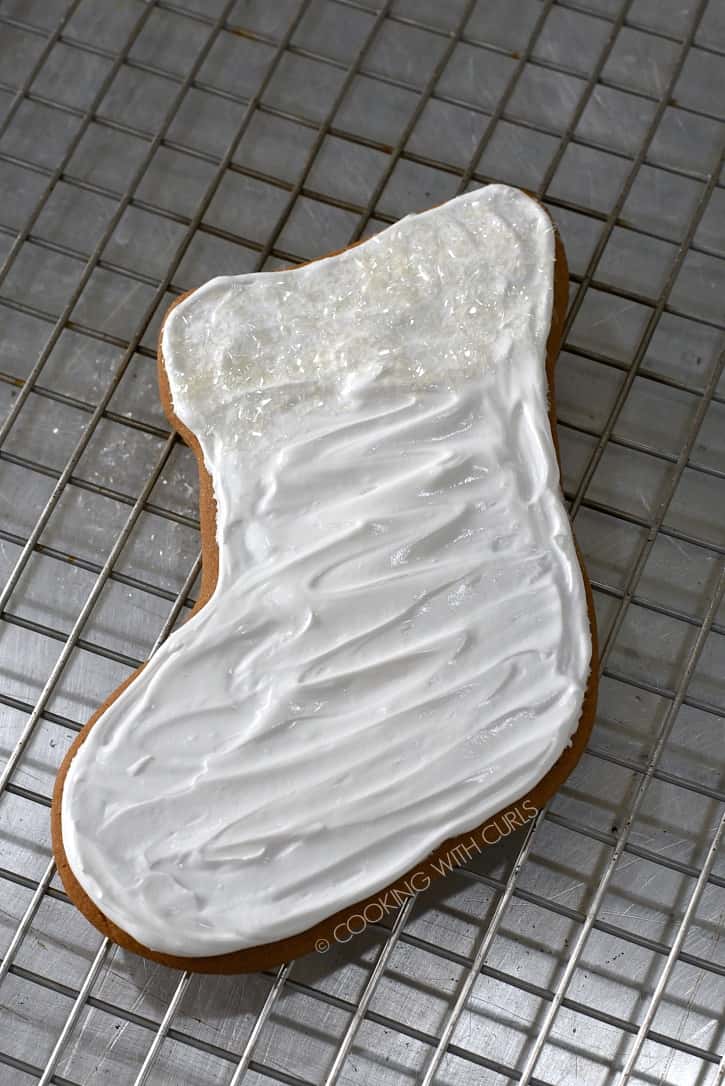
Spread the icing with a decorating knife or offset spatula. Decorate with decorative sprinkles and sugars while the icing is still wet.
To glaze the cookies:
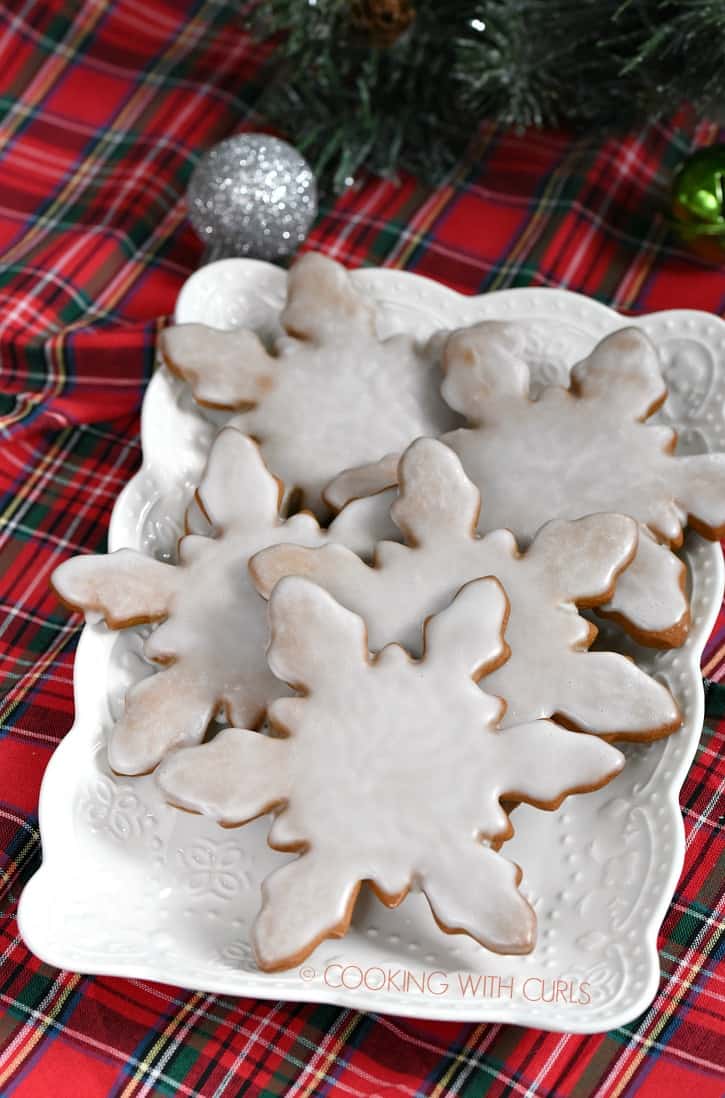
Mix this Simple Cookie Glaze in a wide bowl. Dip each cookie into the glaze gently moving the cookie from left to right for good coverage. Pull the cookie up from the glaze, allow glaze to pour off for 1 or 2 seconds, and flip the cookie over. Place on a wire rack over a baking sheet to allow excess glaze to run off.
Once the glaze is completely set/dry, decorate with royal icing or food safe marker designs if desired.
Notes:
- Any cracks and imperfections will show through the cookie glazed cookies {the snowflakes and green trees}. Royal Icing hides all imperfections.
- For a thinner, pour-able royal icing add less powdered sugar. Just don’t get it too thin or it won’t stay on the cookie.
- For crispier cookies, roll the dough out to 1/8-inch thick and bake for 8 to 10 minutes.
- When rolling the dough, flour both sides of the dough and the work surface.
- I added orange extract to my icing because I do not like the flavor of straight royal icing. Mint or clear vanilla would also be delicious!
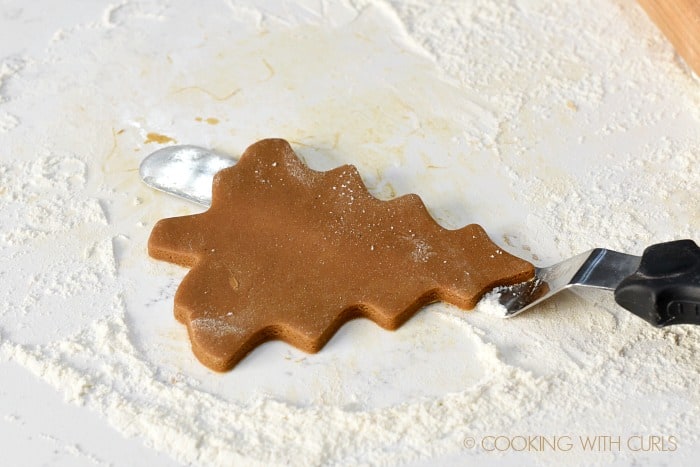
What if the Gingerbread Cookies stick to the work surface?
This tends to happen more with the first batch of dough that is rolled out. Gently slide an off set spatula under the cookie to loosen it…..
Some cookies will stick inside the cookie cutter, some will stick to the work surface, and some will slide out perfectly. If the cookie sticks to the inside of the cutter, place it above the baking sheet and gently push down around the edges to release it.
Why do you have to sift powdered sugar?
Because it clumps…..
If you do not remove the clumps, your icing/glaze will be lumpy. It also adds air and makes the icing mix together faster and smoother…at least in my opinion. 😉
More Ginger flavored recipes that your family will love:
- Triple Ginger Chocolate Chunk Cookies
- Guinness Gingerbread
- Blackberry Ginger Chocolate Chip Muffins
- Gingerbread Martini Cupcakes
- Apricot Ginger Chicken Wings
- Gingersnap Latte
Tools used to create this recipe: {contains affiliate links}
- Meringue Powder
- Orange Extract
- Wire Cooling Racks
- Baking Sheets
- Offset Spatula
- Frosting Spatula/Knife
- Metal Decorating Tip
- Gel Food Coloring Set
What is your favorite holiday cookie? I need more ideas. 😉
Enjoy!!

Gingerbread Cookies
Ingredients
Gingerbread Cookies
- ½ cup butter softened
- ½ cup granulated sugar
- ½ cup unsulphured molasses
- 1 large egg (room temperature)
- 2 ½ cup all-purpose flour
- ¾ teaspoon fine sea salt
- ½ teaspoon baking soda
- 1 ½ teaspoons ground ginger
- 1 ½ teaspoons cinnamon
- ¼ teaspoon ground cloves
Royal Icing
- ¼ cup meringue powder (or 1 egg white)
- ½ cup water
- 4 cups powdered sugar (sifted)
- 1 teaspoon orange extract (optional)
- gel food coloring (optional)
Instructions
Gingerbread Cookies
- Beat the butter and sugar together in a large bowl until creamy. Add the molasses and egg.
- Mix in the flour, salt, baking soda, ginger, cinnamon and cloves to create a stiff, yet moist batter.
- Divide the dough in half and pat each half into a flat rectangle. Wrap each half in plastic wrap and chill for 2 to 3 hours.
- Preheat oven to 375 degrees. Line 3 baking sheets with parchment paper, set aside.
- Roll dough out on a floured work surface to 1/4-inch thick. Cut out shapes with floured cookie cutters, cutting them as close to one another as possible to minimize waste.
- Place the cookie on the prepared baking sheets and bake for 10 to 12 minutes, until cookies feel firm to the touch and are lightly browned around the edges. Let the cookies cool on the baking sheet for a few minutes before moving them to a wire cooling rack.
- Repeat the process with the remaining dough.
Royal Icing
- Add the meringue powder and water to a large bowl. Beat until soft peaks form. Add the orange extract if using.
- Add the sifted powdered sugar one cup at a time, and continue beating until the icing is spreadable and glossy
To Color the Icing
- Add icing to a small bowl, add gel coloring and thoroughly mix to combine. Use separate bowls for each color.
To Outline the Edges of the Cookies
- Fill a squeeze bottle, pastry bag, or zipper top bag with icing and a decorative tip. Gently squeeze the icing around the edges of your cookies and allow to harden.
- Go back and fill in the center of the cookie with icing. Decorate with decorative sprinkles and sugars while icing is still wet. The icing will harden as it dries.
To Frost the Cookies
- Spread the icing with a decorating knife or offset spatula. Decorate with decorative sprinkles and sugars while the icing is still wet.
To Glaze the Cookies
- Mix the Simple Cookie Glaze in a wide bowl. Dip each cookie into the glaze gently moving the cookie from left to right for good coverage. Pull the cookie up from the glaze, allow glaze to pour off for 1 or 2 seconds, and flip the cookie over. Place on a wire rack over a baking sheet to allow excess glaze to run off.
- Once the glaze is completely set/dry, decorate with royal icing or food safe marker designs if desired.
Notes
- Any cracks and imperfections will show through the cookie glazed cookies {the snowflakes and green trees}. Royal Icing hides all imperfections.
- For a thinner, pour-able royal icing add less powdered sugar. Just don’t get it too thin or it won’t stay on the cookie.
- For crispier cookies, roll the dough out to 1/8-inch thick and bake for 8 to 10 minutes.
- When rolling the dough, flour both sides of the dough and the work surface.
- I added orange extract to my icing because I do not like the flavor of straight royal icing. Mint or clear vanilla would also be delicious!


