Royal Icing #1
This post may contain affiliate links. As an Amazon Associate I earn from qualifying purchases. For more information, please visit my disclosure page.
As with many things in life there are multiple ways to do the same thing, just as there are millions of recipes for royal icing! Royal Icing #1 is the recipe that I grew up using, though I had not decorated cookies IN YEARS before my friend Cheryl suggested that I make the cookies for the Hatchlings Meet and Greet Event in Des Moines, Iowa.
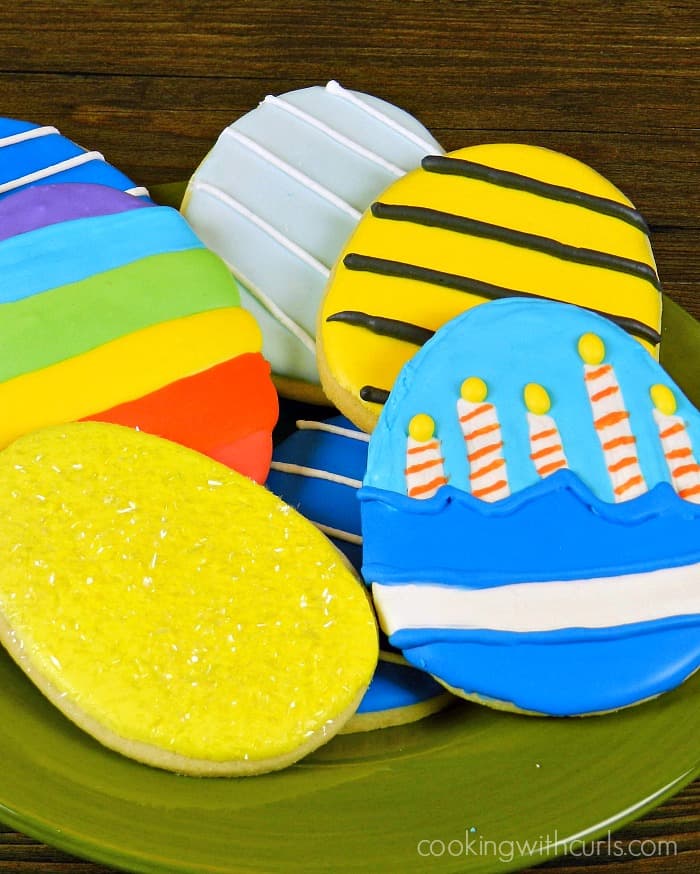
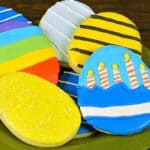
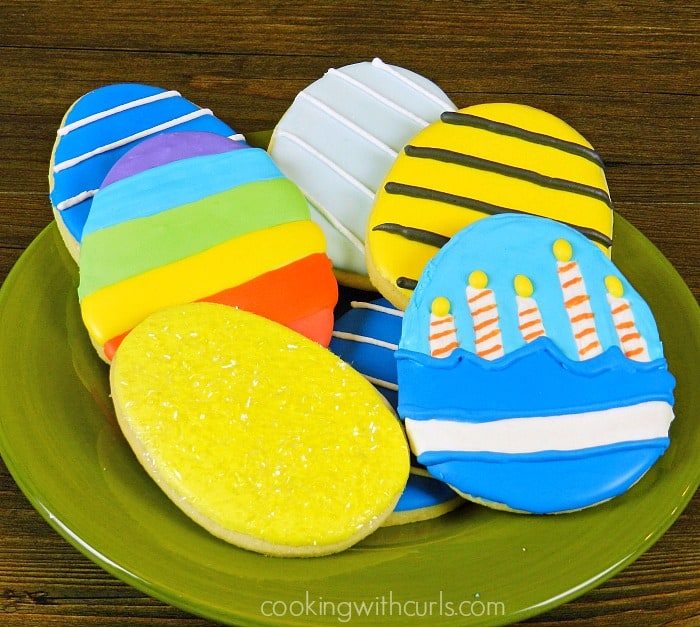
The decorations on the cookies are from actual eggs released into the game this week, to observe the game’s 5th birthday. Cheryl sent me files with the designs for the birthday release eggs. I chose the ones that I thought I would be able to recreate on a cookie, no squares, or zig zags, YIKES!
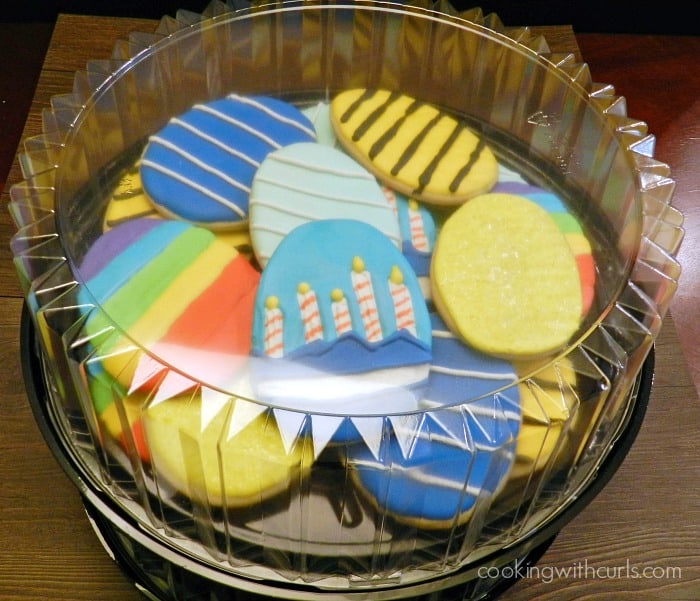
To be honest, I have no idea if Hatchlings is still a Facebook game or not, but decorating cookies is still a fun thing to do!!
I used my Traditional Sugar Cookie recipe and then covered them in royal icing. They had to be transported, so I knew buttercream would not hold up well enough. I also wanted a smooth, shiny look for the eggs.
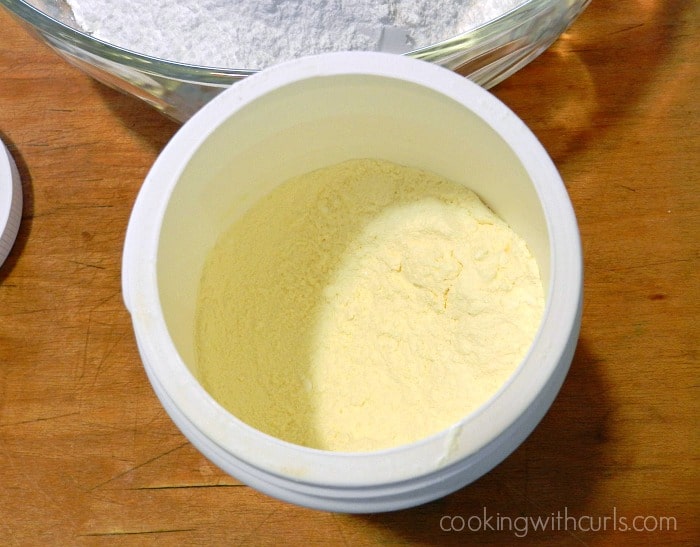
In case you have never used it before this is meringue powder:
How to make Royal Icing #1:
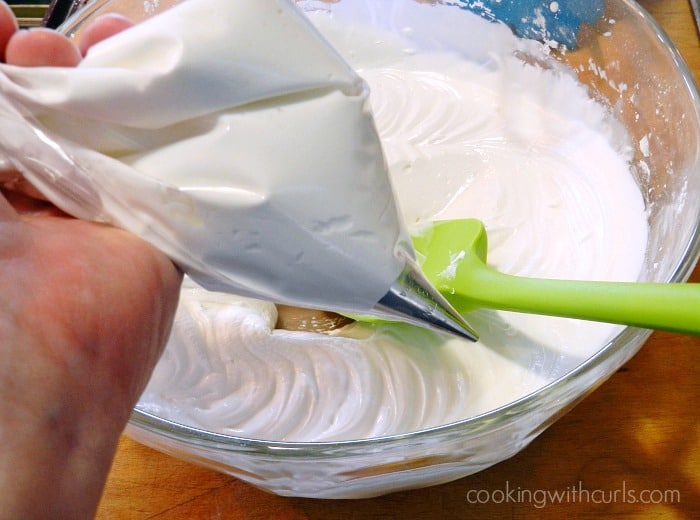
Combine ingredients in a large bowl.
Without turning your mixer on, use it to stir the ingredients together (to avoid a cloud of powdered sugar).
Turn mixer on to High speed and mix for 5 – 7 minutes.
To color/tint Royal Icing:
Mix 1/2 to 1 cup of icing with the gel color of your choice in individual bowls. I used 6 different colors to create these cookies.
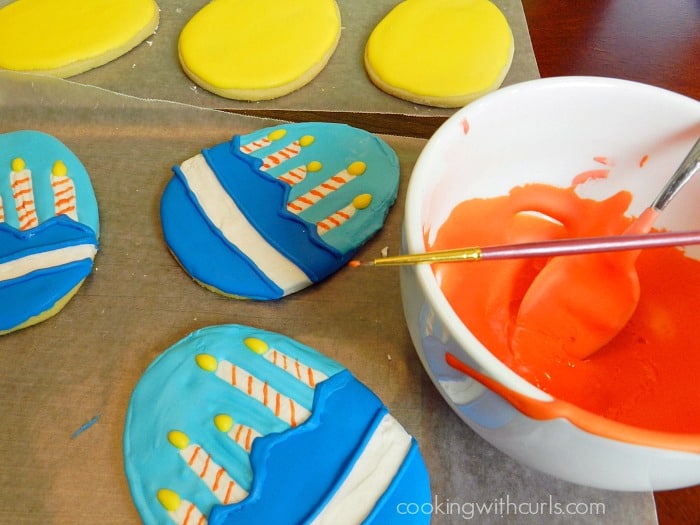
Yes, that is a mini paintbrush (brand new) that I used to paint the orange stripes on the candles. I started with the lightest colors, and when I was finished with them, I created a darker shade in the same bowl.
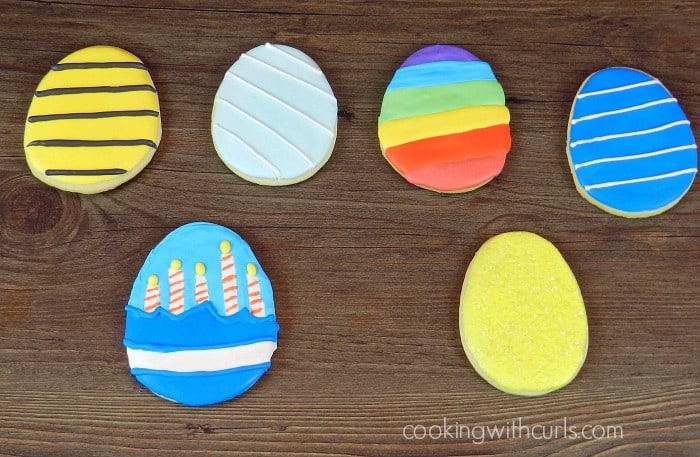
The pale yellow egg on the bottom right, is covered in iridescent glitter^^^.
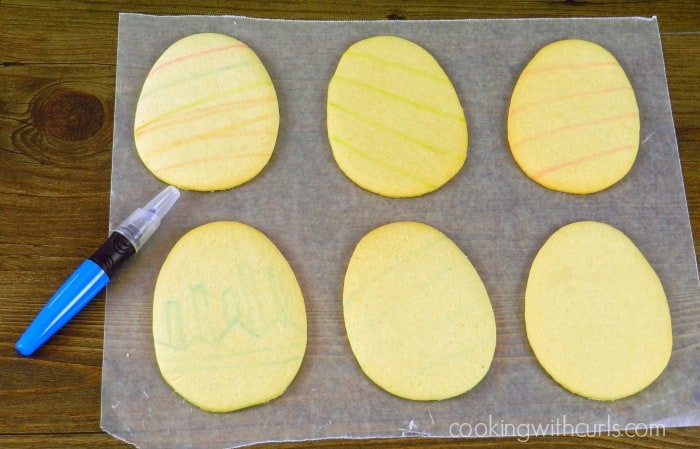
I tried to sketch the outline onto the cookies with a food writer, but the pens were dried out and it did not work as well as I had hope. Even thought the lines were very hard to see, it really did help to create the birthday candle and rainbow cookies.
I tried to pipe the white lines on first, then flood the openings with the darker color…but that did not go as planned. The darker color was too thick and it ran over the white.
Make sure you leave yourself enough time for drying between colors! You also need to pay attention to the consistency of your icing, it will thicken the longer that is sits. I was hoping to avoid the line being “on top”, but they still turned out really cute! 🙂
To pipe the lines:
I used a #3 tip in a small plastic zipper bag with the edge snipped off….
Well there you have it, how to decorate cookies with Royal Icing #1…and information on a game you may not know even exists. Although these cookies would still be really cute for Easter!
Tools used to create this recipe: contains affiliate links
Tiny Paint Brush Set – only use for food!
Cookie Writer Pens – do not buy Wilton, every package was dried out!
I created a slightly different Royal Icing to decorate my Gingerbread Cookies, and it also has step-by-step photos. 😉
Enjoy!!

Royal Icing #1
Ingredients
- 2 pounds powdered sugar
- ⅓ cup meringue powder
- ¾ cups water
- food gel coloring colors of your choice
Instructions
- Combine ingredients in a large bowl.
- Without turning your mixer on, use it to stir the ingredients together (to avoid a cloud of powdered sugar).
- Turn mixer on to High speed and mix for 5 - 7 minutes.
Notes
- This recipe makes a nice "thick icing". I added 1 - 2 teaspoons of water with my coloring when I needed it to "flow" a little better.
- This recipe makes a large amount. Cover the bowl with plastic wrap to help prevent it from drying. Mine started to crust over, but I just mixed it together really well and kept going.
- 60 servings is just a guess, it will depend on how many separate colors you use and how much you thin the icing out.