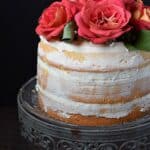
Naked 3-Layer Cake
This post may contain affiliate links. As an Amazon Associate I earn from qualifying purchases. For more information, please visit my disclosure page.
Have you ever noticed how insanely busy May is? Cinco de Mayo, Mother’s Day, my birthday…which should be a national holiday, graduations, Memorial Day, weddings, the list goes on and on! I decided to go a little crazy and bake a really cool Naked 3-Layer Cake in honor of all of those special occasions that need to be celebrated…..
Okay, it’s actually a bit more crazier than that. My friend Michelle is planning on baking a wedding cake for her daughter’s wedding in June {yes, I already pointed out how crazy that sounds} and she has been asking me questions about pans, etc. This lead me to look around pinterest, like I needed a reason, and I kept seeing these really cool “naked” cakes. So of course I had to have one!!

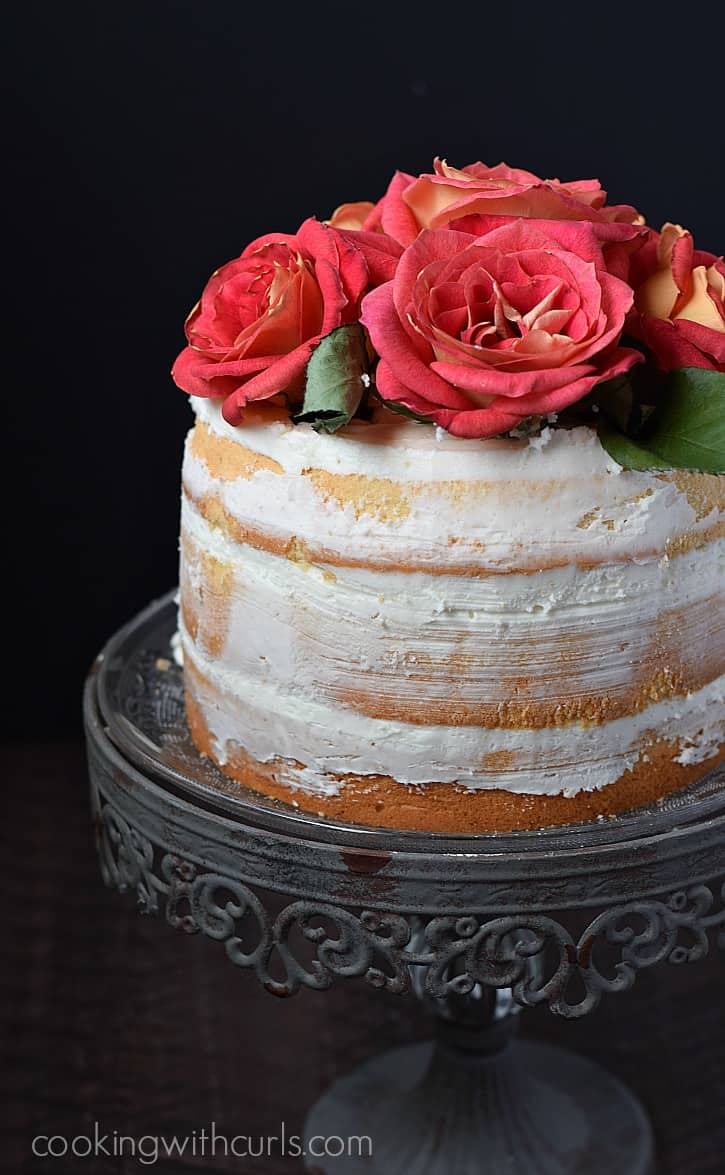
Some are completely naked, some have a bit of frosting, and some look a bit more scraped and rugged. That was the look that I was going for! The image right above is when I first finished the cake, and it has a bit too much frosting on the sides. So the next morning I scraped the sides down again and voila, I got the more rustic look that you see in the first image. 🙂
How to make a Naked 3-Layer Cake:
Let’s get started, we have a lot of steps to prepare. Preheat oven to 350 degrees. Generously spray bottom and sides of (3) 8-inch baking pans. Set aside. Make sure that all three pans are identical.
Beat butter and oil together until light and creamy, about 2 minutes…..
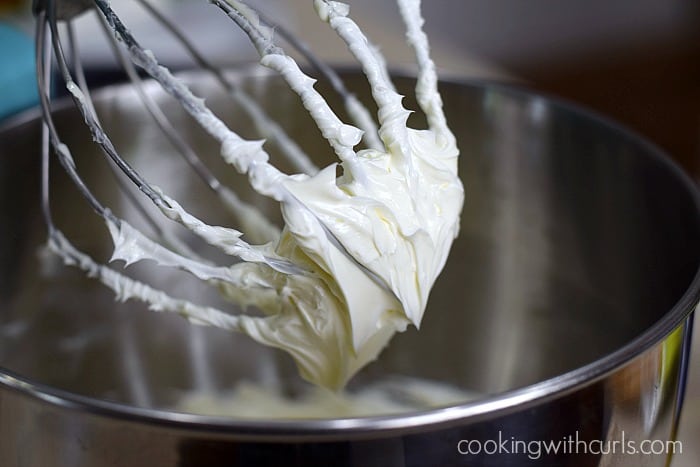
Add the sugar and beat until fluffy.
Gradually add the eggs, one at a time, beating until fully incorporated…..
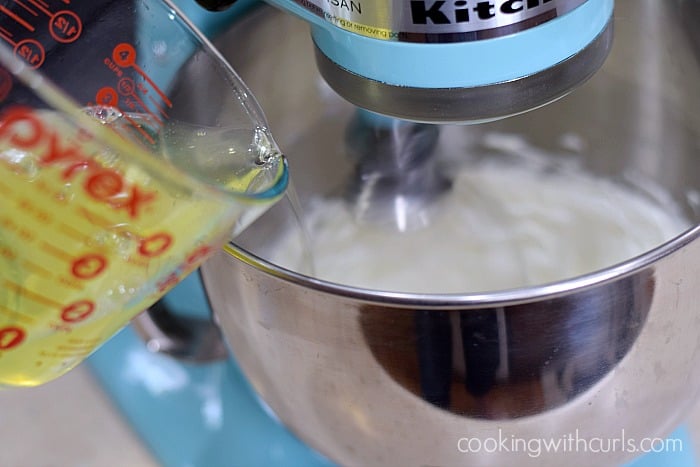
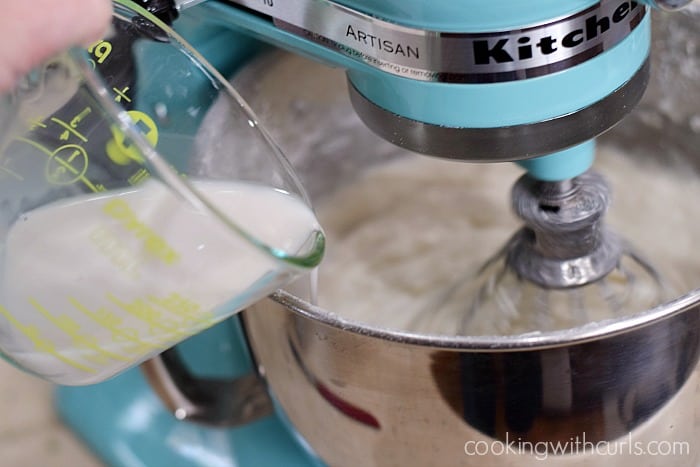
It is much easier to pour from a measuring cup. 😉 In a small bow, mix together the flour, salt, and baking powder. Set aside.
Alternate adding part of the flour with part of the milk beating just until combined…..
Stir in the almond and vanilla extracts. You an also add them to the milk, but I always forget.
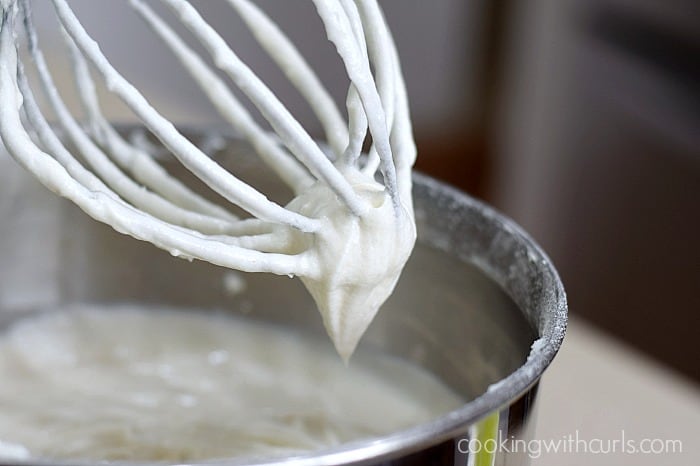
Divide batter evenly between the three prepared pans. Tap each pan on the counter to remove air bubbles…..
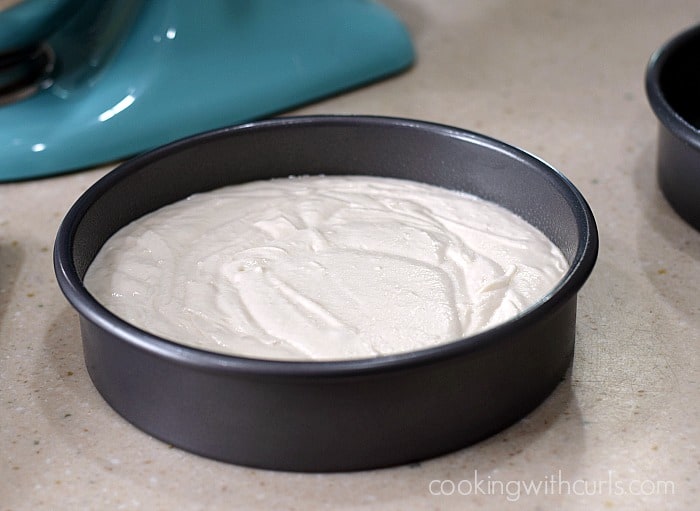
Bake in preheated oven until top bounces back when touched, about 30 to 35 minutes.
Cool cake in the pan on a wire rack for 10 minutes. Flip cakes out onto wire rack and cool completely…..
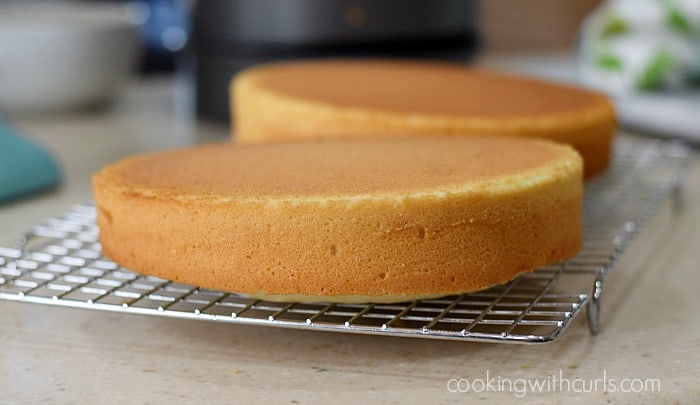
Level the top of each cake with a serrated knife…..
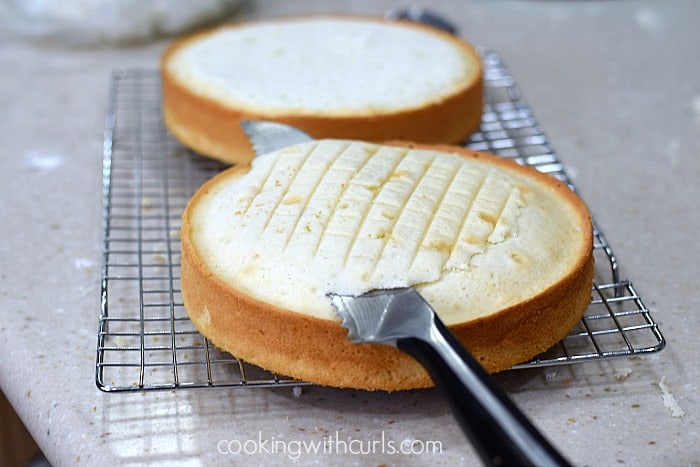
Place first layer, cut side down, on a plate…..

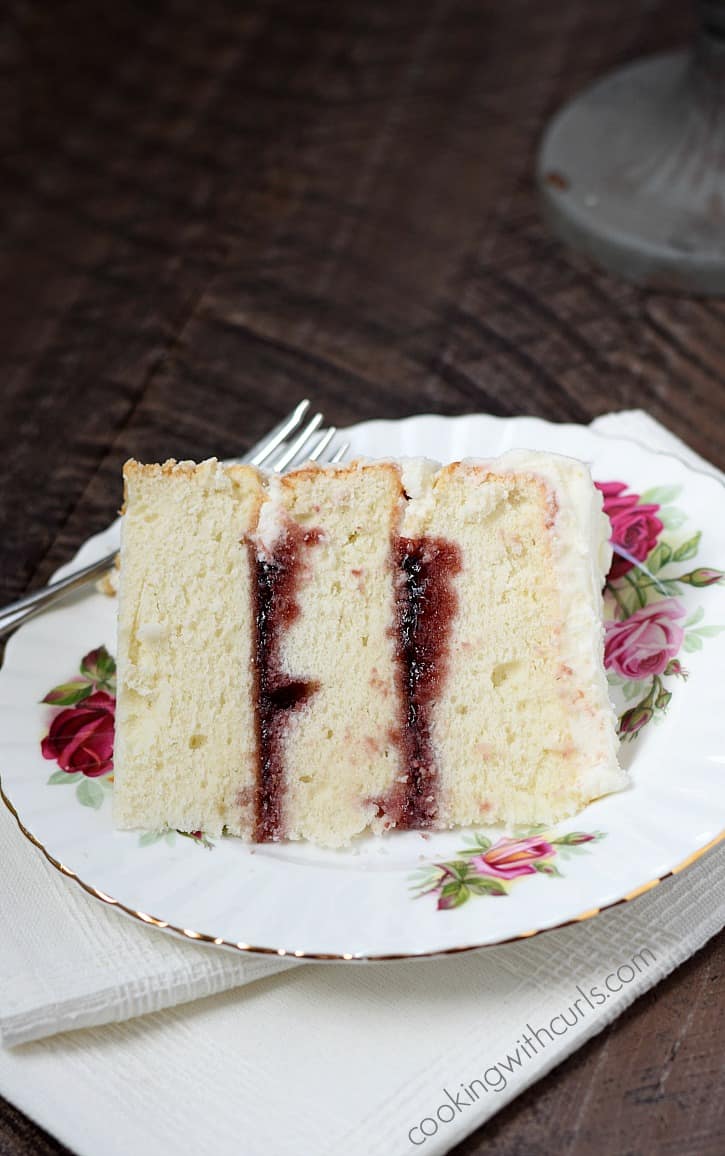
Pipe a ring of frosting around the edge…..
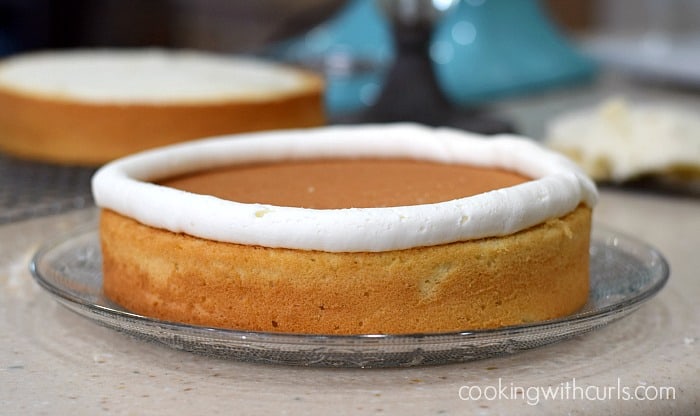
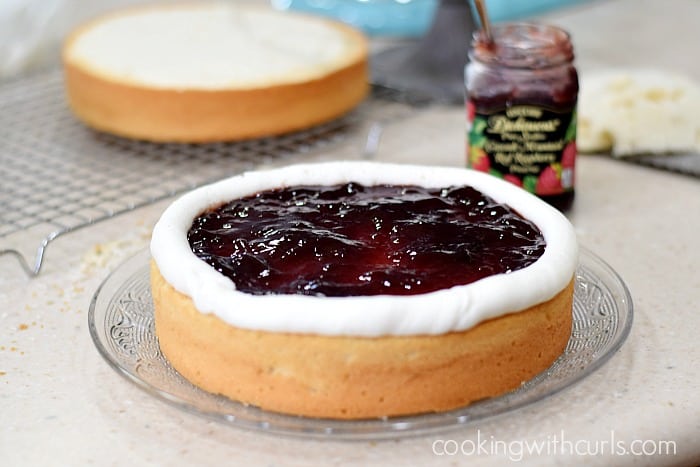
This will help level the layers and keep your filling from spilling out. Fill the center with filling or additional frosting…..
Duplicate with the second layer…..
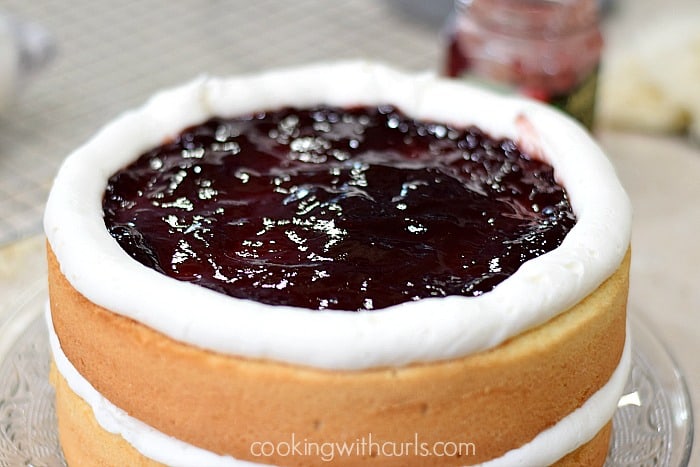
Place the top layer on the cake and cover with a heavy layer of buttercream…..
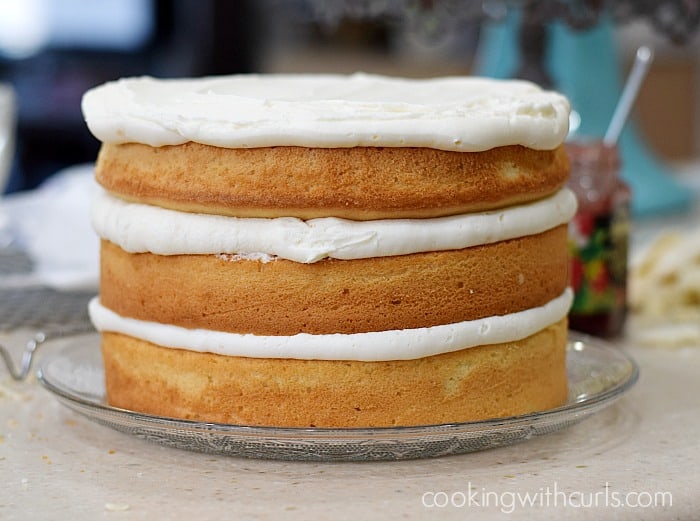
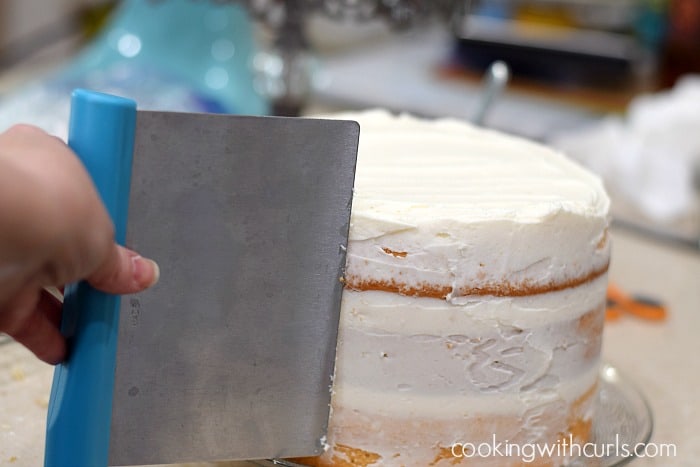
If you’re going for the “Buck Naked” look, you can stop right here. If you are looking for a rustic/scraped look, run a bench knife around the side of the cake to smear the frosting…..
Trim rose stems and place them on top of the cake. Serve immediately…..

Notes…oh boy do I have notes:
- For the layers to be exactly even, you need to use identical sized pans and weigh them.
- Whole milk adds fat, so your cake will be more moist than my cake which was made with unsweetened Cashew milk.
- A stand mixer is advisable given the amount of beating time that is required. A hand mixer will work, just don’t skimp on the amount of beating!
- I used almond and vanilla for a traditional “wedding” cake taste. Feel free to substitute any flavor that you would like.
- If you love frosting, then you will want to frost between the layers!!
- To frost between the layers instead of using a filling, you will need two full batches of Buttercream.
- If you would like to split each layer and frost between them, you will need even more frosting, lol
- Each oven is different. I baked 2 cakes at the same time, and they ended up lop-sided in opposite directions even after rotating them half-way through. I baked the third cake by itself, and it turned out perfectly level.
- Because the sides are not protected by frosting, they will dry out quickly. Assemble right before you are ready to serve it.
I really wish that I could drink milk!! 😉
More delicious cake recipes:
Old-Fashioned Chocolate Fudge Cake
Peppermint Mocha Cocktail Cake
Chocolate Peppermint Cream Cheese Bundt Cake
Enjoy!!

Naked 3-Layer Cake
Ingredients
- 1 ½ cups unsalted butter at room temperature
- 2 ¼ cups granulated sugar
- 7 large egg whites
- 2 Tablespoons safflower oil
- 1 teaspoon almond extract
- ½ teaspoon pure vanilla extract
- 4 ½ cups cake flour
- ½ teaspoon salt
- 1 Tablespoon baking powder
- 1 ½ cups whole milk I used unsweetened Cashew milk
- 1 to 2 Batches Homemade Buttercream
- 1 jar raspberry preserves or flavor of your choice
- 6 large roses
Instructions
- Preheat oven to 350 degrees. Generously spray bottom and sides of (3) 8-inch baking pans. Set aside.
- Beat butter and oil together until light and creamy, about 2 minutes.
- Add the sugar and beat until fluffy.
- Add the eggs, one at a time, beating until fully incorporated.
- In a small bow, mix together the flour, salt, and baking powder. Set aside.
- Alternate adding part of the flour with part of the milk beating just until combined.
- Stir in the almond and vanilla extracts.
- Divide batter evenly between the three prepared pans. Tap each pan on the counter to remove air bubbles.
- Bake in preheated oven until top bounces back when touched, about 30 to 35 minutes.
- Cool cake in the pan on a wire rack for 10 minutes. Flip cakes out onto wire rack and cool completely.
- Level the top of each cake with a serrated knife.
- Place first layer, cut side down, on a plate. Pipe a ring of frosting around the edge.
- Fill the center with filling or additional frosting.
- Duplicate with the second layer.
- Place the top layer on the cake and cover with a heavy layer of buttercream.
- For a scraped look, run a bench knife around the side of the cake to smear the frosting.
- Trim rose stems and place them on top of the cake.
- Serve immediately.
Notes
- For the layers to be exactly even, you need to use identical sized pans and weigh them.
- Whole milk adds fat, so your cake will be more moist than my cake which was made with unsweetened Cashew milk.
- A stand mixer is advisable given the amount of beating time that is required. A hand mixer will work, just don't skimp on the amount of beating!
- I used almond and vanilla for a traditional "wedding" cake taste. Feel free to substitute any flavor that you would like.
- If you love frosting, then you will want to frost between the layers!!
- If you would like to frost between the layers instead of using a filling, you will need two full batches of Buttercream Frosting.
- If you would like to split each layer and frost between them, you will need even more frosting, lol
- Each oven is different. I baked 2 cakes at the same time, and they ended up lop-sided in opposite directions even after rotating them half-way through. I baked the third cake by itself, and it turned out perfectly level.
- Because the sides are not protected by frosting, they will dry out quickly. Assemble right before you are ready to serve it.
Nutrition
Cooking with Curls is a participant in the Amazon.com Services LLC Associates Program, an affiliate advertising program designed to provide a means for sites to earn advertising fees by advertising and linking to amazon.com
Stunning! You did an amazing job styling and photographing your cake. I’m loving the rustic scrapped look right now. well done. Time to eat cake!
Looks amazing, Lisa!!
Love your cake recipe & tutorial. I can’t wait to try it. Thanks for sharing at the Inspiration Spotlight party. Shared.
The cake looks lovely!Love and have used,successfully many of your recipes.Have had a problem with your print button unfortunately,like I need more piled on my dining table!When I hit print,select with or without photo,I am led to ,”blank”.Tried on my smartphone and tablet.Thought I should mention just in case anyone else has the same problem.Could just be my devices,just wanted to let you know,doll!Thanks,and more cakes will be so awesome!
Thank yo so much Teri!! Oh no, I thought I was the only one having problems printing my recipes. 🙁 I am still trying to figure out the problem, but it’s not your devices. Sorry about that. 🙂
Looks delicious, I like the idea of the fruity filling and icing round the edge.
May is busy in our family with a whole load of birthdays including mine (all the best people are born in May don’t you know!) I think I may have to persuade the kids to make this for me!
wow – amazingly beautiful. my last three layer cakes were delicious but not so beautiful – not sure I have your gift nor patience! i’ll post my lemon curd cake soon. yum! you’re a wonderful cook!/baker.
What a gorgeous cake – I love the flowers on top! That’s a nifty trick about piping a ring of frosting around the edge of each layer to keep the filling from peeking out. I’ll have to try that!
My son wants me to make this NOW! Thanks for partying with us on Creative K Kids Tasty Tuesdays.
I love this cake! It is so gorgeous! The tip to pipe frosting around the edges of the middle layer before adding a fruit filling is absolutely genius! I will be using these techniques for my next cake without a doubt!!