Roasted Cauliflower and Garlic Soup
This post may contain affiliate links. As an Amazon Associate I earn from qualifying purchases. For more information, please visit my disclosure page.
When the weather cools down, nothing beats the comfort of a warm, creamy soup. This roasted cauliflower and garlic soup is the perfect mix of rich flavor and velvety texture. It’s simple to make yet tastes like something you’d find in a cozy café.
Whether you’re looking for a comforting weeknight dinner or an impressive starter, this dairy-free, and vegan soup has you covered.
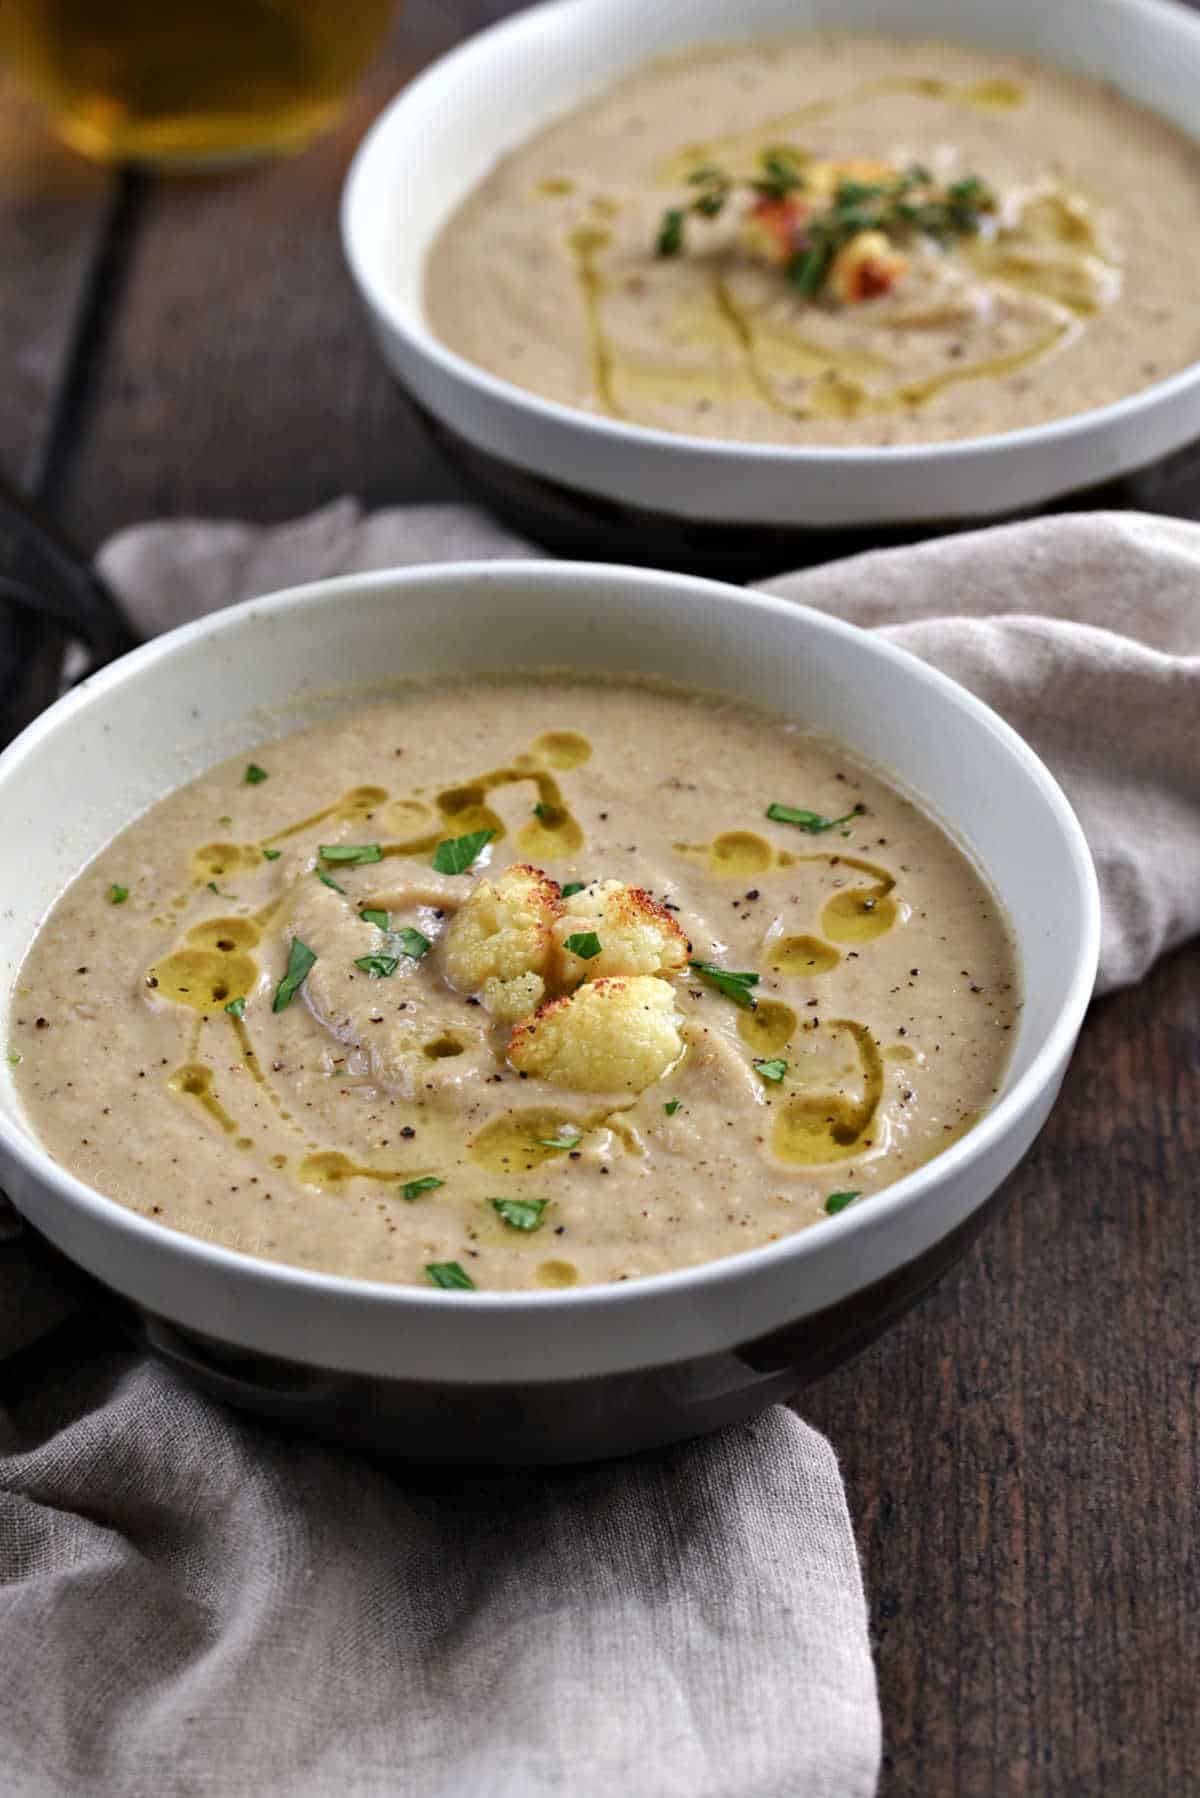
This may sound crazy, but I ate this soup all weekend for breakfast…it’s that delicious!!
Check out my other cauliflower soup recipes too! Creamy Cauliflower Soup with Crispy Prosciutto and Creamy Carrot and Cauliflower Soup.
Ingredients
All you need is a handful of simple ingredients to create a luxurious and healthy bowl of soup.
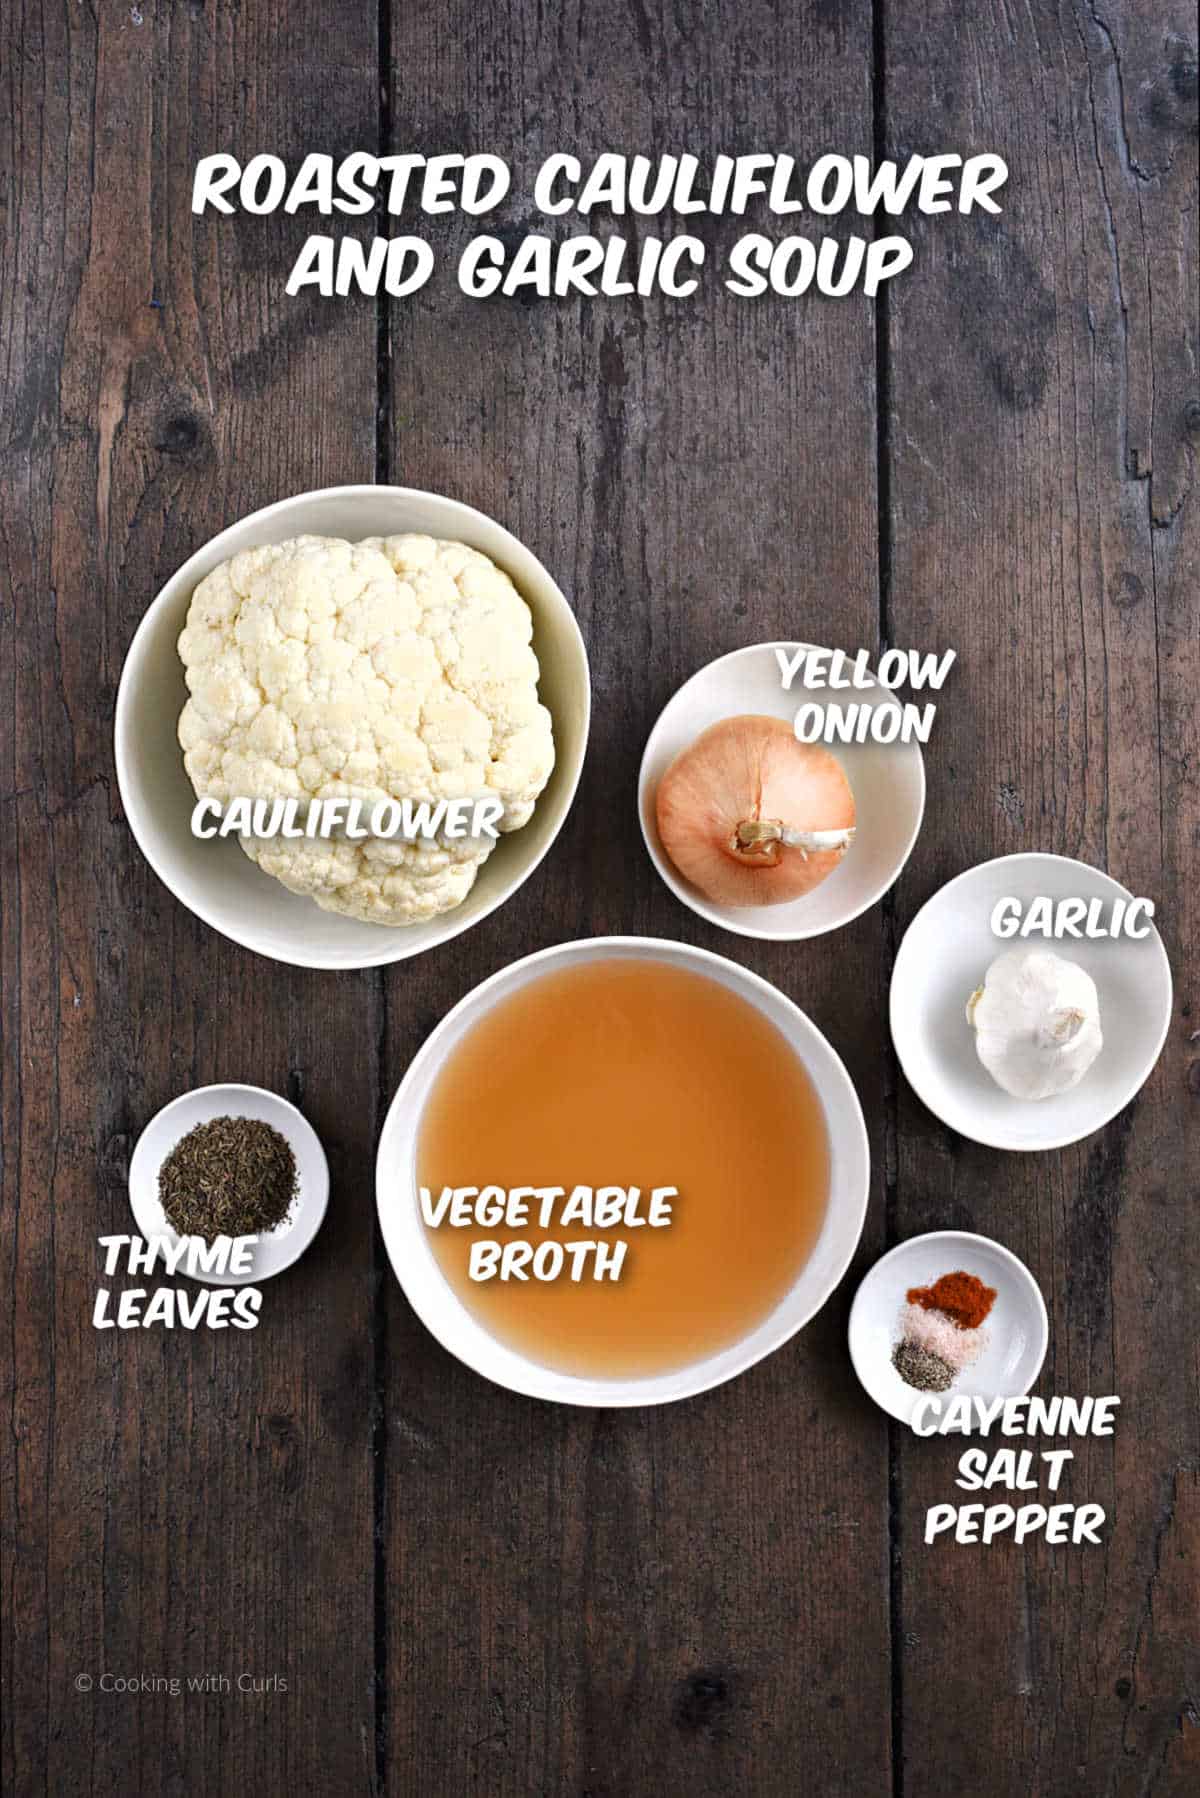
- Large Head of Cauliflower is the heart of this soup. When roasted, it develops a slightly nutty, caramelized flavor that enhances the soup’s overall richness. Its natural creaminess ensures a smooth texture when blended, making it a healthier base compared to heavy creams.
- Garlic is the flavor powerhouse here. Roasting it mellows its sharpness and brings out a sweet, almost buttery depth that infuses the soup with warmth. Don’t skip this step; roasted garlic takes the experience to another level.
- Yellow Onions: Roasted onions create another layer of savory flavor.
- Thyme Leaves: Add a warm, earthy, and slightly minty flavor with subtle floral and woodsy notes.
- Spices: A pinch of cayenne pepper, salt, and black pepper add complexity.
- Broth: Vegetable or chicken broth serves as the liquid base, delivering depth without overpowering the cauliflower.
- Sheet Pan – Dutch Oven or Large Pot – Blender – Immersion Blender
Check out the printable recipe card below for the complete recipe and detailed instructions.
How to make the best Roasted Cauliflower Soup
Remove the leaves and cut the cauliflower into evenly-sized florets. This ensures they roast evenly.
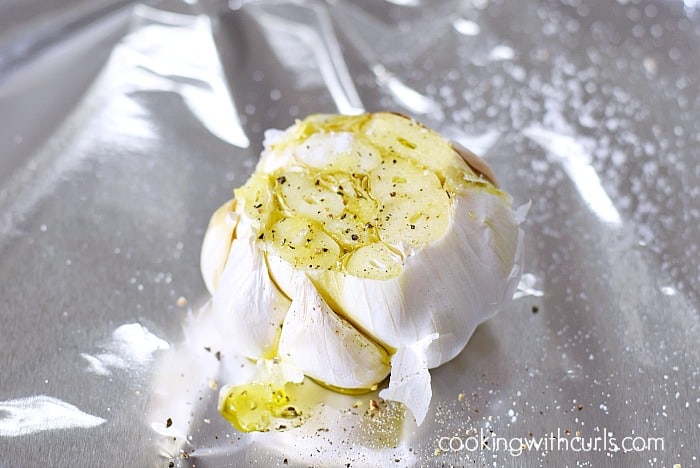
Slice the top of the garlic bulb to expose the cloves. Keep the skin on; it protects the garlic while it roasts.
Drizzle with olive oil and wrap it in aluminum foil.
Preheat oven to 400°F (200°C)—this is the sweet spot for roasting.
Place the cauliflower florets and sliced onion in a single layer on a baking sheet and toss with 2 tablespoons of olive oil, kosher salt, and pepper.
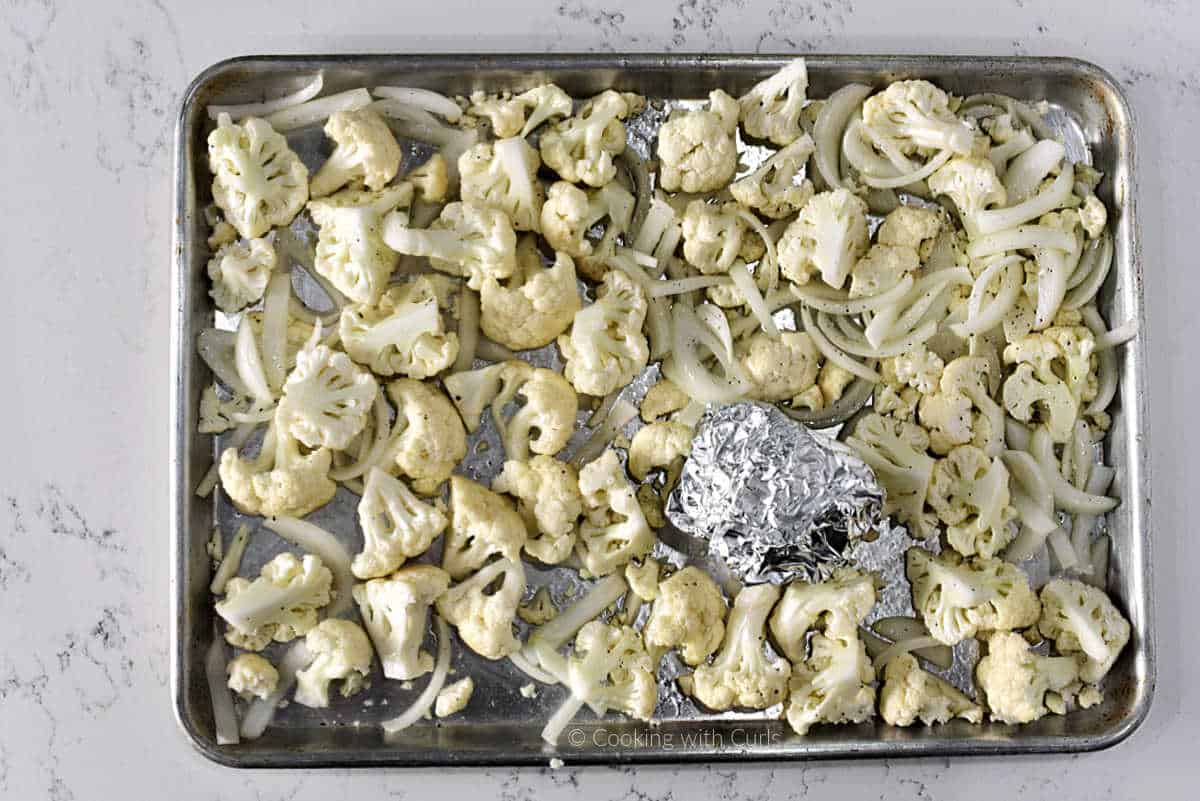
Cook for 25-35 minutes. Stir halfway to ensure even browning. The garlic can roast right alongside, wrapped in its foil.
The cauliflower should be golden brown and fork-tender. The garlic cloves will be soft and fragrant.
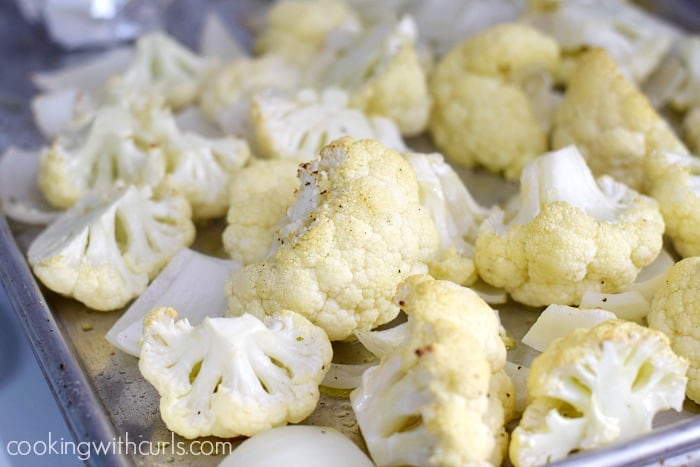
Remove from oven and place the roasted cauliflower and onion slices in a Dutch oven or large pot. Return the garlic to the oven if not done cooking. **Reserve a few small pieces of cauliflower for garnish**.
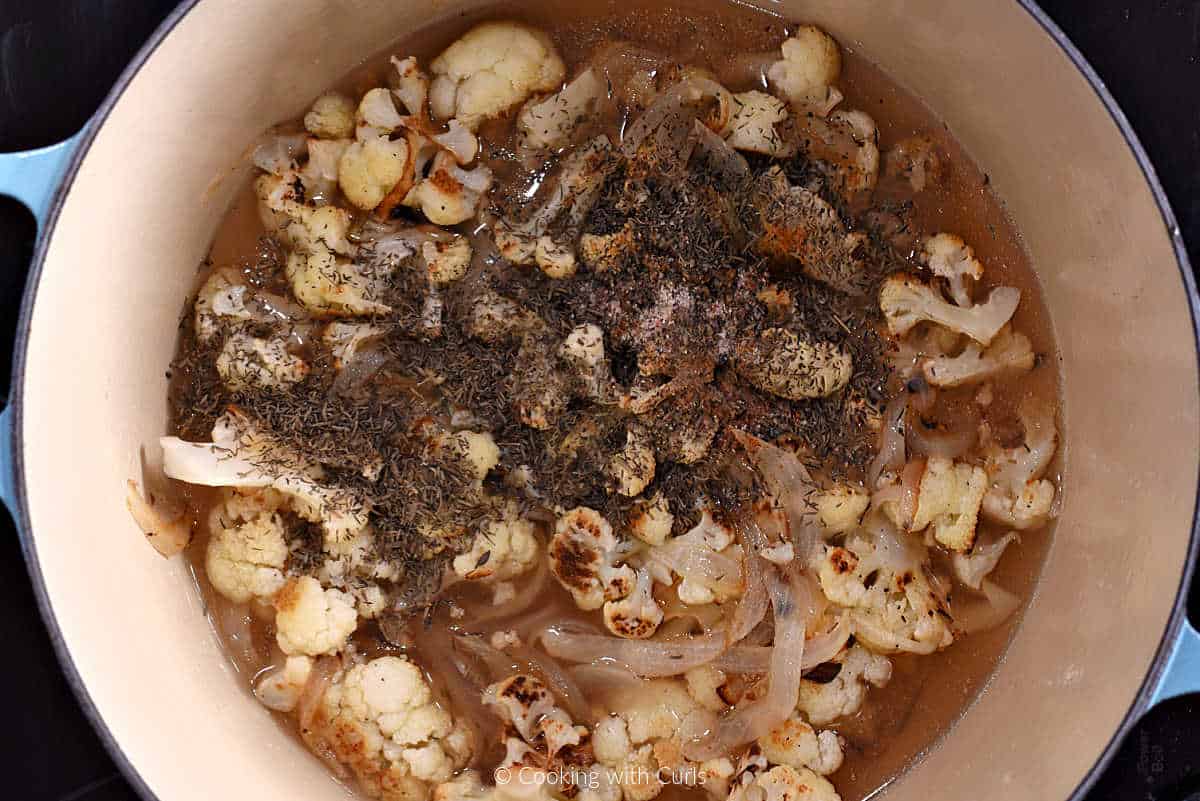
Add the broth, thyme, and cayenne pepper to the pot. Bring to a boil, then reduce heat to medium-low. Simmer for 10-15 minutes.
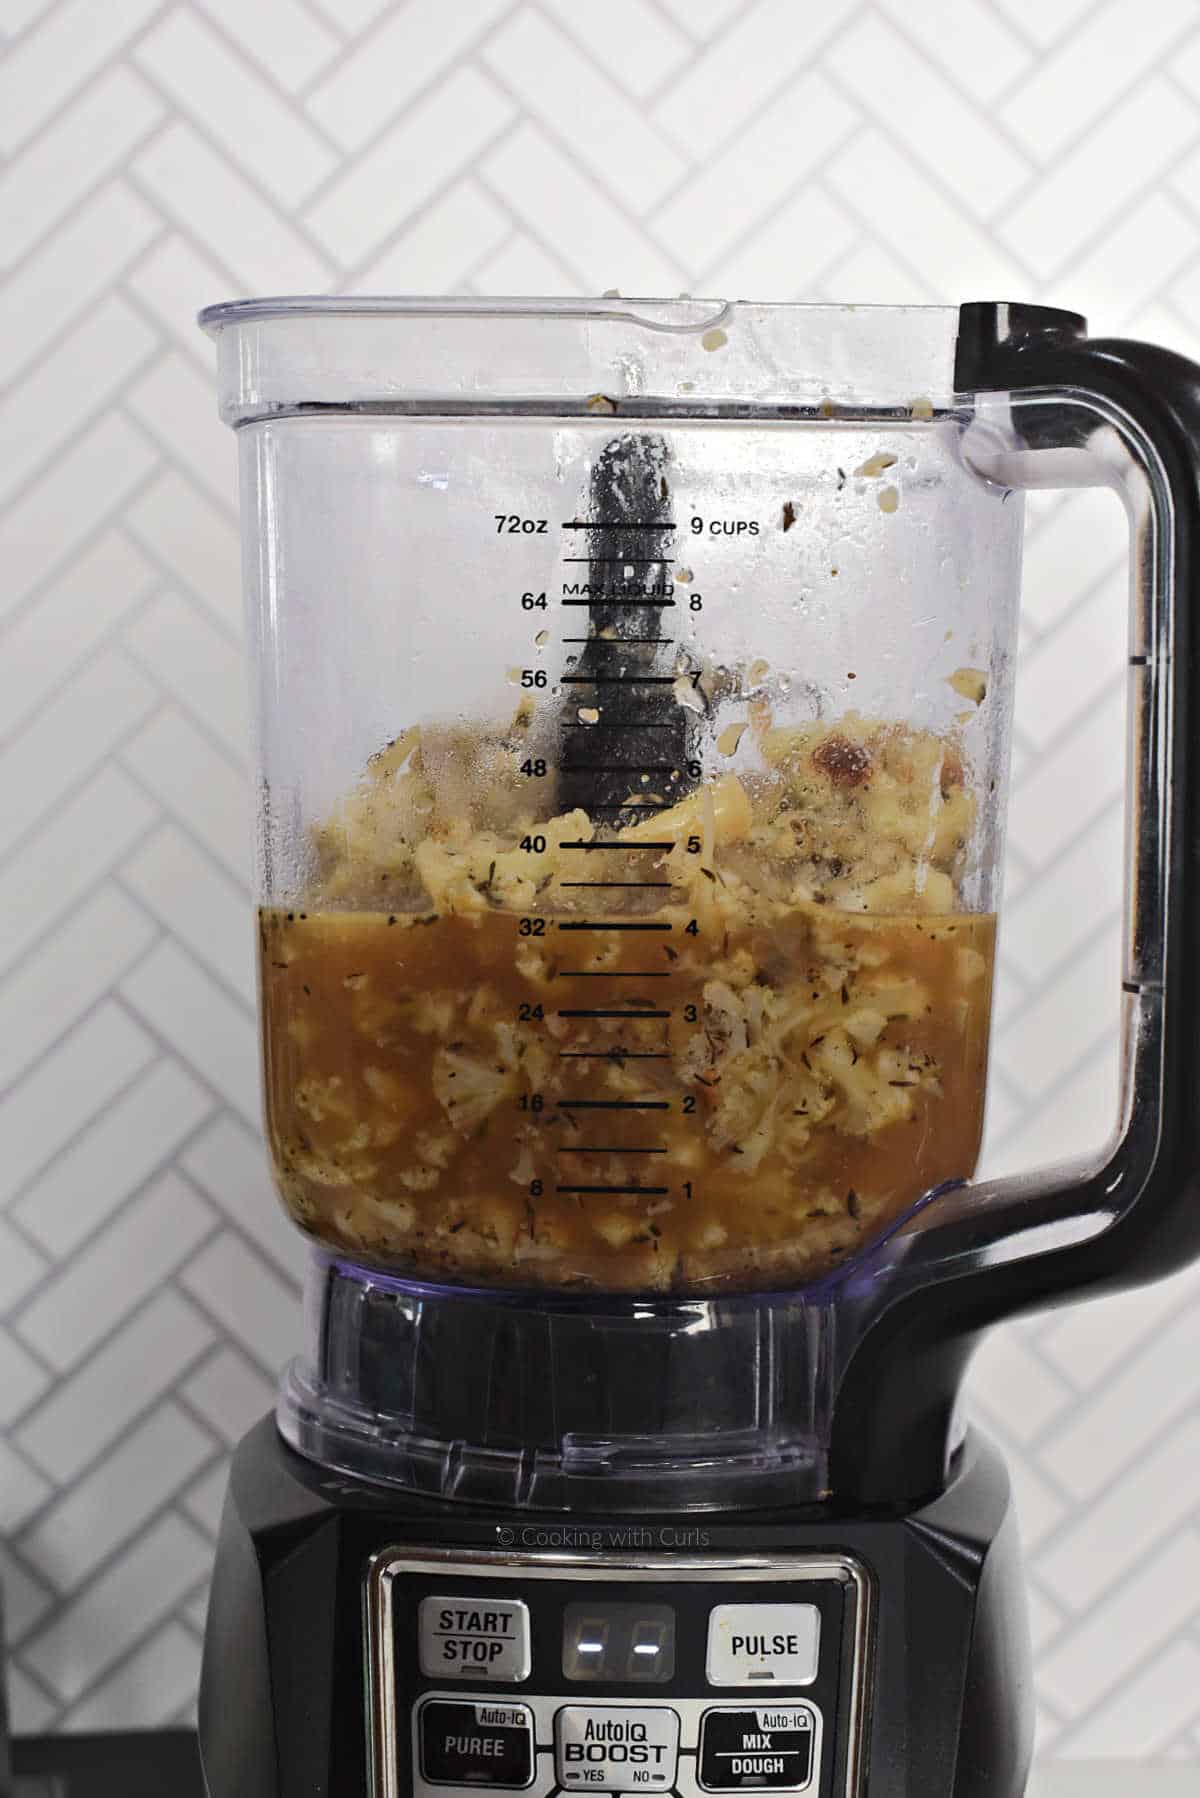
If using a countertop blender work in batches, don’t overfill it. Blend in small portions to avoid splatters.
Gently ladle soup into a blender, add the roasted garlic and puree until silky smooth.
Use an Immersion Blender: For convenience, you can blend directly in the pot. It’s fast and cleanup is easier.

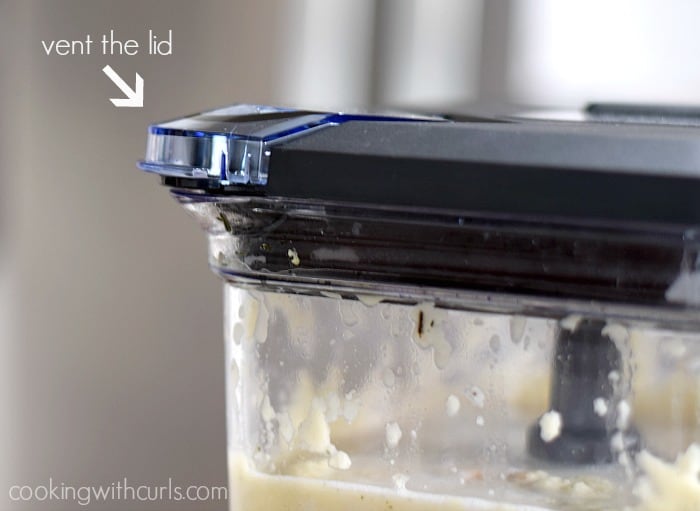
Note: When blending hot soups, make sure to vent the lid on the blender or your soup may explode.
If it’s too thick, add broth slowly until you reach your desired consistency. Taste the soup and add kosher salt and pepper as needed.
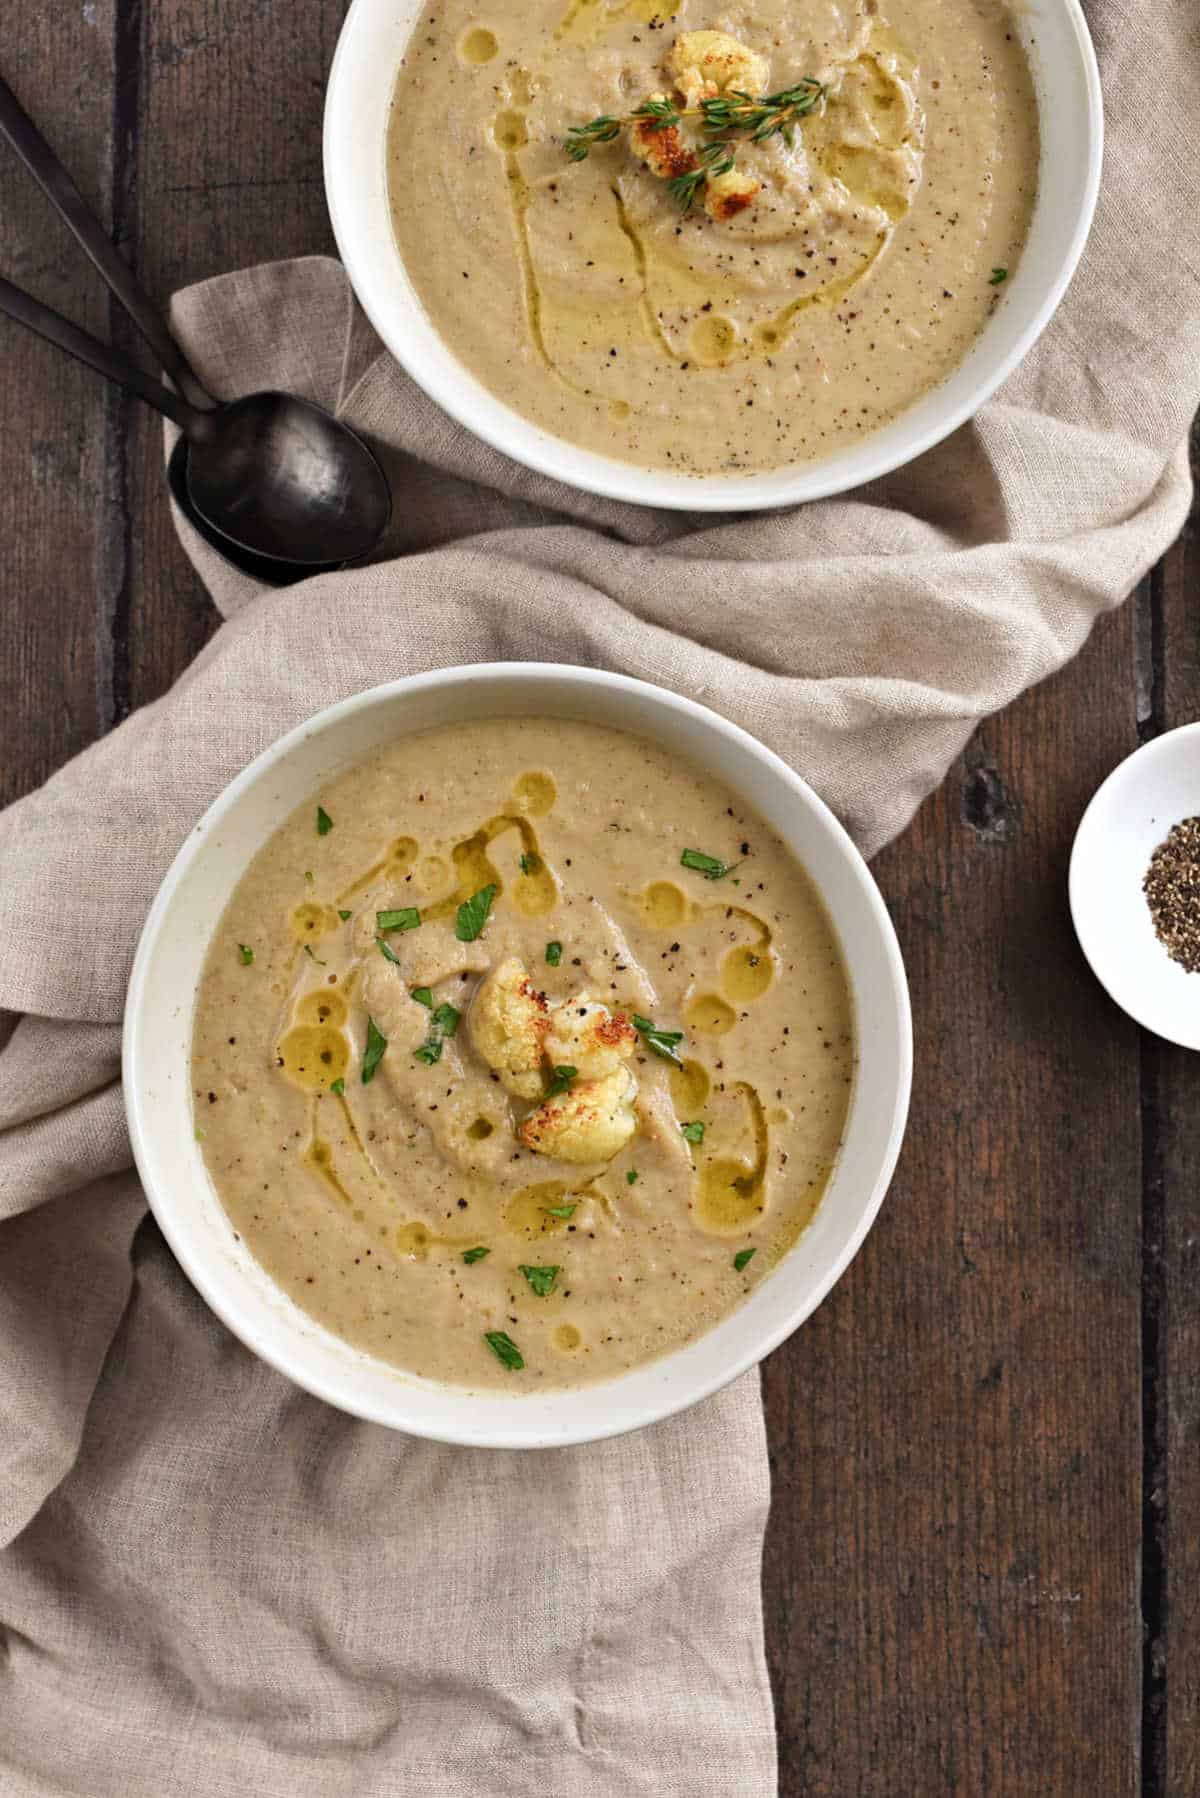
Top with freshly chopped herbs like parsley, crispy cauliflower pieces, and a drizzle of olive oil for a gourmet touch.
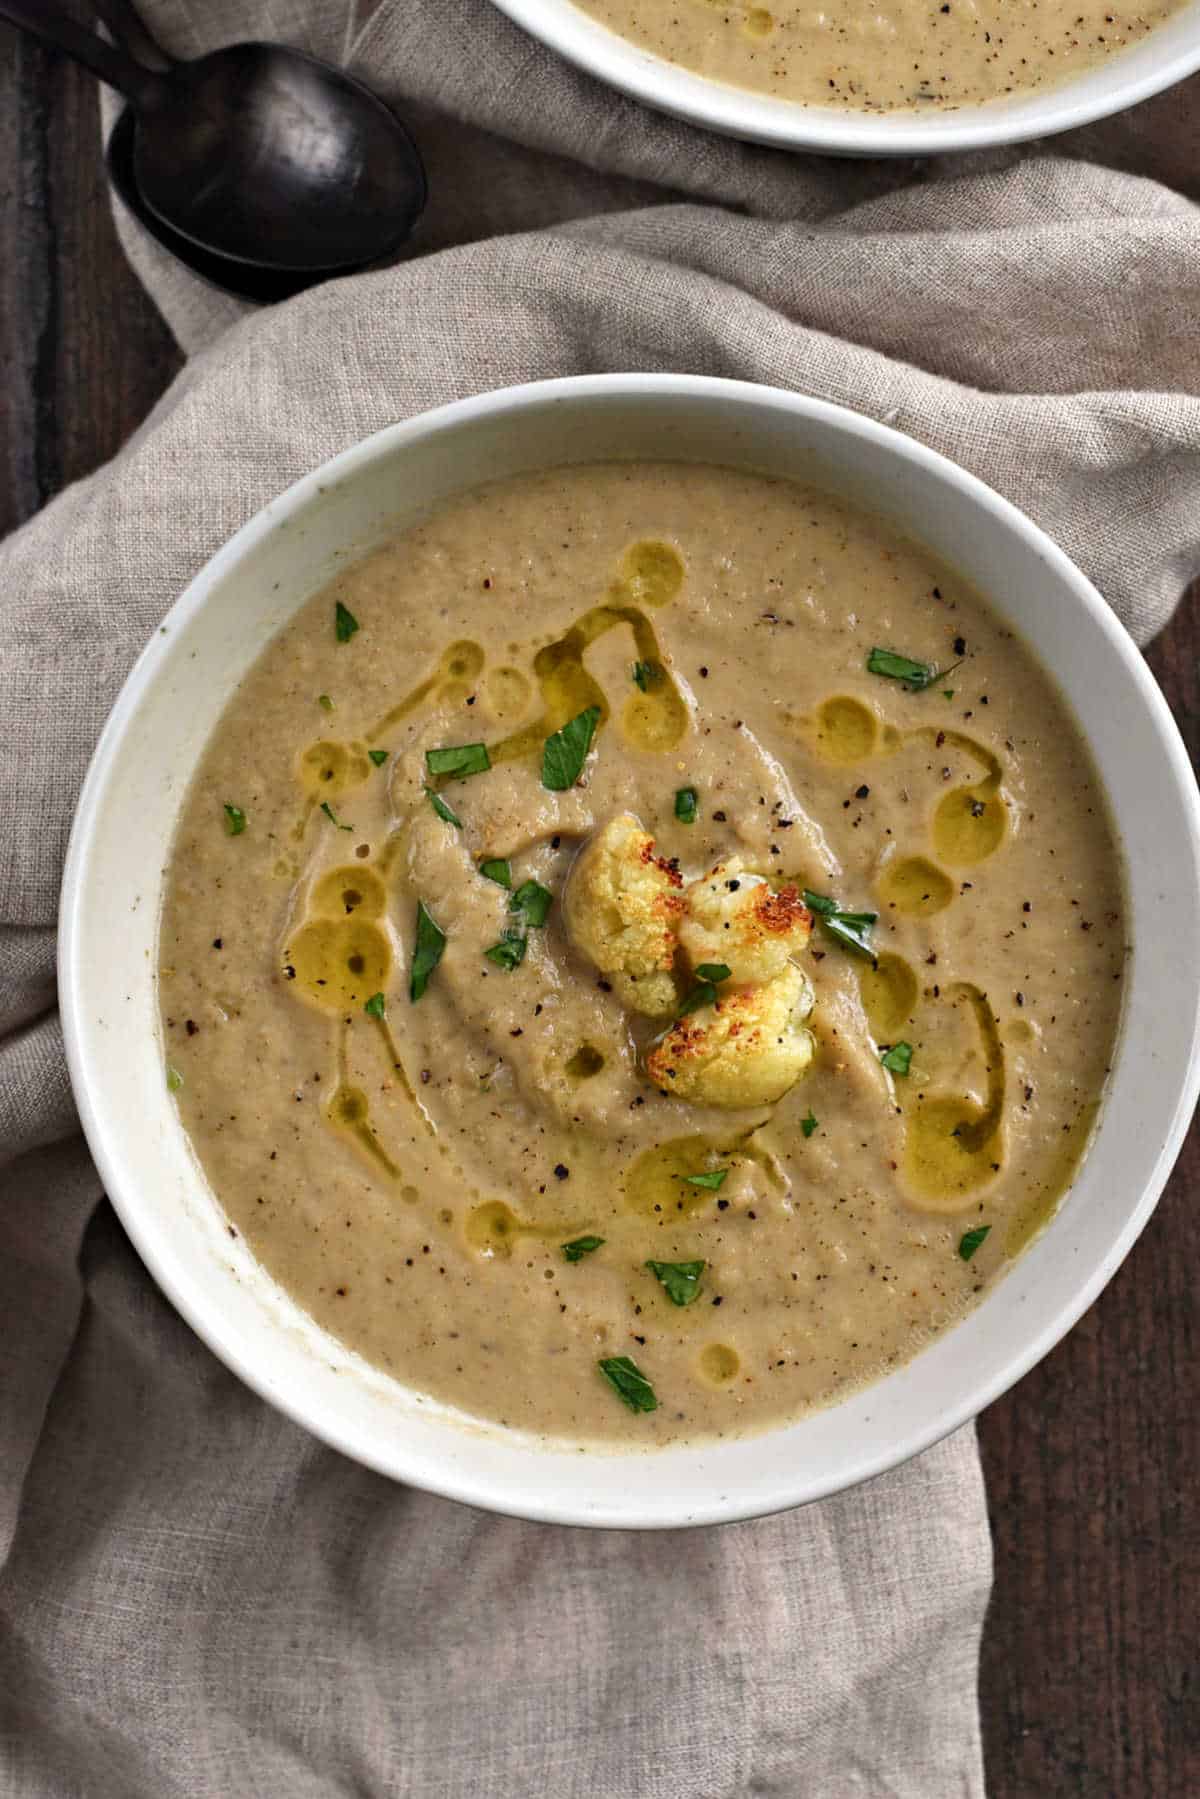
This creamy roasted cauliflower and garlic soup isn’t just another soup—it’s a true crowd-pleaser. No matter when or how you enjoy it, this dish combines simplicity with sophistication, offering comforting warmth in every spoonful.
Expert Tips
- How much do you love garlic? If you use the whole head of roasted garlic, your tongue will burn…it is pretty strong! I like mine that way, but your 4 year old might not. You can always use less, taste it, and add more if needed.
- I like my soup really thick, so I did not thin it at all with cashew milk. If using milk, pour the soup back into the pot and reheat as necessary.
- If not looking for a vegan soup, chicken stock adds a lot of richness to this soup.
- For those not looking for a “healthy” version, add heavy cream after the soup has been blended for a rich, decadent soup.
- The darker you roast your cauliflower, the darker your soup will be. The brand of broth will also affect the overall color.
Serving Suggestions
Rustic Bread or Baguette: Warm, crusty bread is a classic choice. Use it to scoop up the creamy soup or enjoy on the side.
Mixed Green Salad: Light and refreshing, a salad balances the soup’s richness. Add a lemon vinaigrette for more zest.
Garlic Knots: Soft, garlicky bread knots are close to irresistible and add another savory layer to your table.
Caesar Salad: A hearty Caesar with tangy dressing and crunchy croutons pairs beautifully with comforting soup.
Storage Tips
To keep your soup safe and delicious, proper storage is important. Start by allowing the soup to cool to room temperature, but don’t let it sit out for more than two hours.
Freezing Option: For longer storage, freeze the soup. Pour it into freezer-safe containers or resealable bags, leaving about an inch of space. Lay bags flat in the freezer for easy stacking.
Use Airtight Containers: Opt for glass or BPA-free plastic containers with tightly sealed lids. Mason jars also work well but leave some space at the top, as liquids expand when frozen.
Label and Date: Write the date on the container to track how long it’s been stored. This helps you avoid guessing games later.
Refrigerator Shelf Life: Store the soup in the fridge for up to 3-4 days.
Freezing can preserve the soup for up to 3 months without a big impact on flavor. However, cream-based soups can sometimes separate after defrosting. Consider stirring well before reheating to fix this.
Reheating Methods
When reheating leftovers, the goal is to bring your soup back to life without compromising its creamy texture or flavor.
Microwave Method
The microwave is a quick and convenient option, especially for individual portions:
- Transfer to a Microwave-Safe Bowl: Avoid reheating in the original storage container unless it’s microwave-safe.
- Cover Loosely: Use a microwave-safe lid or damp paper towel to prevent splattering while allowing steam to escape.
- Heat in Short Bursts: Set your microwave to medium power and heat for 1-2 minutes at a time. Stir between intervals to ensure even heating.
- Check the Temperature: Make sure it’s hot in the center.
Stovetop Method
For the best texture and flavor, the stovetop is your friend.
- Use a Small Pot: Place the desired amount of soup in a pot over medium-low heat.
- Stir Frequently: Stirring prevents scorching, especially for cream-based soups. If the soup has thickened, add a splash of broth, water, or milk to adjust the consistency.
- Simmer Gently: Avoid boiling the soup. Gently heat until steaming and thoroughly warmed through.
More Creamy Soups
- Creamy Parsnip and Apple Soup
- Creamy Pumpkin Soup (with canned pumpkin)
- Instant Pot Beer Cheese Soup
- Carrot Ginger Soup
Did you try this recipe? I’d love to see it!
Tag @cookingwithcurls on Instagram & Facebook and leave a ⭐️⭐⭐⭐⭐ review below!
Enjoy!!

Roasted Cauliflower and Garlic Soup
Ingredients
- 1 large cauliflower cut into chunks – about 8 cups
- 1 medium yellow onion sliced
- 1 bulb garlic with the top sliced off
- 3 tablespoons olive oil, divided plus more for garnish
- sea salt and black pepper to taste
- 3 cups vegetable stock or chicken stock
- .25 teaspoon cayenne pepper
- 1 tablespoon dried thyme
Instructions
- Remove the leaves and cut the cauliflower into evenly-sized florets. This ensures they roast evenly.
- Slice the top of the garlic bulb to expose the cloves. Keep the skin on; it protects the garlic while it roasts. Drizzle with olive oil and wrap it in aluminum foil.
- Preheat oven to 400°F (200°C)—this is the sweet spot for roasting.
- Place the cauliflower florets and sliced onion in a single layer on a baking sheet and toss with 2 tablespoons of olive oil, kosher salt, and pepper.
- Cook for 25-35 minutes. Stir halfway to ensure even browning. The garlic can roast right alongside, wrapped in its foil. The cauliflower should be golden brown and fork-tender. The garlic cloves will be soft and fragrant.
- Remove from oven and place the roasted cauliflower and onion slices in a Dutch oven or large pot. Return the garlic to the oven if not done cooking. **Reserve a few small pieces of cauliflower for garnish**.
- Add the broth, thyme, and cayenne pepper to the pot. Bring to a boil, then reduce heat to medium-low. Simmer for 10-15 minutes.
- If using a countertop blender work in batches, don’t overfill it. Blend in small portions to avoid splatters. For convenience, you can blend directly in the pot with an immersion blender. It’s fast and cleanup is easier.
- Gently ladle soup into a blender, add the roasted garlic and puree until silky smooth.
- If it’s too thick, add broth slowly until you reach your desired consistency. Taste the soup and add kosher salt and pepper as needed.
- Top with freshly chopped herbs like parsley, crispy cauliflower pieces, and a drizzle of olive oil for a gourmet touch.
Notes
- How much do you love garlic? If you use the whole head of roasted garlic, your tongue will burn…it is pretty strong! I like mine that way, but your 4 year old might not. You can always use less, taste it, and add more if needed.
- I like my soup really thick, so I did not thin it at all with cashew milk. If using milk, pour the soup back into the pot and reheat as necessary.
- If not looking for a vegan soup, chicken stock adds a lot of richness to this soup.
- For those not looking for a “healthy” version, add heavy cream after the soup has been blended for a rich, decadent soup.
- The darker you roast your cauliflower, the darker your soup will be. The brand of broth will also affect the overall color.
- Store the soup in the fridge for up to 3-4 days.
- See original post for all storage and reheating information.






I don’t have a good enough blender to do this. I’m thinking of getting an immersion blender because they are so easy to use right in the cooking pot. I love roasted cauliflower, so I would really enjoy this soup. Is it cold? It is 17 at the moment, so I’m afraid that is a big, “yes!”
Well you sold me on “if you use the whole head of garlic, your tongue will burn”. I always add extra garlic I can’t get enough 🙂
LOL, I love it! I’m with you, there is never too much garlic in a dish. 🙂
Maybe this is the most stupid question. But. Do you blend the garlic with the skin on?
You remove the skin first, Nana. 🙂
Ok I keep reading this over and over and it’s confusing me. Am I adding the garlic bulb with the cauliflower and onions, right? Then it says return the garlic to the oven. Like, for how long?
Place the garlic back in the oven for an additional 10 minutes while the soup is cooking.
Just curious… notes say this can be frozen for only up to a month. Why is that? Most things seem to freeze ok for a few months so am just curious why this one is much less time. Great soup, I love it so want it in the freezer always haha
It is just a guideline, Kayte. For best flavor, at least in my freezer, a month still tastes like the day it was made. I am so happy that you like the soup, and you are more than welcome to stock up your freezer. 🙂 Please come back and let us know how it tastes after a month and I will adjust my timing in the post!