Squid Ink Pasta with Lobster Cream Sauce
This post may contain affiliate links. As an Amazon Associate I earn from qualifying purchases. For more information, please visit my disclosure page.
Impress your date with this delicious Squid Ink Pasta with Lobster Cream Sauce, mushrooms, and basil. I know, I know it sounds a bit terrifying at first, but this meal is guaranteed to be a hit! This is another one of those restaurant meals that I had a million years ago that I just could not get out of my head.
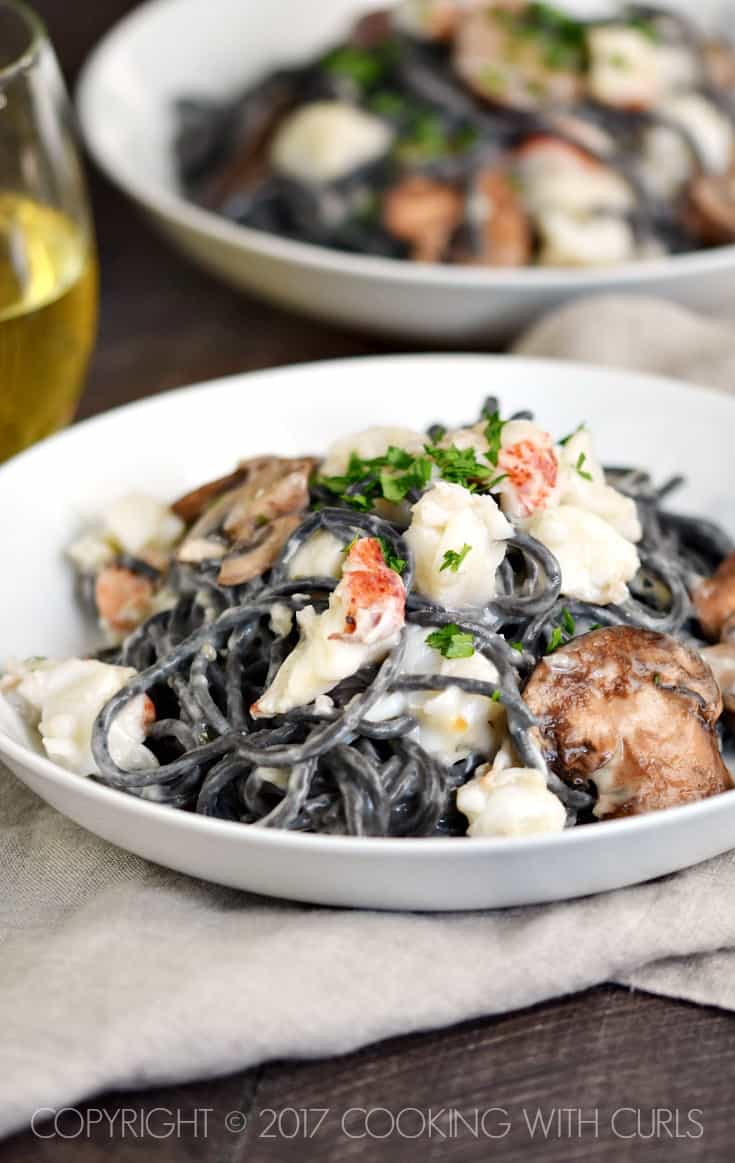
Well maybe not a million years ago, I’m not quite that old, LOL. Back when I lived in Cedar Rapids, Iowa, a new Italian Restaurant came to town. As is always the case with a new eating establishment, the wait was 2+ hours long because everyone in town HAS to be the first to try it!!
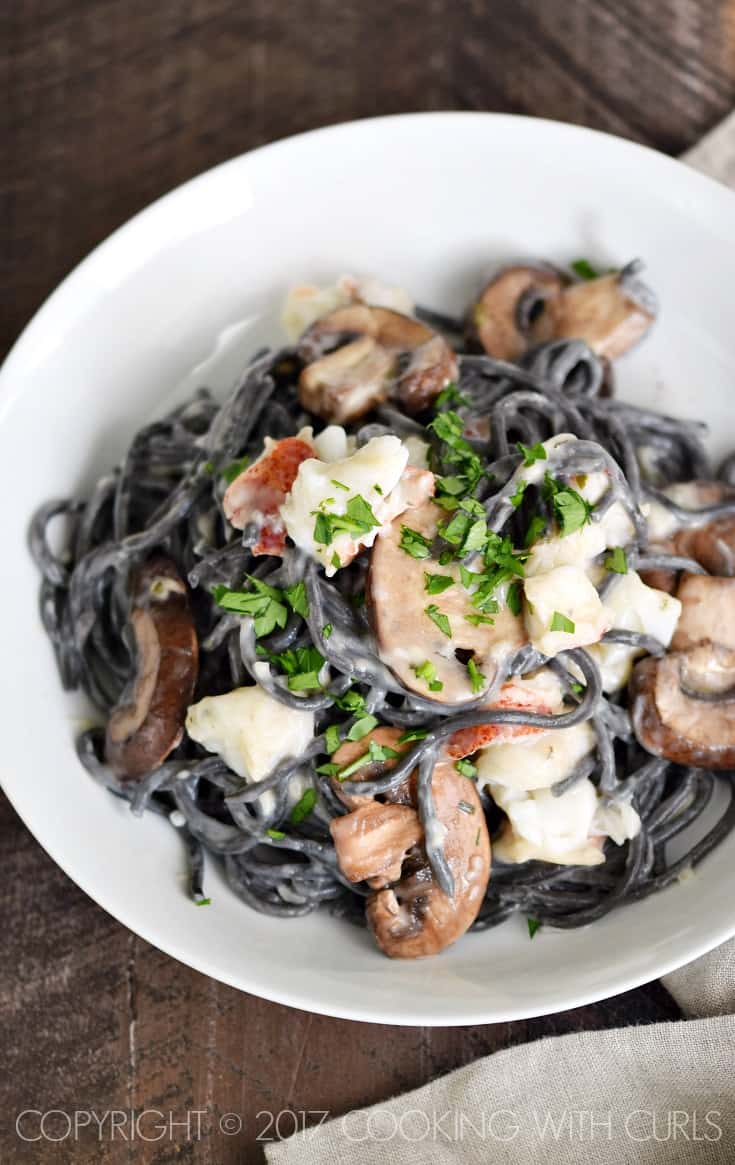
I scanned the menu and my eyes stopped on the Squid Ink Pasta with Lobster Cream Sauce. Squid Ink? Does it taste like fish? Does it taste like tar? Is this safe to eat??
Yes it is colored with squid ink. No I do not think it tastes like fish…or tar for that matter. And yes it is safe to eat. It looks really bizarre, but it tastes amazing! I do not remember there being mushrooms, but they are listed on the current Biaggi’s menu…so I added them…even though I am allergic to mushrooms. See how much I love you guys. 🙂
How to make Squid Ink Pasta with Lobster Cream Sauce:
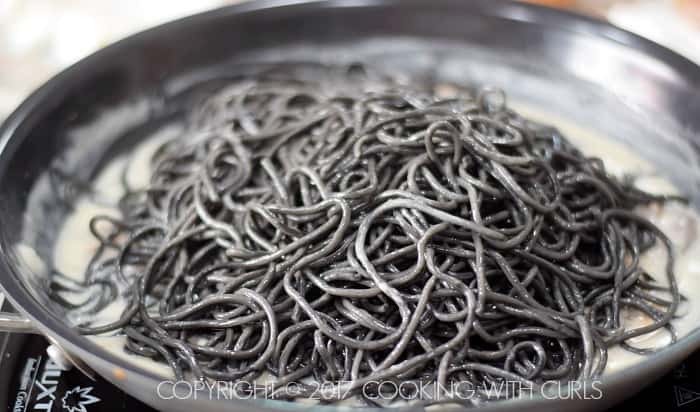
Let’s start by boiling some salted water in a large pot {at least 5 quarts}. When it comes to a boil, add the squid ink pasta.
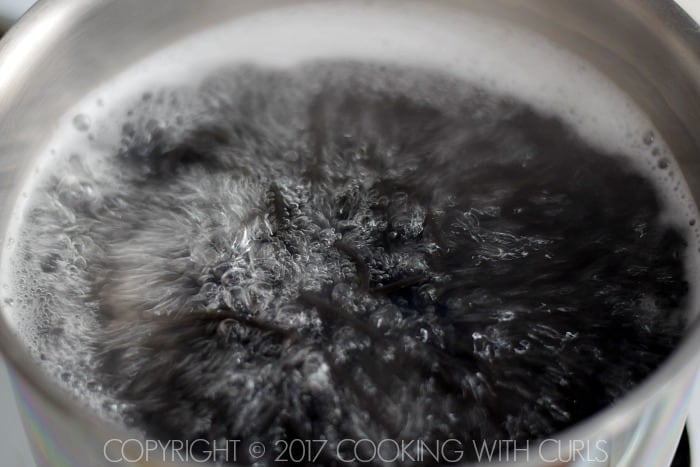
Cook according to package instructions. Mine took 11 minutes.
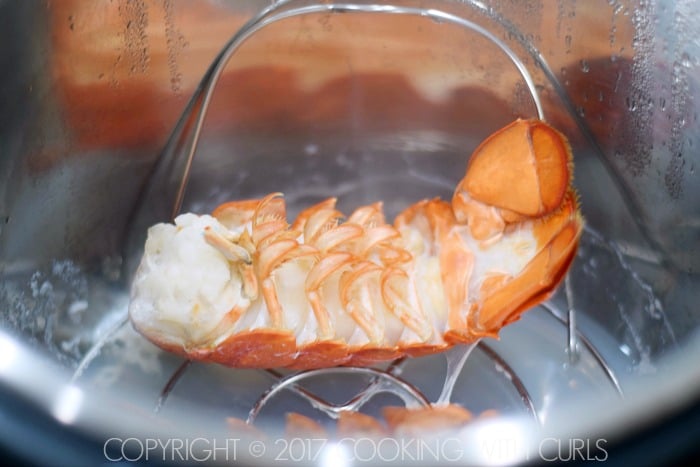
While the pasta is boiling, add 1 cup of water and two frozen lobsters to an Instant Pot.
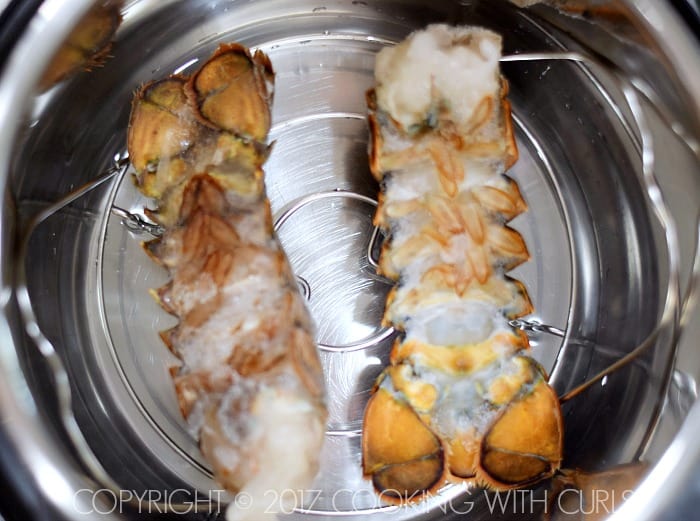
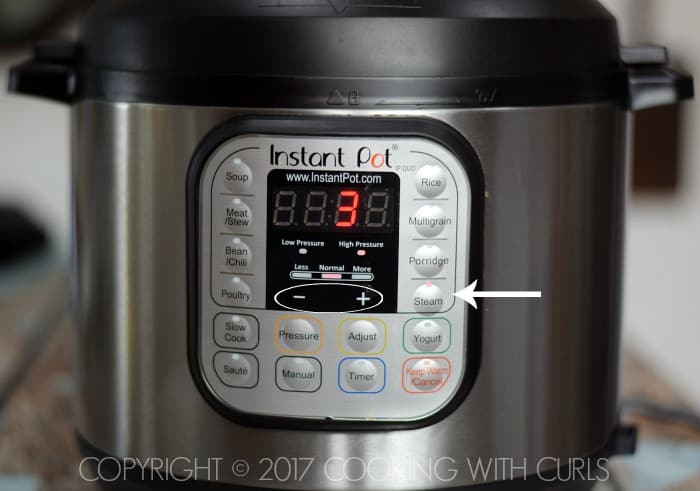
Secure the lid and make sure the knob is in the “Sealing” position. Press the “Steam” button and adjust the time to 3 minutes using the + and – buttons.
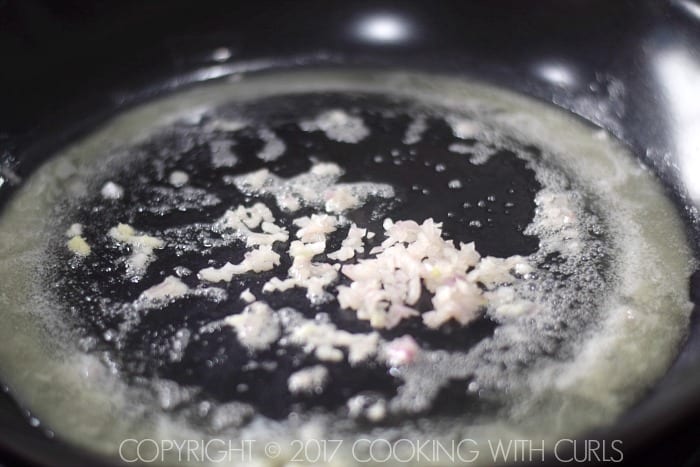
Melt butter in a large skillet. Add the shallots and cook for 2 minutes to soften.
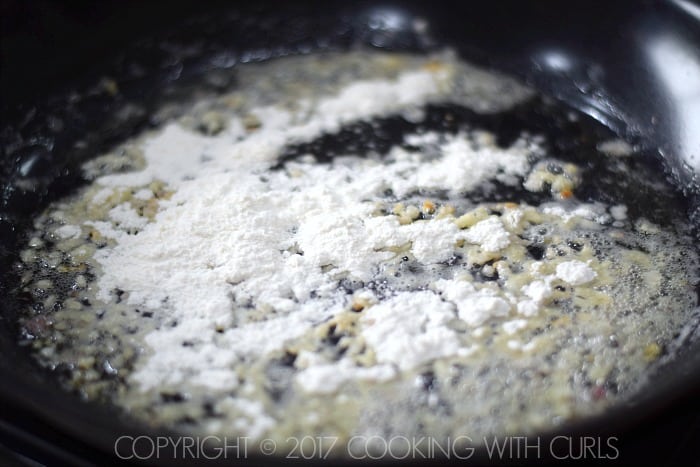
Add the garlic, stir and cook for one minute. Stir in the flour and cook for 2 minutes.
Add the warm milk and wine, stir to thoroughly combine. Cook until mixture starts to thicken.
Add the sliced mushrooms, basil, and thyme.
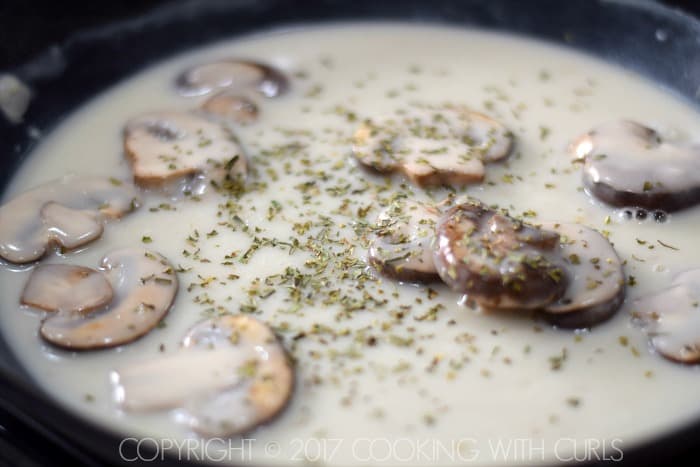
Lightly simmer for 4 to 5 minutes to cook the mushrooms.
When the time beeps, carefully release the pressure and place the lobsters in ice cold water.
Stir the Parmesan into the sauce. Drain the pasta and add it to the skillet.
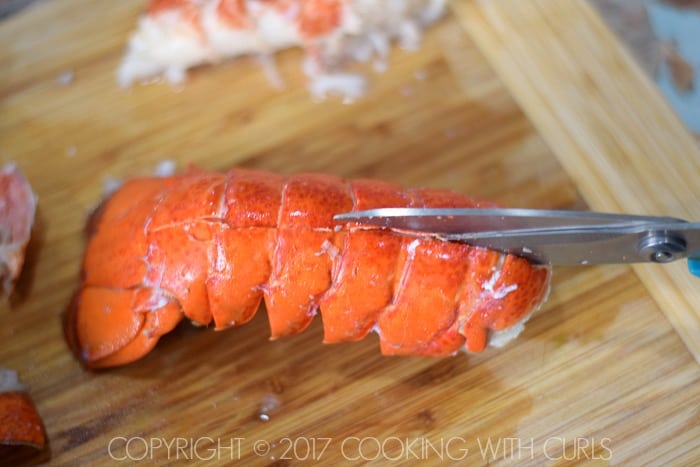
Cut the back of the lobster shell with kitchen scissors and remove the meat.
Chop the lobster meat and add it to the pasta.
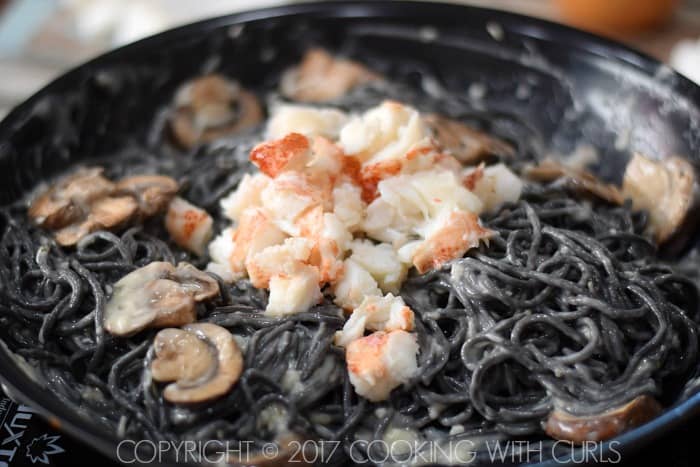
Add chili flakes {if using} and toss to combine.
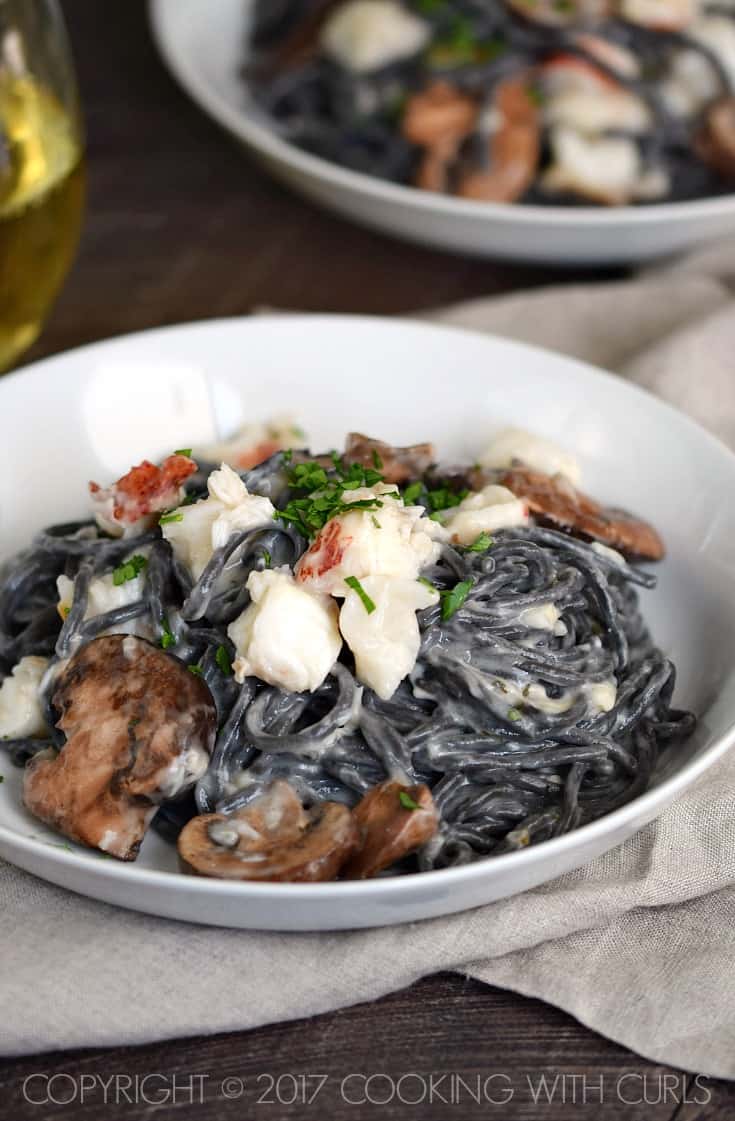
Funky pasta, earthy mushrooms, and tender lobster combine to create a delicious meal. Who wouldn’t love that?
How to boil lobster tails:
Bring a large pot of salted water to a boil. Reduce heat slightly and keep water at a gentle boil. Add the lobster tails and boil until they are bright red and their meat turns white and tender. It should take approximately 1 minute per ounce to cook.
Recipe Notes:
- You can purchase Squid Ink Pasta on Amazon {affiliate link} or possibly in your local grocery store if you live in a large city.
- I used CashewMilk because I have to! Feel free to substitute whole milk, or a combination of milk and half & half for an even more decadent meal.
- If you do not wish to use wine, substitute additional milk or seafood stock.
- Yes, you can cook the lobster earlier in the day and keep it chilled until ready to use. That would actually be a really good idea that I will remember for next time.
I thought about making the pasta from scratch…but by the time I purchased the expensive squid ink and spent the time making pasta, I realized that it was easier and probably cheaper to just buy the pre-made pasta!!
Serve with a dinner salad, or a fun Wedge Salad with Ranch Dressing.
More delicious Seafood pasta recipes:
- Double Shrimp Pasta
- Shrimp Linguine aka Shrimp Scampi
- Pasta al Tonno
- Shrimp Pesto
A glass or two of white wine, and lots of warm sliced bread with seasoned oil for dipping and you have yourself a romantic Dinner for Two in the privacy of your own home!!
Enjoy!!
Squid Ink Pasta with Lobster Cream Sauce
Ingredients
- 2) 5 ounce frozen lobster tails
- 1 cup water to steam
- 2 tablespoons unsalted butter
- 1 tablespoon shallots, minced
- 1 large garlic clove ,pressed or finely mined
- 2 tablespoons all-purpose flour
- 1 cup whole milk
- .33 cup white wine {or substitute seafood stock}
- 4 ounces mushrooms cleaned and thinly sliced
- 1 teaspoon dried basil
- 1 teaspoon dried thyme
- 8 ounces squid ink pasta, cooked and drained
- .25 cup grated Parmesano Reggiano
- chili flakes optional
Instructions
- Let’s start by boiling some salted water in a large pot {at least 5 quarts}. When it comes to a boil, add the squid ink pasta. Cook according to package instructions. Mine took 11 minutes.
- While the pasta is boiling, add 1 cup of water and two frozen lobsters to an Instant Pot. Secure the lid and make sure the knob is in the “Sealing” position. Press the “Steam” button and adjust the time to 3 minutes using the + and – buttons.
- When the time beeps, carefully release the pressure and place the lobsters in ice cold water.
- Melt butter in a large skillet. Add the shallots and cook for 2 minutes to soften. Add the garlic, stir and cook for one minute.
- Stir in the flour and cook for 2 minutes. Add the warm milk and wine, stir to thoroughly combine. Cook until mixture starts to thicken.
- Add the sliced mushrooms, basil, and thyme. Lightly simmer for 4 to 5 minutes to cook the mushrooms.
- Stir the Parmesan into the sauce. Drain the pasta and add it to the skillet.
- Cut the back of the lobster shell with kitchen scissors and remove the meat. Chop the lobster meat and add it to the pasta.
- Add chili flakes {if using} and toss to combine.
Notes
- You can purchase Squid Ink Pasta on Amazon {affiliate link} or possibly in your local grocery store if you live in a large city.
- I used CashewMilk because I have to! Feel free to substitute whole milk, or a combination of milk and half & half for an even more decadent meal.
- If you do not wish to use wine, substitute additional milk or seafood stock.
- Yes, you can cook the lobster earlier in the day and keep it chilled until ready to use. That would actually be a really good idea that I will remember for next time.





Oh my gosh Lisa, this looks amazing!!