Perfect Instant Pot Hard Boiled Eggs
This post may contain affiliate links. As an Amazon Associate I earn from qualifying purchases. For more information, please visit my disclosure page.

This is the ultimate guide to achieving perfectly cooked hard-boiled eggs using your Instant Pot. Learn the ideal cooking time, tips for easy peeling, and answers to common questions for flawless results every time.
Check out my Instant Pot Recipes page for even more delicious pressure cooker recipes, tips, and accessories.
Who loves Deviled Eggs?? I know I do, and so do my kids…but getting perfectly cooked eggs with easy to remove shells is hit or miss. I end up destroying several eggs while trying to pry the shells off!
Those days are over now that I have figured out how to make foolproof Instant Pot Hard Boiled Eggs using the 5-5-5 method!
- 5 minutes of cooking time on high pressure
- 5 minutes of natural release
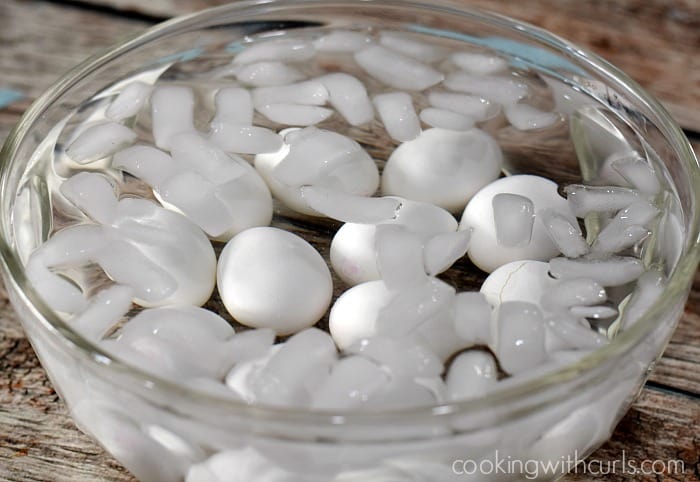
- 5 minutes in an ice bath
What you’ll need
- One dozen large eggs – white or brown eggs will work
- Water
- Ice cubes
Check out the printable recipe card below for the complete recipe and detailed instructions.
Why make hard-boiled eggs in an Instant Pot?
Using an Instant Pot for hard-boiled eggs can streamline the cooking process, produce consistent results, and make peeling easier, saving you time and effort in the kitchen!
It’s as simple as placing the eggs into an electric pressure cooker with some water, pushing a couple of buttons, and waiting for perfect hard boiled eggs to magically appear when done!
Be sure to check out my Instant Pot Poached Eggs recipe if you’re looking to make the perfect eggs with runny yolks up to jammy yolks.
How to make Instant Pot Hard Boiled Eggs
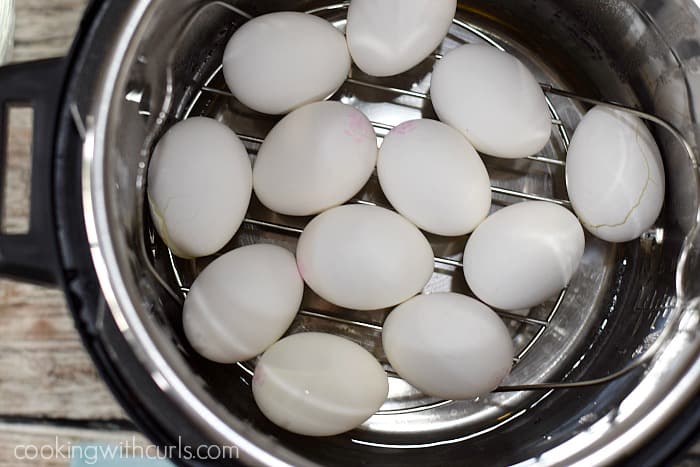
Place a trivet or steamer basket at the bottom of the inner Instant Pot liner. Place eggs on top of trivet, slightly stacking evenly if necessary.
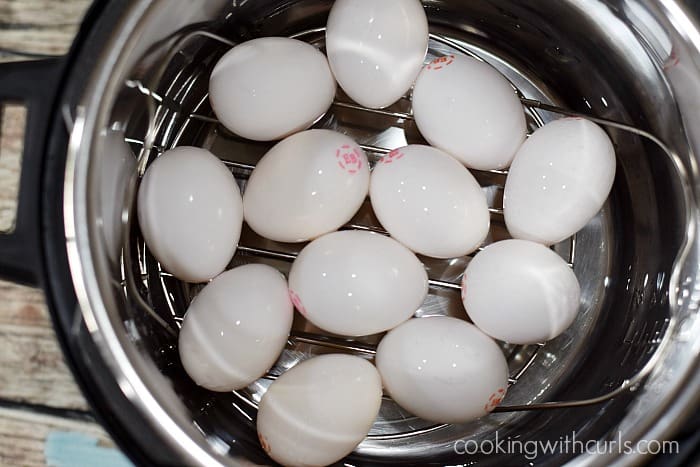
Add one cup of cold water to the pan. Secure the lid, make sure the knob is in the sealing position, and set Instant Pot for 5 minutes on Manual setting at HIGH pressure.
When the instant pot beeps, allow pot to natural release pressure for 5 minutes, then very carefully quick release any remaining pressure.
Scoop eggs out of pot and place in an ice water bath for 5 minutes to stop the cooking process.
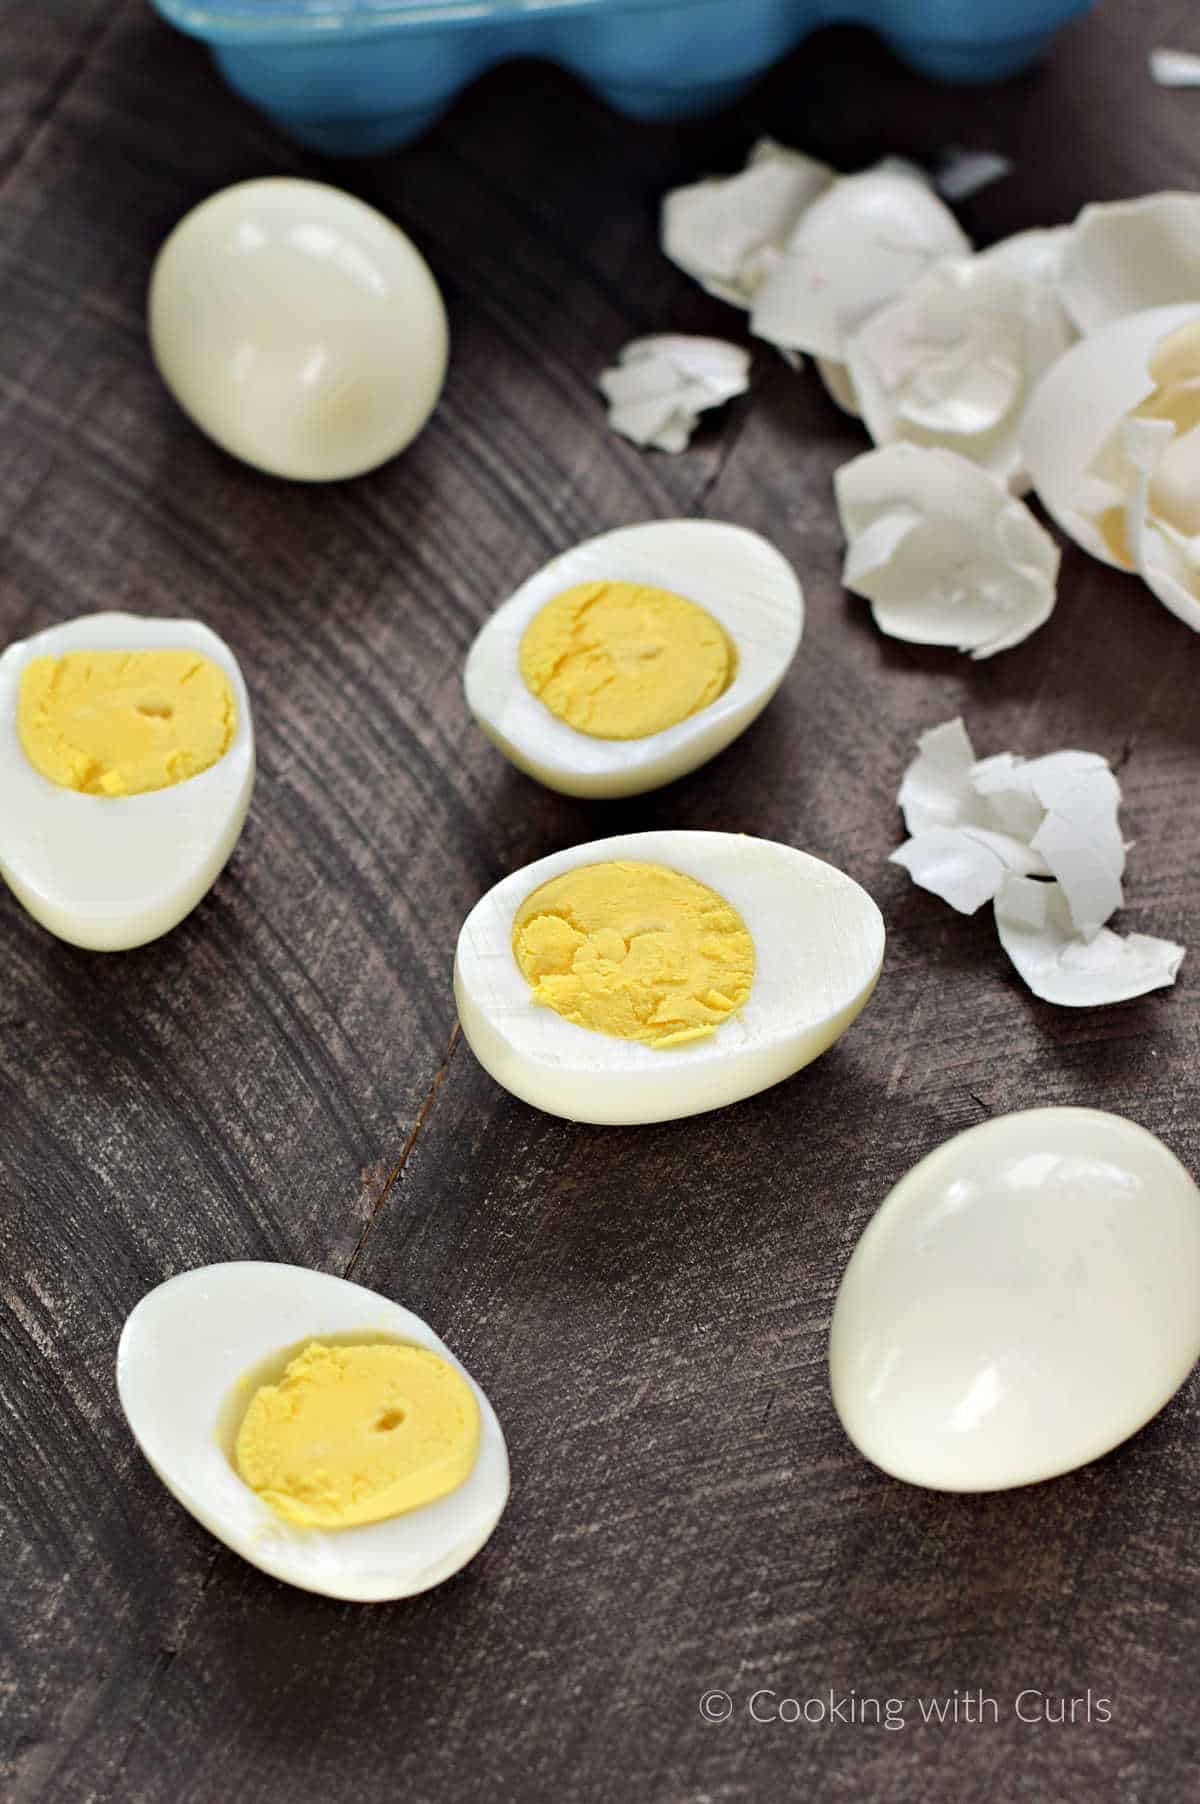
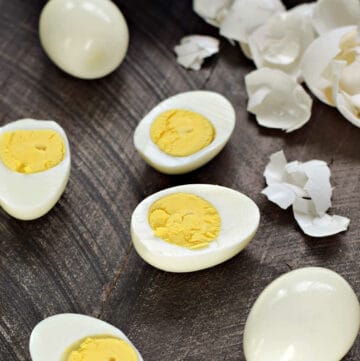
Remove from the ice bath and peel eggs or store in an airtight container in the refrigerator until ready to use.
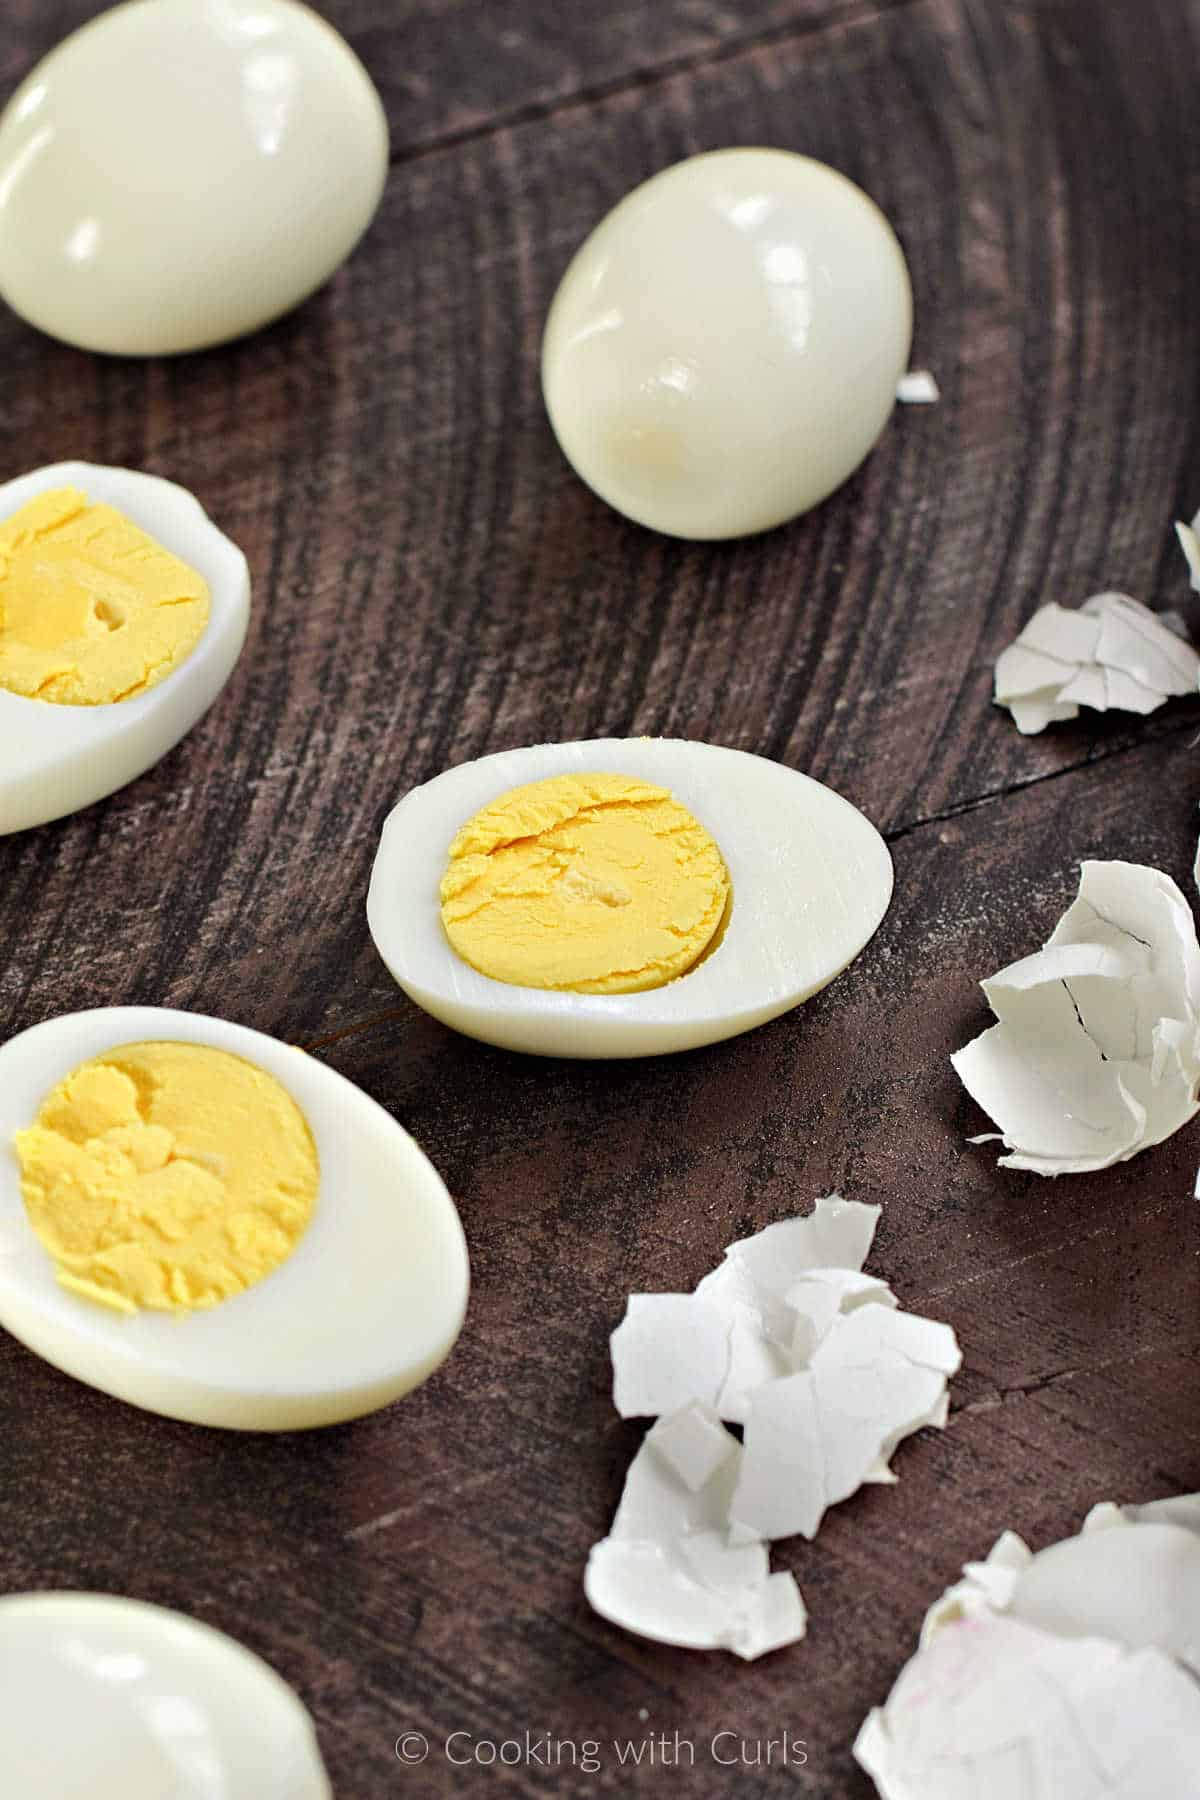
Can you believe it, not one single finger nail dented egg white in the bunch. The peels just slide right off every single time!
Expert Tips
contains affiliate/sponsored links
- I used my 6-quart Instant Pot and the trivet that comes with it.
- If your pressure cooker did not come with a trivet you can purchase this trivet with silicone handles on Amazon.
- Place a dish towel over the vent when you release the pressure/steam or you may burn yourself! Gently push on the vent and release the pressure in short bursts.
FAQs
Why do some Instant Pot hard-boiled eggs have a green ring, or greenish yolks?
The greenish or grayish discoloration that sometimes appears on hard-boiled egg yolks is a result of overcooking the eggs. It is a harmless but unappealing reaction that occurs when the egg yolks are exposed to high heat for an extended period.
Promptly cooling the eggs after cooking in an ice bath can also help prevent further cooking and the development of greenish yolks.
Can I stack eggs in the Instant Pot while cooking?
No, you should not stack eggs in the Instant Pot while cooking. It’s essential to arrange the eggs in a single layer to ensure even and consistent cooking. To cook a larger batch of eggs, you can place a stackable egg rack steamer inside your pressure cooker.
This will allow you to cook multiple eggs at once without stacking them directly on top of each other. The eggs should still be placed in a single layer within the steamer basket or egg rack.
What if I have an 8 quart pressure cooker?
Because the pot is larger, it takes longer to build pressure. All of that extra pressure building time is starting to cook the eggs before the timer starts. You will still cook on high pressure for 5 minutes, but you will then quickly release the pressure. Transfer to an ice bath to stop any additional cooking and you should be good to go.
How long do hard-boiled eggs last in the refrigerator?
Hard-boiled eggs can typically last in the refrigerator for about 1 week making them perfect for meal prep. For best results, allow eggs to cool completely before storing them in the refrigerator. Store hard boiled eggs in the shell to prevent contamination or drying out.
How can I ensure easy-to-peel hard-boiled eggs?
Use slightly older eggs. Eggs that are a few days to a week old tend to peel more easily than very fresh eggs. As eggs age, the pH level of the whites increases, making them less adhesive to the shell.
Immediately transfer the cooked eggs to an ice bath. The rapid cooling helps create a slight contraction between the egg white and the inner membrane, making peeling easier.
Gently tap the boiled egg on a hard surface to crack the shell all around. The shell will start falling off in your hand.
How do I adjust the cooking time for soft boiled eggs?
Cook eggs on High pressure for 5 minutes, then use quick pressure release.
What if my eggs are over or under cooked?
It may take some trial and error to get the timing perfect. If your eggs are under cooked, next time add a minute or two to the cook time. If they are over cooked, try subtracting a minute from the cooking time or reduce the natural pressure release time.
Recipes with hard-boiled eggs
- Classic Cobb Salad
- Mason Jar Cobb Salad
- Classic Deviled Eggs
- Bacon Potato Salad
- Spooky Halloween Chili
Did you try this recipe? I’d love to see it!
Tag @cookingwithcurls on Instagram & Facebook and leave a ⭐️⭐⭐⭐⭐ review below!
Enjoy!!
Instant Pot Hard Boiled Eggs
Equipment
- 6-qt Instant Pot
Ingredients
- 12 large eggs white or brown eggs will work
- 1 cup water
- ice + water for ice-water bath
Instructions
- Place a trivet or steamer basket at the bottom of the inner Instant Pot liner. Place eggs on top of trivet, stacking evenly if necessary.
- Add one cup of cold water to the pan. Secure the lid, make sure the knob is in the sealing position, and set Instant Pot for 5 minutes on Manual setting at HIGH pressure.
- When the instant pot beeps, allow pot to natural release pressure for 5 minutes, then very carefully quick release any remaining pressure.
- Scoop eggs out of pot and place in an ice water bath for 5 minutes to stop the cooking process.
- Remove from the ice bath and peel eggs or store in an airtight container in the refrigerator until ready to use.
Notes
- I used my 6-quart Instant Pot and the trivet that comes with it.
- If your pressure cooker did not come with a trivet you can purchase this silicone version here.
- Place a dish towel over the vent when you release the pressure/steam or you may burn yourself! Gently push on the vent and release the pressure in short bursts.
- Hard-boiled eggs can typically last in the refrigerator for about 1 week.
- To cook a larger batch of eggs, you can place a steamer basket or an egg rack inside the Instant Pot.
- Eggs that are a few days to a week old tend to peel more easily than very fresh eggs.


I tried these this morning and they ROCKED! Thanks for sharing.
That is awesome Angela, I am so happy to hear that!!! Thanks so much for letting me know. 🙂
Are you calling a pressure cooker an “Instant Pot”? Confused. Sounds great but, whats an instant pot?
Hi Lori, Instant Pot is a brand of pressure cooker that is really popular right now. Any pressure cooker will work, but the buttons and some functions will be different. If you click on any of the Instant Pot links in the post it will take you to a page on Amazon where you can read about them. 🙂
I also have an Instant Pot and I love it! I just used your method (I fit a baker’s dozen on my tray…woohoo!) They came out great! I peeled one and I’m having a small egg salad sandwich now..yum! The rest will go in my fridge for me to enjoy later! Thanks for sharing..this is foolproof and easier than the stovetop method of bringing to a boil and letting it sit covered….this is just so easy!
Thank you Tania, I am so glad to hear that you like them!!
Again… Made a baker’s dozen. I had to come back and make sure I had the foolproof way. 🙂 My vegetarian friends can’t believe how easy I make my hard boiled eggs. That just need to get an Instantpot.
This was my first experiment using my insta pot and the eggs did turn out great. I however, did use brown organic farm raised eggs and the shell was still a little rough to peel. I believe next time I’ll cook them for about 6-7 minutes instead. Nonetheless, thank you for such a wonderful beginners recipe.
I was wondering about that myself when I made mine, so I went with the white shells just in case. I guess I should try brown eggs a few times and add my findings to the recipe. Thanks so much for the heads up. 🙂
The ease of egg peeling in my experience is to do with the age of the eggs. Fresh eggs hard-boiled do not peel easily. I usually buy my eggs, let them sit for a week and then hard-boil them and whether it’s in the instant pot or on the stovetop, they’re much easier to peel when they are a week old.
brown eggs” straight from the chickens” eliminate the need to buy and store ahead of time. I did the buy ahead before instant pot but now cook a dozen eggs and then immediately put them into ice bath. I store them in shell up to a week but always have enough for a sandwich or devilled eggs or a quick, healthy snack.
I just hard boiled (instant pot method) some egged fresh from the store and they peeled like a dream. I couldn’t believe it as I also always let my eggs age before hard boiling. Not anymore!
My six 6t Instant Pot has an EGG setting. Has anyone tried that? Instruction booklet is no help on the Egg button/setting.
Mine does not have an Egg setting, so I can’t try it…but now I’m jealous and want an Egg button. 😉 I would give it a go Jenny and see what happens.
I got an IP for Christmas and used your recipe for IP hard boiled eggs. I used the egg button on my IP, which is for 5 minutes, and I allowed the 5 minute natural cool down then I released the rest of the steam. I had a mix of white and brown eggs. The white eggs pealed so much easier, but the brown weren’t that hard. I will never boil my eggs the regular way again. I love my IP. Thank you for your recipe.
So frustrating for me too, my pre-set there is no mention of adding water to the inner pot for egg setting. I read posts and noticed that all users without the ‘egg’ pre-set button all add a cup of water to the pot. Now I just did my first hard steamed egss and it works.
OK I’m very new at this but how do I set it to high pressure? I have the instant pot burn can’t seem to find a way to adjust the pressure. ? Help??
Hi Adrienne, Press the “Manual” button, then look to see if the “High Pressure” light comes on. If not, press the “Pressure” button to toggle between the two and you should be good to go. 🙂
What if I don’t have a trivet with mine?
Well Geri that is a bummer! A metal or silicone steamer basket would work if you have one of those that fits inside?? Otherwise you might want to purchase one, they are really hand to have for other recipes as well. 🙂
They actually sell silicone egg trivets! Just saw one to at Bed Bath & Beyond.
Have you found anything out about cooking more than one layer and using “colored” (brown, green, etc) eggs? I need to do a heap and want to know if I should do batches or can do them all in one go. And I have multicolored eggs from our favorite local and diverse flock. 🙂
Apparently you can cook as many eggs in the Instant Pot that you can fit inside! Same 1 cup of water and same cooking time, BUT I have not personally tried it so I’m just going by what others are sharing on Facebook. The color of the eggs does not matter, or so I’m told. 😉 Good luck Sara!
I cooked 18 eggs yesterday following the directions as you posted and they are perfect! No green ring inside, peeled easily and yolk perfectly done.
That’s awesome Elaine!! Thank you so much for letting us know. 🙂
Hey Lisa! I just purchased my IP and I “think” I followed you instructions so I was surprised when many of the dozen cracked and one even hard boiled itself about two and a half inches long in a tube shape. The whites appear beige but I opened ole oblong and it was how it should be on the inside. Of note, the shells had some camel colored areas on the inside. Where do you think I went wrong? Should the eggs have been room temp before I gave it a whirl? I have canned thousands of quarts/pints with a gauge pressure cooker that was 35 years old when I got it in 1989. This new thing is FREAKING ME OUT! Quick release…scary stuff! Thank you in advance for your thoughts.
Sorry Deb, I have absolutely no idea why your eggs did that. I have heard other people talking about it happening, but never a reason why.It does not matter if the eggs are cold or room temperature, it will just take the IP a bit longer to build up steam so the cooking time does not change. I agree, quick release freaks me out too!!
so is it 5 min high pressure and 5 more minutes with pot releasing pressure naturally?
Yes Tina, that is correct.
Lisa,
I love my ip. When cooking hard boiled egg using 5,5,5 method my eggs are not cooked all the way. Yokes
Are not cooked all the way. Help!
Each IP seems to have a mind of it’s own. Some people swear by 5-5-5, other’s say 6-5- no ice bath. I’m afraid it will be trial and error to figure out, Pamela. I would suggest cooking one or two eggs for an additional minute and see if it works for you, or leave them longer while the pressure is releasing until you figure out how your pot cooks them. 🙂
Just wondering if you are at a high altitude, Pamela? I grew up in Missouri at 2000+/- feet and my mom told me to boil eggs for 10 minutes, no more, or I’d get a green ring around my eggs. I now live at 5600 feet and I boil for 16 minutes every time or my eggs are nowhere near hard-boiled. (Our water boils at 209/210 degrees up here — it almost takes too much math to bake!)
Hi!
Would you suggest peeling before storing in the refrigerator? How long will they keep that way? I made a large batch, my family and I ate several right away, perfect! I stored the rest in the refrigerator, still in the shells. Then the next day I peeled and all the eggs had a green ring around the yolk.
I store mine in the shell for about a week. Raw are good for a long time, so I figured cooked should be as well. 😉 As for the green ring, that seems to be hit or miss with several people and I am not sure how to avoid it.
I experimented with changing the cook time to 3 minutes on high pressure. Still got a prominent green ring the next day.
Then I tried 5 minutes on low pressure, quick release, cold water bath. Delicious texture. Fully cooked, didn’t taste as dry as previous methods I’ve used. The next day, there was only a slight tinge of the green ring around the yolk.
I used organic free range brown eggs & cooked a dozen.
Thank you so much for this! My husband and son gave me an Instant Pot for my birthday a few days ago. I was scared to use it but, this was so easy. The eggs were really easy to peel and they were perfectly done. Thank you!
Where should the steam release handle be positioned while cooking? Sealing or Venting?
Yeah… I’m new to this, too.
Hi Penny, it should be in the Sealing position while cooking or it cannot build steam. Venting is to make all of the steam go away so you can open the lid. 🙂
I just did my first set of eggs in my instant pot, and I’m in love! I did 12 min low pressure, and they turned out absolutely perfect! My only question is how many eggs can you do? I did 8 as that’s all I had, but I’m wondering for when I make large recipes and such. Is it okay to stack the eggs on themselves to fit more, or do I need to stick with one layer?
You can stack up as many eggs as you like, Kim. Just make sure it doesn’t interfere with the lid closing, LOL
I do 15 at a time on the high 5-5-5 perfect every time
This was the first time I used the pot. the dozen eggs came out perfect. BUT I noticed some small dark spots on the bottom of my beautiful stainless steel pot. I wash it gently with soap and water but the spots are still there. has anyone else had this happen?? Should I use a different cleaner?
I think that is pretty common, Jean. I have heard people say that use Bar’s Keeper to clean theirs, mine just has weird spots….and it won’t affect the way it cooks or how the food tastes. 🙂
White vinegar, w.iped full strength, did the trick for me. I suspected the tiny spots were residue from the eggs.
Awesome tip, thank you so much!!
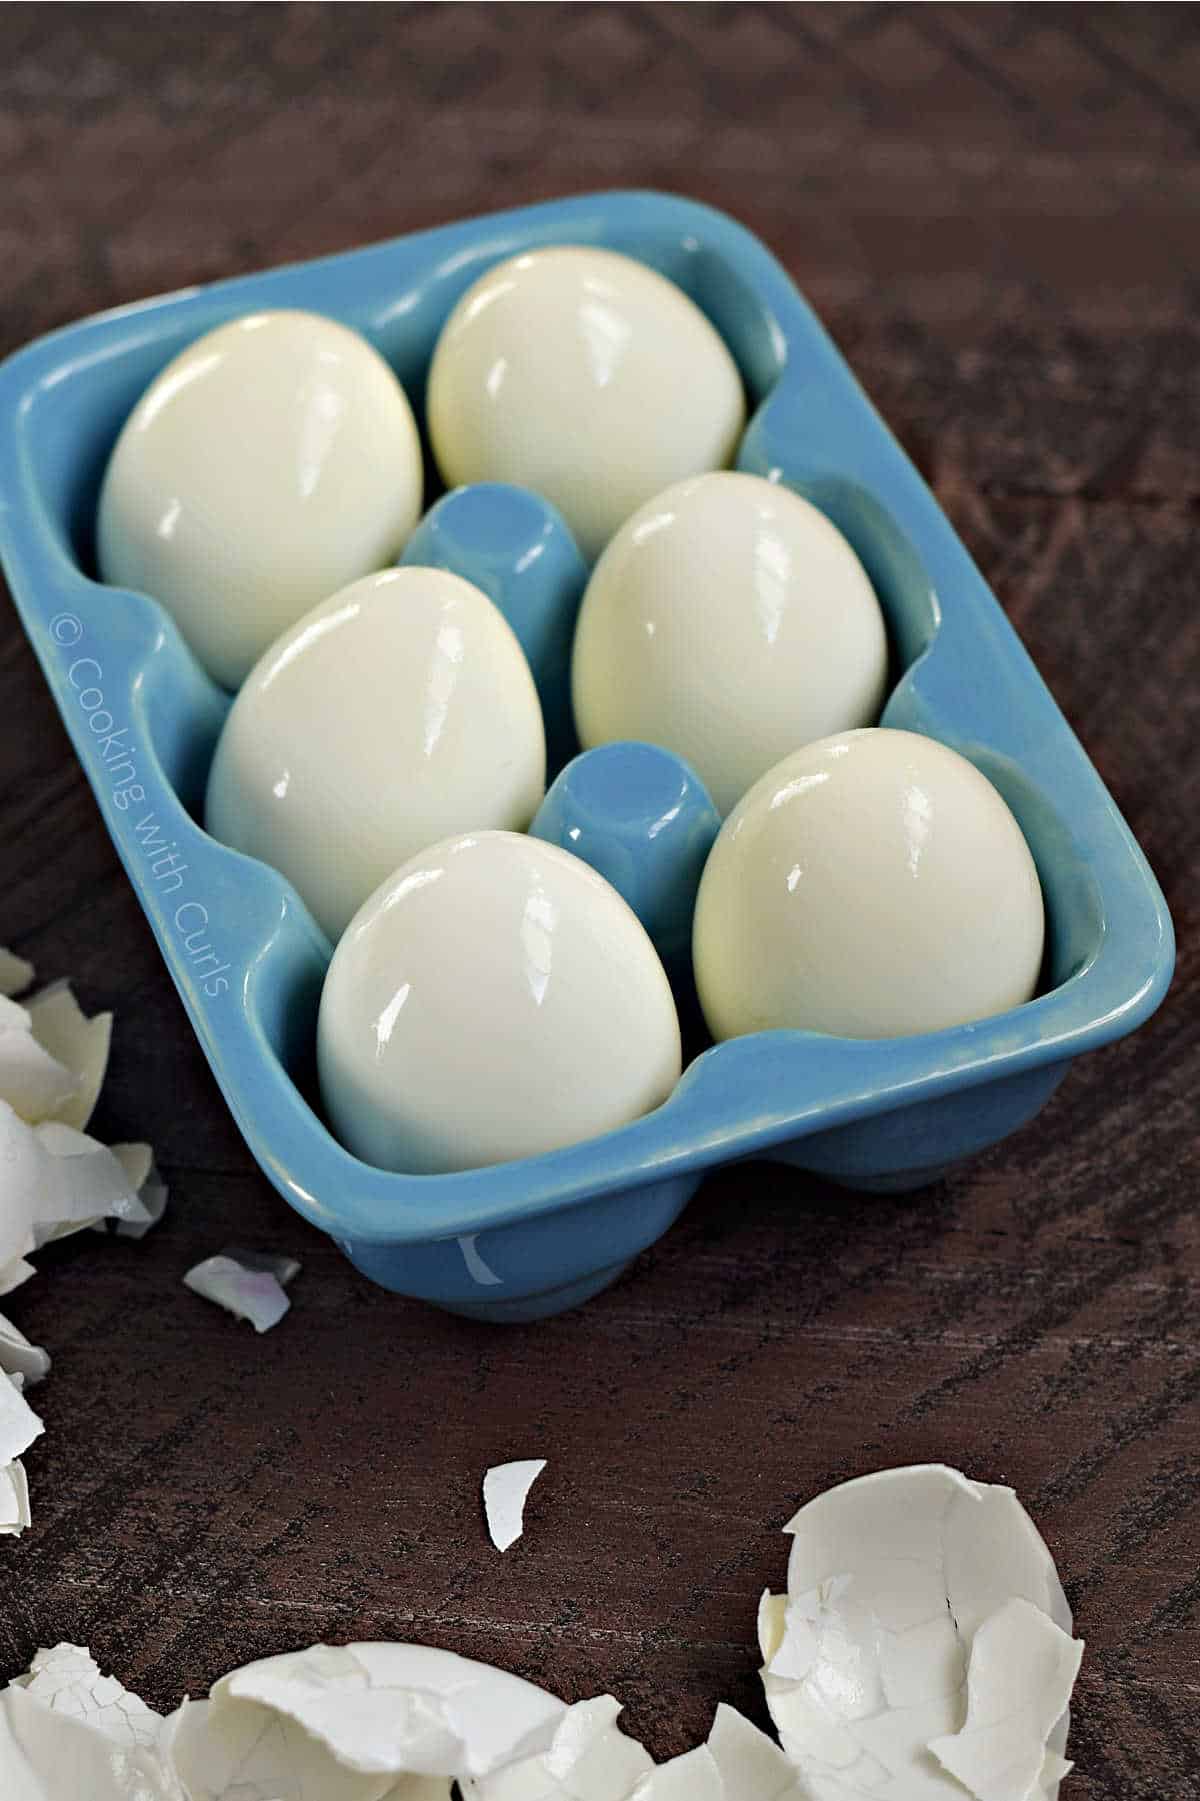
I love your blue egg dish, where did you get it? Also the eggs turned out perfectly thankyou.
I am so glad they worked for you Natalie!! It is a turquoise Fiesta egg plate that I bought on ebay years ago, but they also sell them on Amazon.
I cannot wait to try this! Thank you. One question, are the eggs rubbery (whites especially)? I’ve tried steaming them and although it works perfectly, the eggs are not the normal boiled texture.
They tasted the same as regular hard boiled eggs to me, Lea…but that’s me others may feel differently.
What size eggs did you use? The 6 qt instant pot manual says the Eggs button is calibrated for XL eggs
We’re the 12 eggs in your directions all XL or Large?
I used large eggs, Lyn on the Manual setting.
Agreed, easy and perfect outcome.
Works perfect every time! Thank you so much!!
I am so happy to hear that, Eileen! Thank you. 🙂
I followed instructions as shown and my eggs weren’t cooked all the way through, and didn’t peel right off after the ice bath, so I had to toss a dozen eggs out. How much longer should I cook them for?
Each pot works a bit differently, Elvira so you will have to try different times to find the right combination for you. I have seen people swear by cooking for 2 minutes and natural release for 10 minutes, and others that swear by cooking for 6, releasing for 6, and ice bath for 6. I wish they all worked the same, it would be so much easier!
A comment for those who found their eggs weren’t completely cooked: I realized after trial and error that I needed to adjust the cooking time for different-size eggs. Five minutes seems fine for large eggs, six for extra-large, seven or eight for jumbo. And I have cooked as many as 14 eggs at one time.
After the 5 minutes when I do the natural pressure release do I turn the Instapot off while it is naturally releasing?
Hi Allison, no you do not need to turn the pot off while it is releasing.
Best way I’ve found in 45 years. But my large eggs must not be so large as I do 4 min, 4 min, 4 min. And if you wash your eggs first and and cubed potatoes, you have a great start to potato salad 🙂
Love this!! Brand new carton of eggs from the store and they cooked up perfect and peeled like a dream!! New way to make hard boiled eggs forever!
Hello,
I am so new to this, I’ve just got Instant Pot TODAY! I am so excited. I have a question: have you tried to do soft boiled eggs? My kids love it and they are hit or miss on the stove. Any advice?
This is the best hard boiled egg recipe. I’ve used it many times and my eggs peel like a dream! 🙂
I leave mine I the IP til they cool. Then put then in the carton to put in the fridge. when needed use a teaspoon to slip under the cracked egg top where the air sack is. Always ready for egg salad, top a salad or a quick bite. Love my IP, next best kitchen appliance to a convection oven.
Did you ever find out if you could do more than 12? I want to do 18. (Hungry teenagers in the house-yikes!)
I actually just made 18 and they turned out perfectly!
I have done as many as 48 at one time. Cooked perfectly. My only complaint of doing them in the instant pot is my yolks NEVER come out in the center, making it impossible to use them for deviled eggs. Otherwise, they taste great. I do mine with 1.5 cups of water, low pressure, quick release, and straight to the ice bath to cool down.
I forgot to add that I cook them for 5 minutes. And if anyone has any helps for the yolk in the center issue, I’d gladly welcome input. Thanks.
One of the matriarchs of my family told me for Deviled eggs to come out right that you need to flip them in the egg carton for about 12-16 hours in the fridge. This allows the yolks to slowly move towards the center. Someone also suggested 4-6 hours on the counter but I’m not so sure about that. I am going to try to putting them upside down in the IP and see if that works. I keep forgetting to do it though, lol..
Wow we just made 20 eggs in our 6 qt IP. 30 mins from start to finish. My husband is peeling them right now. He says they’re so much easier to peel. BTW he’s peeling and eating and says they are delicious.
That is awesome! I am so glad it worked out so well for you, Barbara. 🙂