Homemade Caramel Apples
This post may contain affiliate links. As an Amazon Associate I earn from qualifying purchases. For more information, please visit my disclosure page.
There’s something undeniably magical about biting into a crisp, tart apple enveloped in rich, creamy caramel. Whether you’re prepping for a cozy fall gathering or just craving a classic treat, homemade caramel apples are the perfect choice.
Not only are they the perfect blend of sweet and tangy, but making them at home adds a personal touch that store-bought versions can’t beat. Plus, they’re easier to make than you might think.
Looking for more delicious apple and caramel options? Check out my recipes for Sparkling Caramel Apple Cocktail and Carmel Apple Martini too!
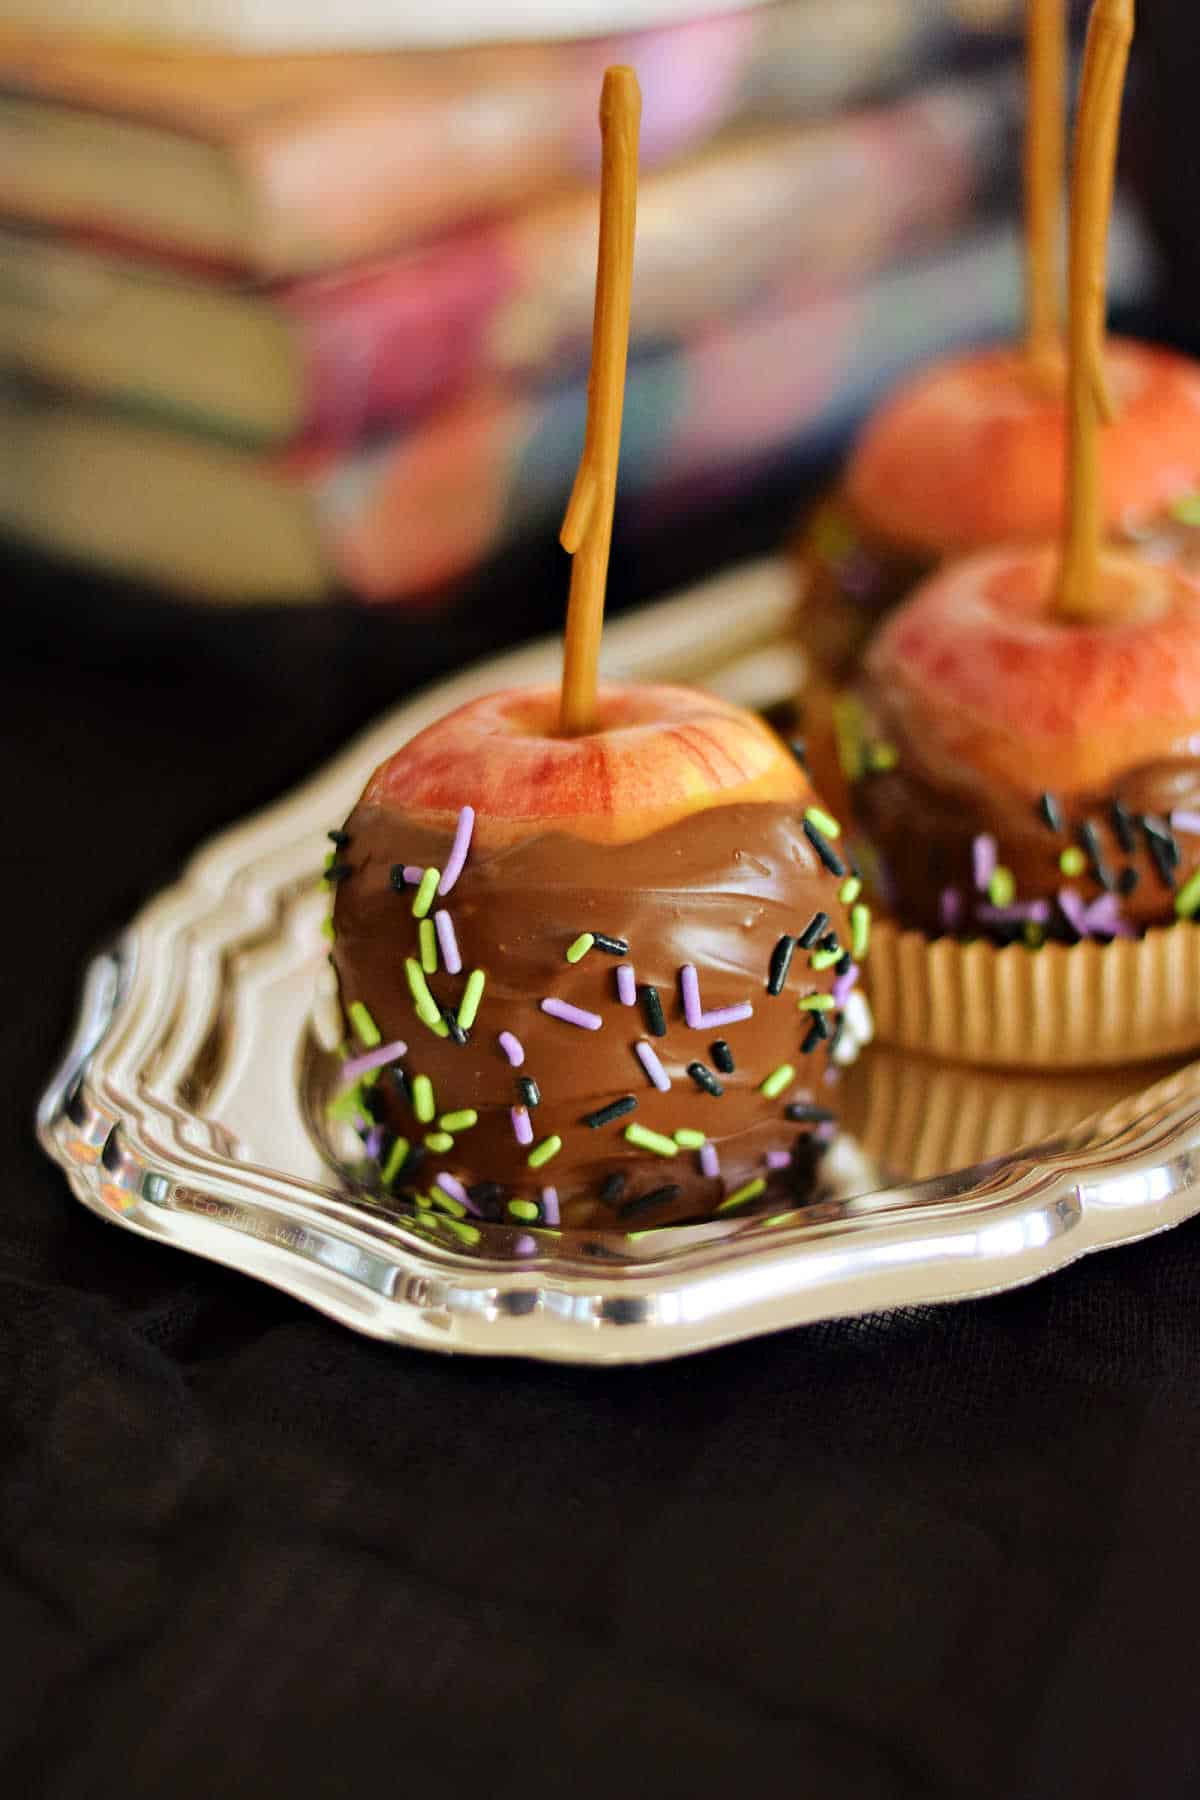
Table of contents
Recipe Inspiration
Gourmet caramel apples are one of my daughters favorite Halloween treats, but driving for 2.5 hours to the closest Rocky Mountain Chocolate Factory is a bit on the crazy side! We decided it was time to start making them at home.
I don’t remember if caramel apples were in the Harry Potter books or not, but I do seem to remember seeing them in the movies — so I had to make them for my party.
This is the same caramel recipe that I used to make the Chocolate Caramel Pretzel Wands, and Chocolate Frogs. The recipe makes quite a lot of caramel, so you will find yourself digging through your pantry searching for things to dunk into it!
Ingredients
Choosing the Best Apples
The apple is the most important ingredient of your caramel apple, so choosing the right type is crucial. Not all apples are created equal, and some varieties are particularly well-suited for caramel apples due to their flavor and texture.
- Granny Smith: Known for their tartness, Granny Smith apples are a popular choice. The sharpness of these apples contrasts perfectly with the sweet caramel coating, creating a well-balanced flavor.
- Honeycrisp: If you’re a fan of sweet and juicy apples, Honeycrisp might be your go-to. Their crisp texture holds up well, providing a satisfying bite.
- Pink Lady: A versatile option, Pink Lady apples offer a blend of sweet and tart that complements caramel perfectly. They also have a nice firm texture.
- Fuji: For a naturally sweeter apple, Fuji delivers a juicy experience. However, their sweetness might require balancing with a slightly less sweet caramel.
Caramel Ingredients
When it comes to the caramel, using high-quality ingredients can make all the difference in consistency and taste. Here’s what you’ll need to achieve that smooth, buttery caramel that coats each apple perfectly:
- Unsalted Butter: It adds creaminess and richness, avoiding the risk of overly salty caramel.
- Brown Sugar (packed): This is essential for adding depth and a hint of molasses flavor, which defines good caramel.
- Light Corn Syrup: This keeps the caramel smooth and prevents crystallization, ensuring a flawless coating.
- Sweetened Condensed Milk: Provides a sweetness and creaminess that complements the other ingredients, ensuring the caramel is luscious and smooth.
- Pure Vanilla Extract: Adds a hint of warmth and enhances the natural flavors of the caramel.
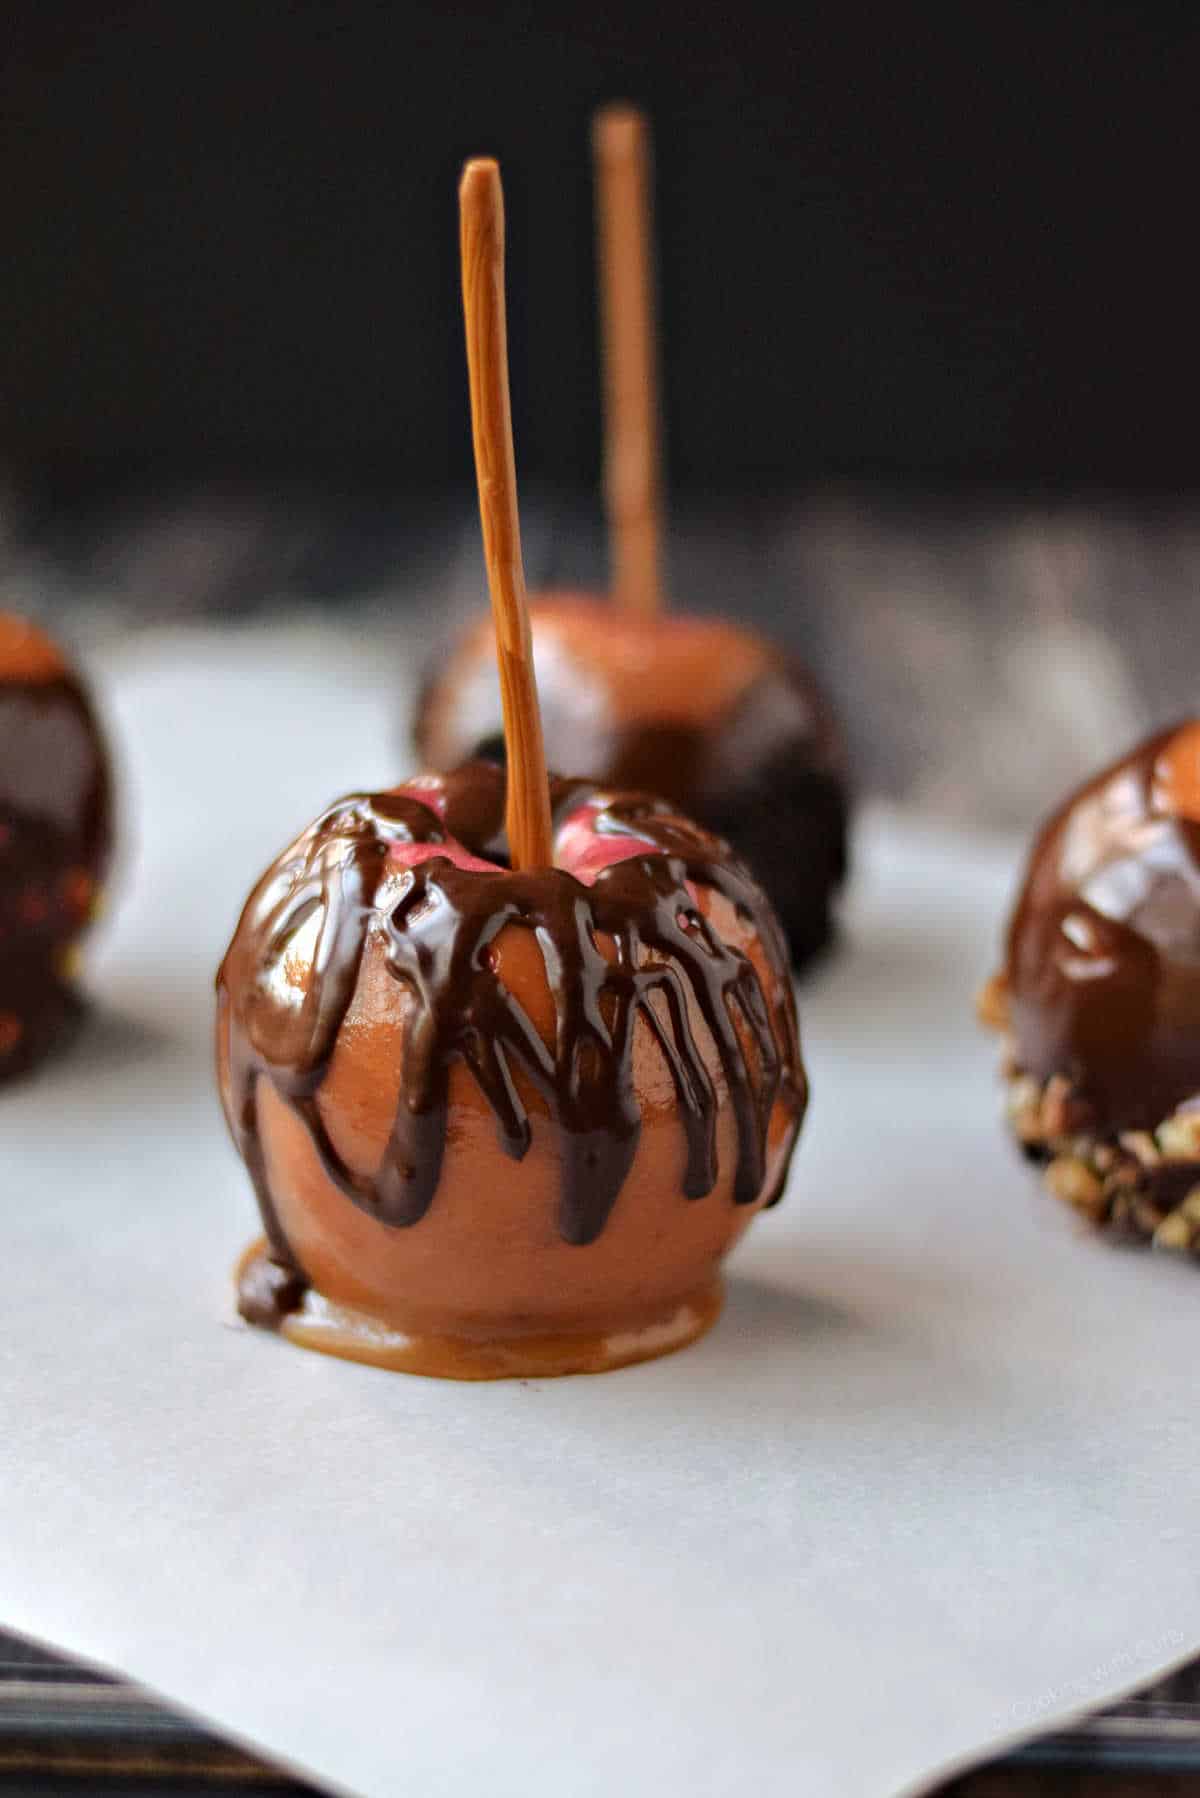
- Chocolate: Milk Chocolate, Dark Chocolate, White Chocolate, or a combination: Optional for those who love an extra layer of indulgence. Melted chocolate can be dipped into and/or drizzled over the caramel for a beautiful, gourmet look.
Chocolate Options
Baking or Melting Chocolate
- Look for baking chocolate bars or melting wafers (like Ghirardelli, Callebaut, or Baker’s) that are designed to melt smoothly. These chocolates have a higher fat content, so they melt easily and coat the apples evenly.
- Candy melts (such as Wilton) are specifically made for melting and coating, which makes them ideal for dipping and drizzling.
Chocolate Chips
- You can use chocolate chips (like Nestlé, Ghirardelli, or Hershey’s), but they may contain stabilizers that help them hold their shape, so they might not melt as smoothly as baking chocolate. If using chocolate chips, add a little vegetable oil or coconut oil (about 1 teaspoon per cup of chips) to help the chocolate become smoother for coating.
Tempered Chocolate
- For the best shine and snap when it hardens, you might want to temper your chocolate, especially if you’re using high-quality brands like Valrhona or Lindt. Tempering chocolate involves melting and cooling it to specific temperatures to stabilize the crystals. However, this step isn’t always necessary if you’re going for a casual treat.
Candy Coating or Almond Bark
- Almond bark or candy coating (available at most grocery stores) is a type of chocolate-flavored coating that is made for melting and dipping. It’s very user-friendly, but it doesn’t have the rich flavor of true chocolate. It’s great for ease, especially if you’re making a lot of apples for an event.
ChocolateTips
- If you want the best flavor, go with high-quality baking chocolate or chocolate bars.
- If you’re more focused on appearance and ease, candy melts or almond bark are excellent choices.
- Whatever you choose, always melt chocolate slowly and carefully (using a double boiler or microwaving in short bursts) to avoid scorching it.
To decorate your caramel apples and add texture, consider additional toppings like:
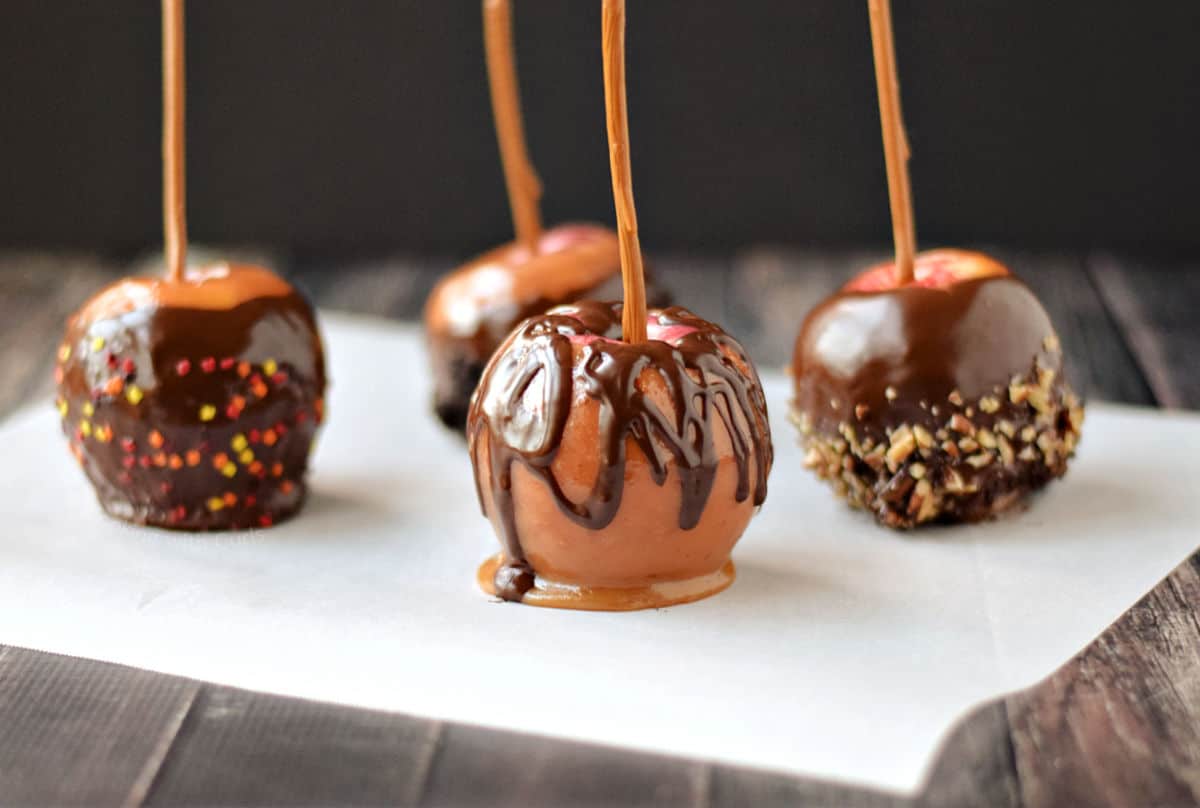
- Nuts: Crushed peanuts or chopped pecans add a satisfying crunch and balance out the sweetness.
- Crushed Oreos: For a more playful twist, crushed Oreos offer a chocolaty, creamy contrast.
- Chopped Pecans: These provide a delicate nutty flavor that pairs wonderfully with the caramel.
Check out the printable recipe card below for the complete recipe and detailed instructions.
As the crisp autumn air sweeps in, it’s time to celebrate the comforting tradition of making caramel apples. This guide offers easy step-by-step instructions, ensuring your homemade treats are as satisfying to prepare as they are to enjoy.
How to Make Caramel Apples
Preparing the Apples
Before diving into the caramel, the apples need your attention. Clean apples are essential to ensure the caramel sticks properly and to remove any wax or residue that might be on the surface.
- Wash thoroughly: Start by rinsing each apple under warm water. This helps remove any waxy coating and dirt. If your apples are particularly waxy, dip them briefly in hot water and scrub gently with a cloth.
- Dry completely: Ensure the apples are fully dry. Any moisture can interfere with the caramel adhering properly. Pat them with a towel or let them air dry.
- Remove stems and insert sticks: Take out the stems from the top of each apple. Insert a sturdy wooden stick (like popsicle sticks or bamboo skewers) into the top, pressing about halfway through the apple to ensure a firm grip.
Making the Caramel
Creating the perfect caramel is a balance of time and temperature. Here’s how to make caramel that’s rich, creamy, and sticks to the apples just right.
- Ingredients needed: Gather 1 cup of unsalted butter, 2 cups of packed brown sugar, 1 cup of light corn syrup, 1 can (14 oz) of sweetened condensed milk, and 1 teaspoon of vanilla extract.
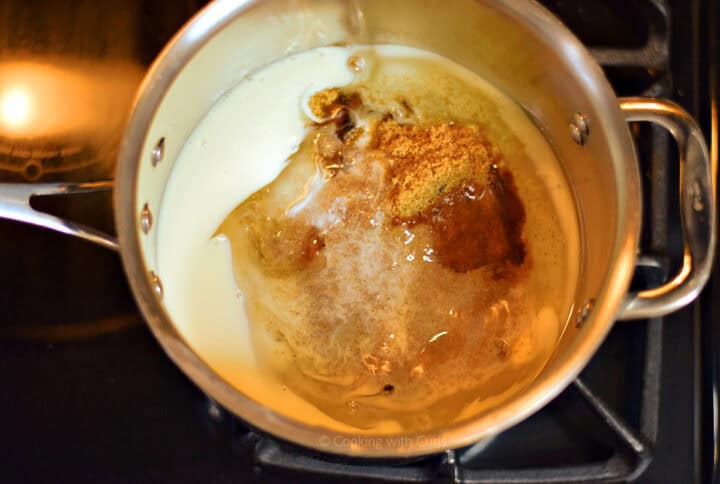
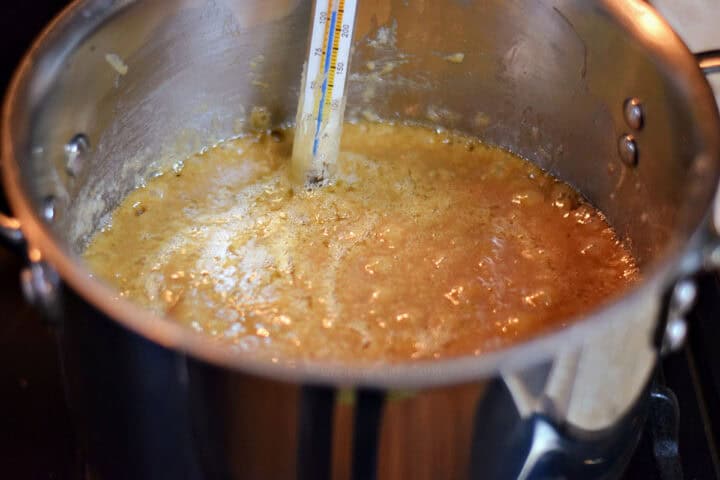
- Cook the caramel: In a heavy-duty saucepan, combine butter, brown sugar, corn syrup, and condensed milk over medium heat. Stir constantly until the butter melts.
- Reach the right temperature: Use a candy thermometer to monitor the temperature. Continue cooking until the caramel reaches 245°F (118°C), known as the firm-ball stage. This specific temperature ensures that the caramel will set properly on the apples.
- Add the vanilla: Once the desired temperature is reached, remove the saucepan from the heat. Stir in the vanilla extract for added depth of flavor.
Coating the Apples
With your apples prepped and caramel ready, it’s time to coat each apple in sweet delight!
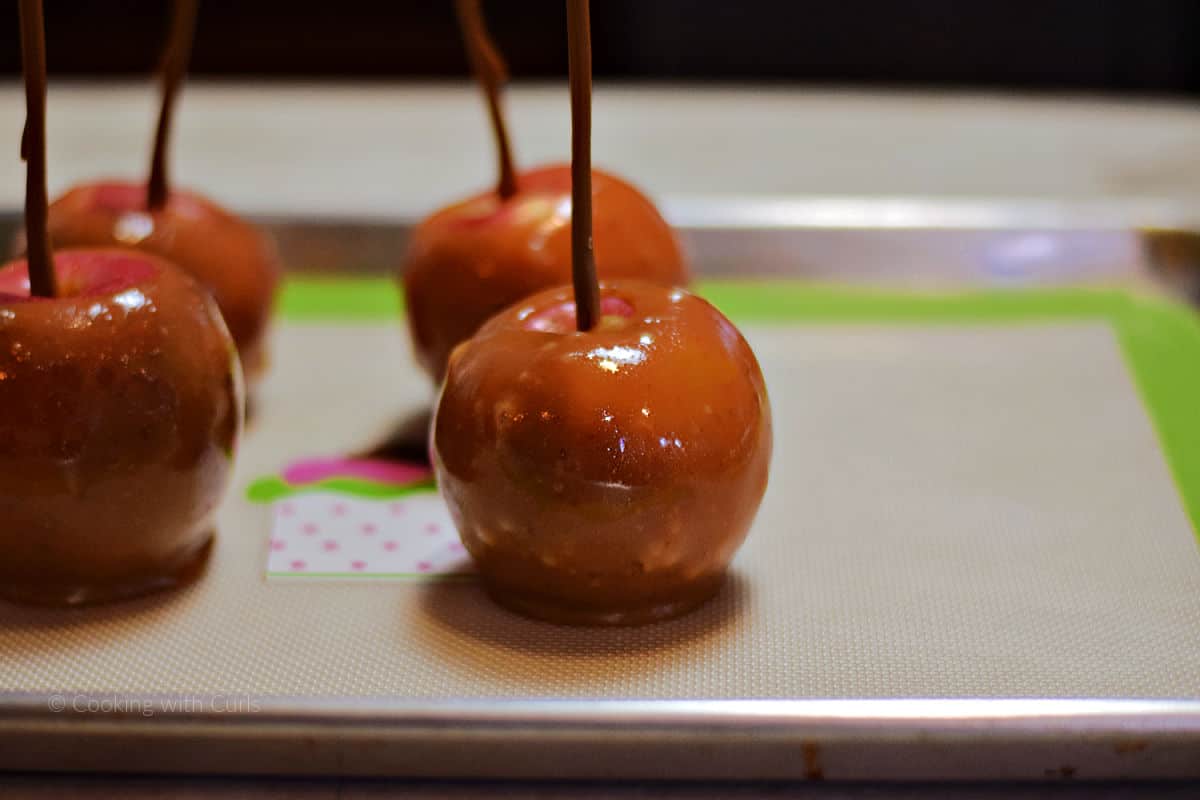
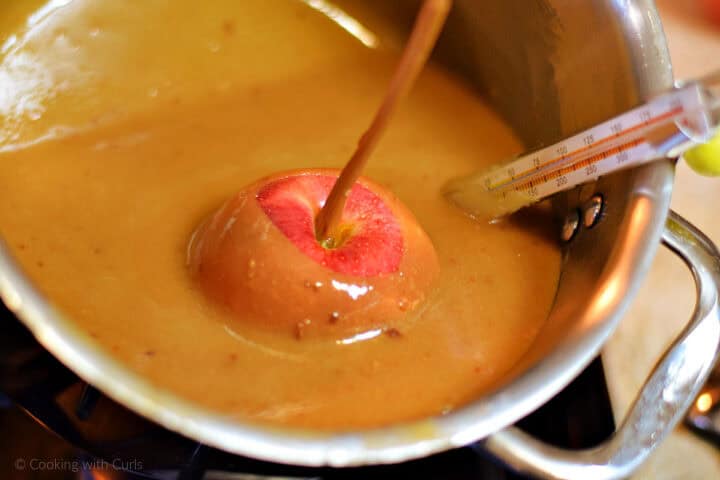
- Dip the apples: Hold an apple by the stick and carefully dip it into the hot caramel. Tilt the pan as needed, and rotate the apple to cover it completely.
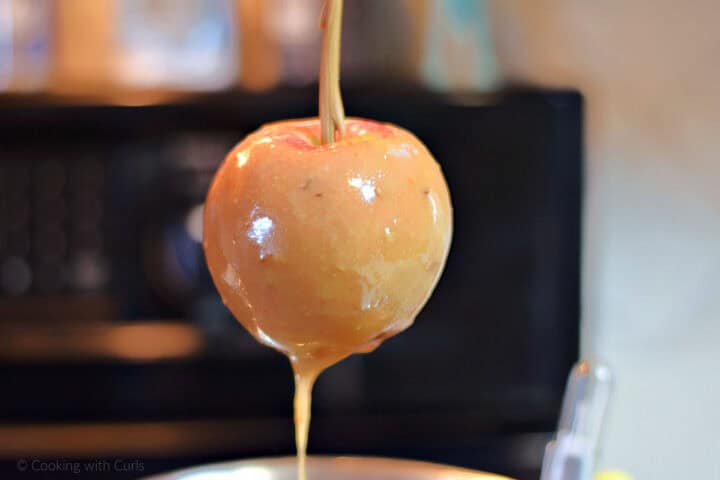
- Shake off excess: Allow any extra caramel to drip off before placing the apple on a parchment-lined baking sheet. A gentle twist can help smooth the caramel.
- Consider toppings: If desired, immediately roll or sprinkle the caramel-coated apple with toppings like chopped nuts, crushed cookies, or sprinkles before the caramel sets.
Setting the Caramel
The final step is ensuring that your caramel sets perfectly, creating that iconic chewy layer.
- Use parchment paper: Place each coated apple on a sheet lined with parchment paper or a silicone liner. This prevents sticking and makes cleanup a breeze.
- Let them cool: Allow the caramel apples to sit at room temperature for at least 30 minutes. If you’re in a hurry, you can place them in the fridge. However, room temperature setting prevents the caramel from getting too hard.
- Check the set: Before serving or storing, check that the caramel has fully set. It should have a firm yet pliable texture when touched lightly.
Adding Toppings to Your Caramel Apples
The allure of caramel apples lies not just in their gooey goodness but also in the creativity of the toppings. A well-chosen topping can add a delightful crunch, a burst of flavor, or a touch of visual flair.
Nut Options
When it comes to nuts, the possibilities are both classic and delicious. Nuts add a satisfying crunch and can balance the caramel’s sweetness. Which should you choose?
- Pecans: Their buttery taste complements the caramel without overpowering it. Pecans add a gentle crunch and a warmth that suits autumn treats. Add on top of the melted chocolate create the most delicious turtle caramel apples!
- Peanuts: A more traditional choice, these add a salty contrast that makes the sweet caramel shine.
- Almonds: When sliced, almonds offer a delicate texture and mild flavor, making them a refined choice for those who prefer subtlety.
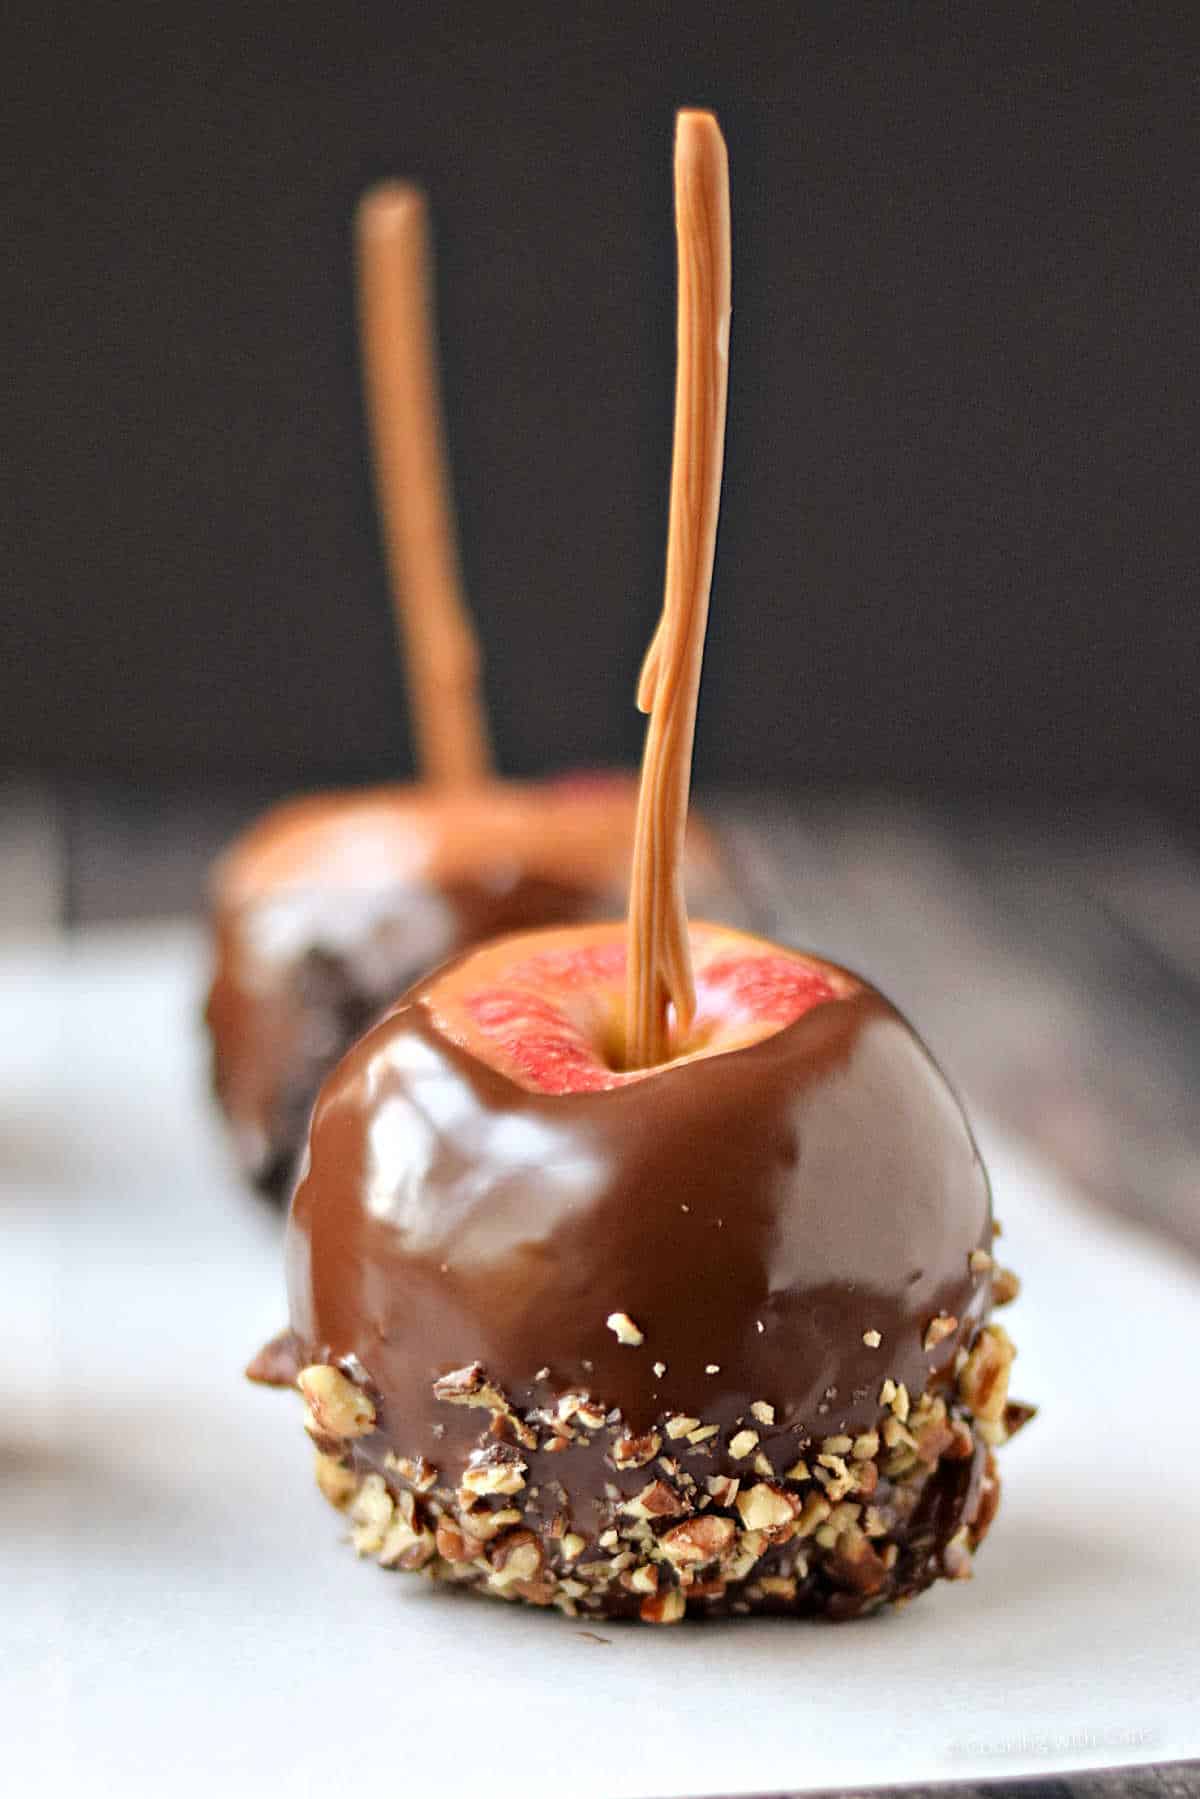
Feeling creative? Experiment with your favorite varieties to find the perfect match!
Chocolate Drizzle
Chocolate and caramel together create a symphony of flavors that’s hard to resist. Here’s how you can add this layer of indulgence:
- Choose your chocolate: Decide between dark, milk, or white chocolate depending on your taste.
- Melt the chocolate: Use a microwave in short bursts (30 seconds at a time) or a double boiler to melt your chocolate. Stir often to ensure it’s smooth.
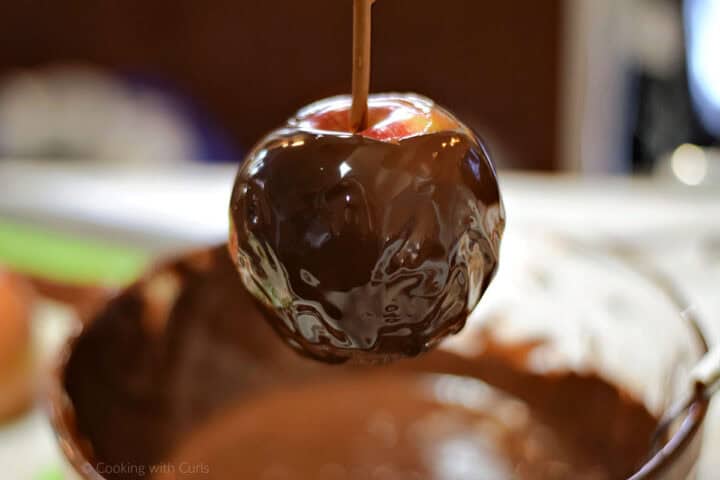
- Dip apples: Dip caramel covered apples into the melted chocolate, using a large spoon to cover all sides, or simply drizzle over the top instead.
- Drizzle away: Once melted, use a spoon or squeeze bottle to drizzle the chocolate over the caramel-coated apples. Move your hand in a zig-zag pattern for an attractive look.
Remember, less can be more. A thin drizzle adds sweetness without overwhelming the other flavors.
Creative Toppings
Why not venture beyond nuts and chocolate for even more fun? Here are some ideas to inspire your topping creations:
- Sprinkles: Bright and cheerful, and seasonal colors are perfect for kids (and kids at heart!).
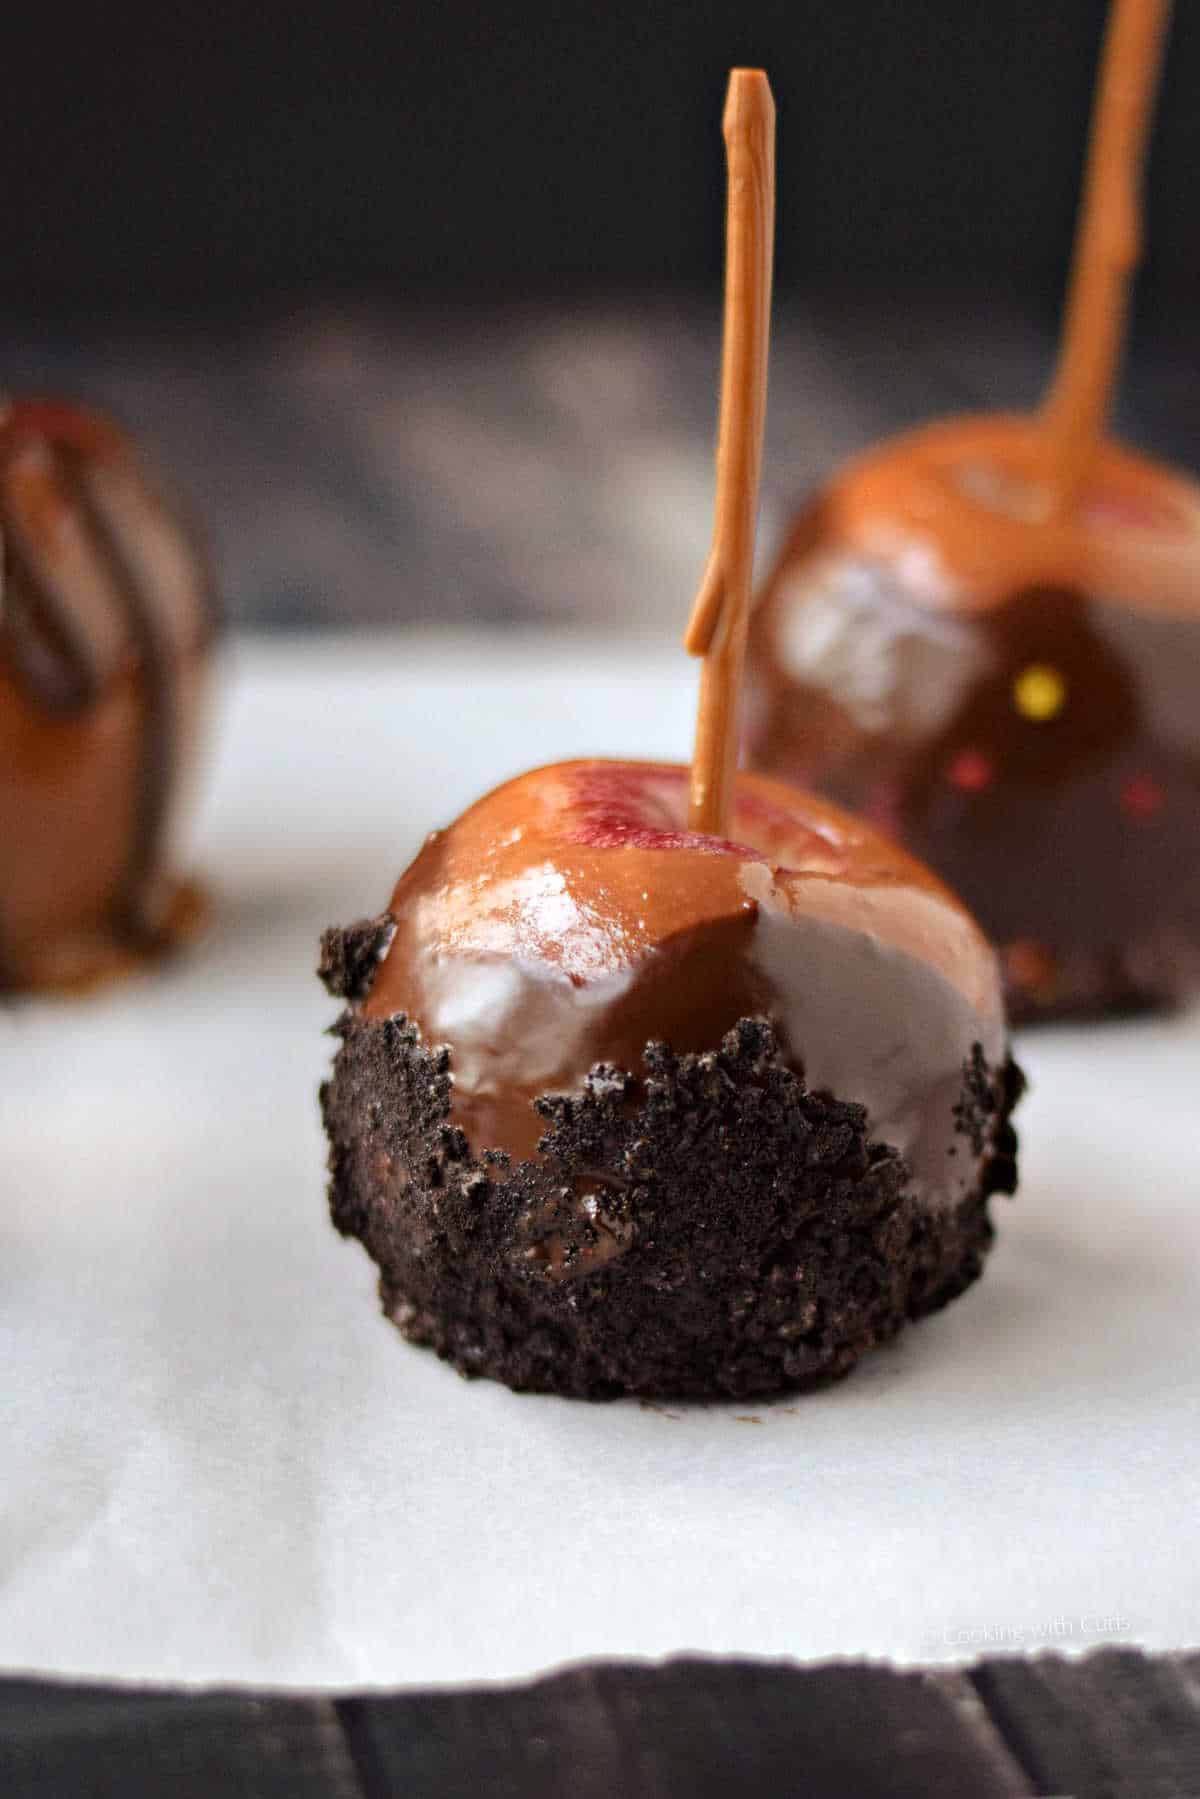
- Crushed Cookies: Oreos or graham crackers add both texture and taste. They create a luscious crust that’s impossible to resist.
- Seasonal Spices: A dusting of cinnamon or nutmeg can infuse your treats with the cozy flavors of fall.
Storage Tips
Keeping your delicious caramel apples fresh involves the right temperature and storage methods.
- Airtight Container: Store your caramel apples in airtight containers to keep them fresh. This prevents moisture loss and helps the caramel remain sticky and delicious. Wax paper or parchment can be used to separate each apple to prevent sticking.
- Refrigeration: Ideally, store caramel apples in the refrigerator. This is especially important if you plan on keeping them for more than two hours after making them. Refrigeration can extend their freshness for up to three weeks. Before serving, allow the apples to return to room temperature for about 45 minutes for the best flavor and texture.
- Avoid Moisture: Keep in mind that moisture between the apple and caramel can cause spoilage faster. Ensure your apples are completely dry before coating them in caramel to avoid this issue.
- Room Temperature Storage: If you’re planning to consume the apples soon, they can be kept at room temperature for a short period. However, be cautious, as leaving them out for extended periods might compromise the overall texture and flavor.
Pro Tip: While you might be tempted to freeze caramel apples for long-term storage, be aware that freezing can change the texture and make the caramel less appealing once thawed.
More fun recipes for your Harry Potter Party
- Cauldron Cakes (Homemade Ding Dongs)
- Gillyweed {Spinach} Dip
- Troll Boogers Popcorn
- Butter Beer Cocktail
- Polyjuice Potion Cocktail
- Puff Pastry Sausage Rolls
Did you try this recipe? I’d love to see it!
Tag @cookingwithcurls on Instagram & Facebook and leave a ⭐️⭐⭐⭐⭐ review below!
Enjoy!!
Homemade Caramel Apples
Equipment
Ingredients
- 1 cup unsalted butter
- 2 cups brown sugar packed
- 1 cup light corn syrup
- 14 ounce can sweetened condensed milk
- 1 tablespoon pure vanilla extract
- 10 ounces chocolate milk, dark, white, or combination
- 12 large apples cleaned and dried
- nuts, crushed oreos, chopped pecans
Instructions
Prep the Apples
- Rinse each apple under warm water to remove any waxy coating and dirt. Ensure the apples are fully dry.
- Take out the stems from the top of each apple. Insert a sturdy wooden stick (like popsicle sticks or bamboo skewers) into the top, pressing about halfway through the apple to ensure a firm grip.
Make the Caramel
- In a heavy-duty saucepan, combine butter, brown sugar, corn syrup, and condensed milk over medium heat. Stir constantly until the butter melts.
- Use a candy thermometer to monitor the temperature. Continue cooking until the caramel reaches 245°F (118°C), known as the firm-ball stage.
- Remove from heat, and stir in vanilla.
- Hold an apple by the stick and carefully dip it into the hot caramel. Tilt the pan as needed, and rotate the apple to cover it completely.
- Allow any extra caramel to drip off before placing the apple on a parchment-lined baking sheet. A gentle twist can help smooth the caramel.
- Place each coated apple on a sheet lined with parchment paper or a silicone liner. Allow the caramel apples to sit at room temperature for at least 30 minutes. Before dipping in chocolate, check that the caramel has fully set. It should have a firm yet pliable texture when touched lightly.
Top with Chocolate
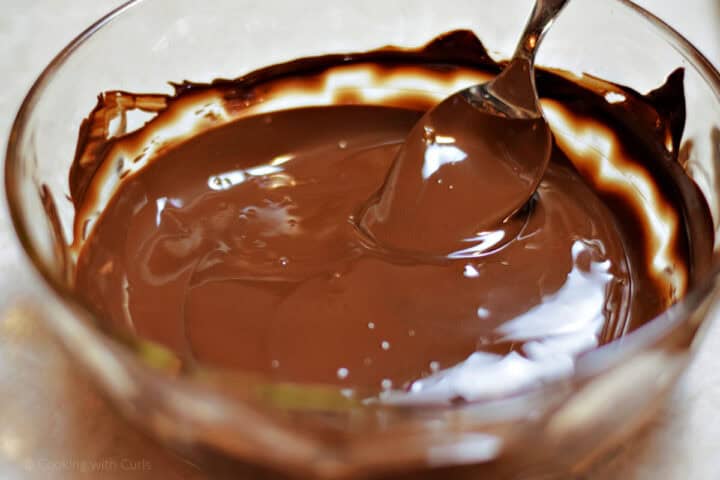
- Place chocolate in a large bowl and heat in the microwave for 1 minute on HIGH. Stir, then continue cooking and stirring in 15 second intervals until chocolate is melted and smooth.
- Dip caramel covered apples in the melted chocolate, using a large spoon to cover all sides, or simply drizzle over the top.
- Place on parchment paper to set. Sprinkle with your favorite toppings as chocolate begins to harden, but is still sticky.
Notes
- Store your caramel apples in airtight containers in the refrigerator to keep them fresh. This prevents moisture loss and helps the caramel remain sticky and delicious. Wax paper or parchment can be used to separate each apple to prevent sticking.Refrigeration can extend their freshness for up to three weeks. Before serving, allow the apples to return to room temperature for about 45 minutes for the best flavor and texture.
- While you might be tempted to freeze caramel apples for long-term storage, be aware that freezing can change the texture and make the caramel less appealing once thawed.
- You may have more caramel than you need, so grab some pretzel rods or candy molds and additional chocolate for the leftovers.
- Chocolate may begin to spot/turn grey over time if chocolate is not heated/tempered correctly. It will not affect the taste, just the appearance.
- Please see full post for ALL of the tips for choosing the right apples and chocolate.


Caramel apples are my downfall! These look delicious, Lisa!
Poor Cassie… she’s definitely missing out! These are so pretty, Lisa. I love how you did the pretzel wands, so creative!
These look amazing, Lisa! I am a sucker for caramel apples and love how pretty you decorated all of them! Definitely making me want to reach in and take a bite! Pinning 🙂
Lisa, these looks fabulous and love the different flavors – the turtle apple definitely has my name on it! Pinning and sharing – have a happy Friday!
These look gorgeous, and so easy! I’ve never made caramel apples before, but these make me want to!
I think I’m missing out 🙂 These look fantastic Lisa!!
Oh my gosh! These APPLES! They look fantastic, Lisa…..I can’t decide if I like the turtle or the Oreo ones better!
Thank you Cathy. 🙂 I am partial to the turtle apples…or frogs…basically anything with caramel, chocolate, and pecans, lol
Caramel apples are one of my favorite things about Fall! Yummy – and I love Cassi’s idea with the Oreos! 😉 Pinning and stumbling!
Thank you Jamie! The princess definitely knows what she likes. 🙂
they are just gorgeous lisa
Thank you so much Heather!!
These are beautiful! The tempering chocolate bit is something I’ve always struggled with, which is why I stick to the savory most of the time! Love the name of your blog – makes me smile.
Thank you so much Karen!! One of these days I might actually try to temper chocolate the correct way, we’ll see. 🙂
Lisa these are wonderful! I love all the different options you included! I wouldn’t know which one to have, I would have to have them all. Your Harry Potter treats are all so fun, we always do a fun Harry Potter night with the kids when we watch the movies, I’m definitely going to have to hit up your site for the next HP night! Hope you’re having a wonderful week 🙂
Your caramel apples look fantastic! I saw this over on the Wednesday Roundup and I would love to invite you to share this (and anything else you’d like!) over on the Pure Blog Love link party
They look amazing! Thanks for sharing such a wonderful treat for fall. Pinning!
These are so pretty. My caramel always seems to fall off. Pinning. Stopping by from Two Cup Tuesday.
I love caramel apples and dipped in chocolate-I need one of these! 🙂 Hope that you are doing great!
Cathy
Those look amazing! There’s a store at my local mall that sells apples like that and they charge like $5 each. My daughters are always begging me to let them get one. So I am going to have to make these with my girls this fall.
Your Harry Potter party sounds like so much fun. Now I need to go back and read the rest of those posts.
We LOVE caramel apples. And add chocolate? Yes, please. Yours look fantasticly delicious!
These are just beautiful! What a fun treat for Halloween! Pinning!
Oh these apples are so lovely, love those sticks too they look so natural, definitely pinned for later I have to try these this fall!