Spicy Chili Recipe
This post may contain affiliate links. As an Amazon Associate I earn from qualifying purchases. For more information, please visit my disclosure page.

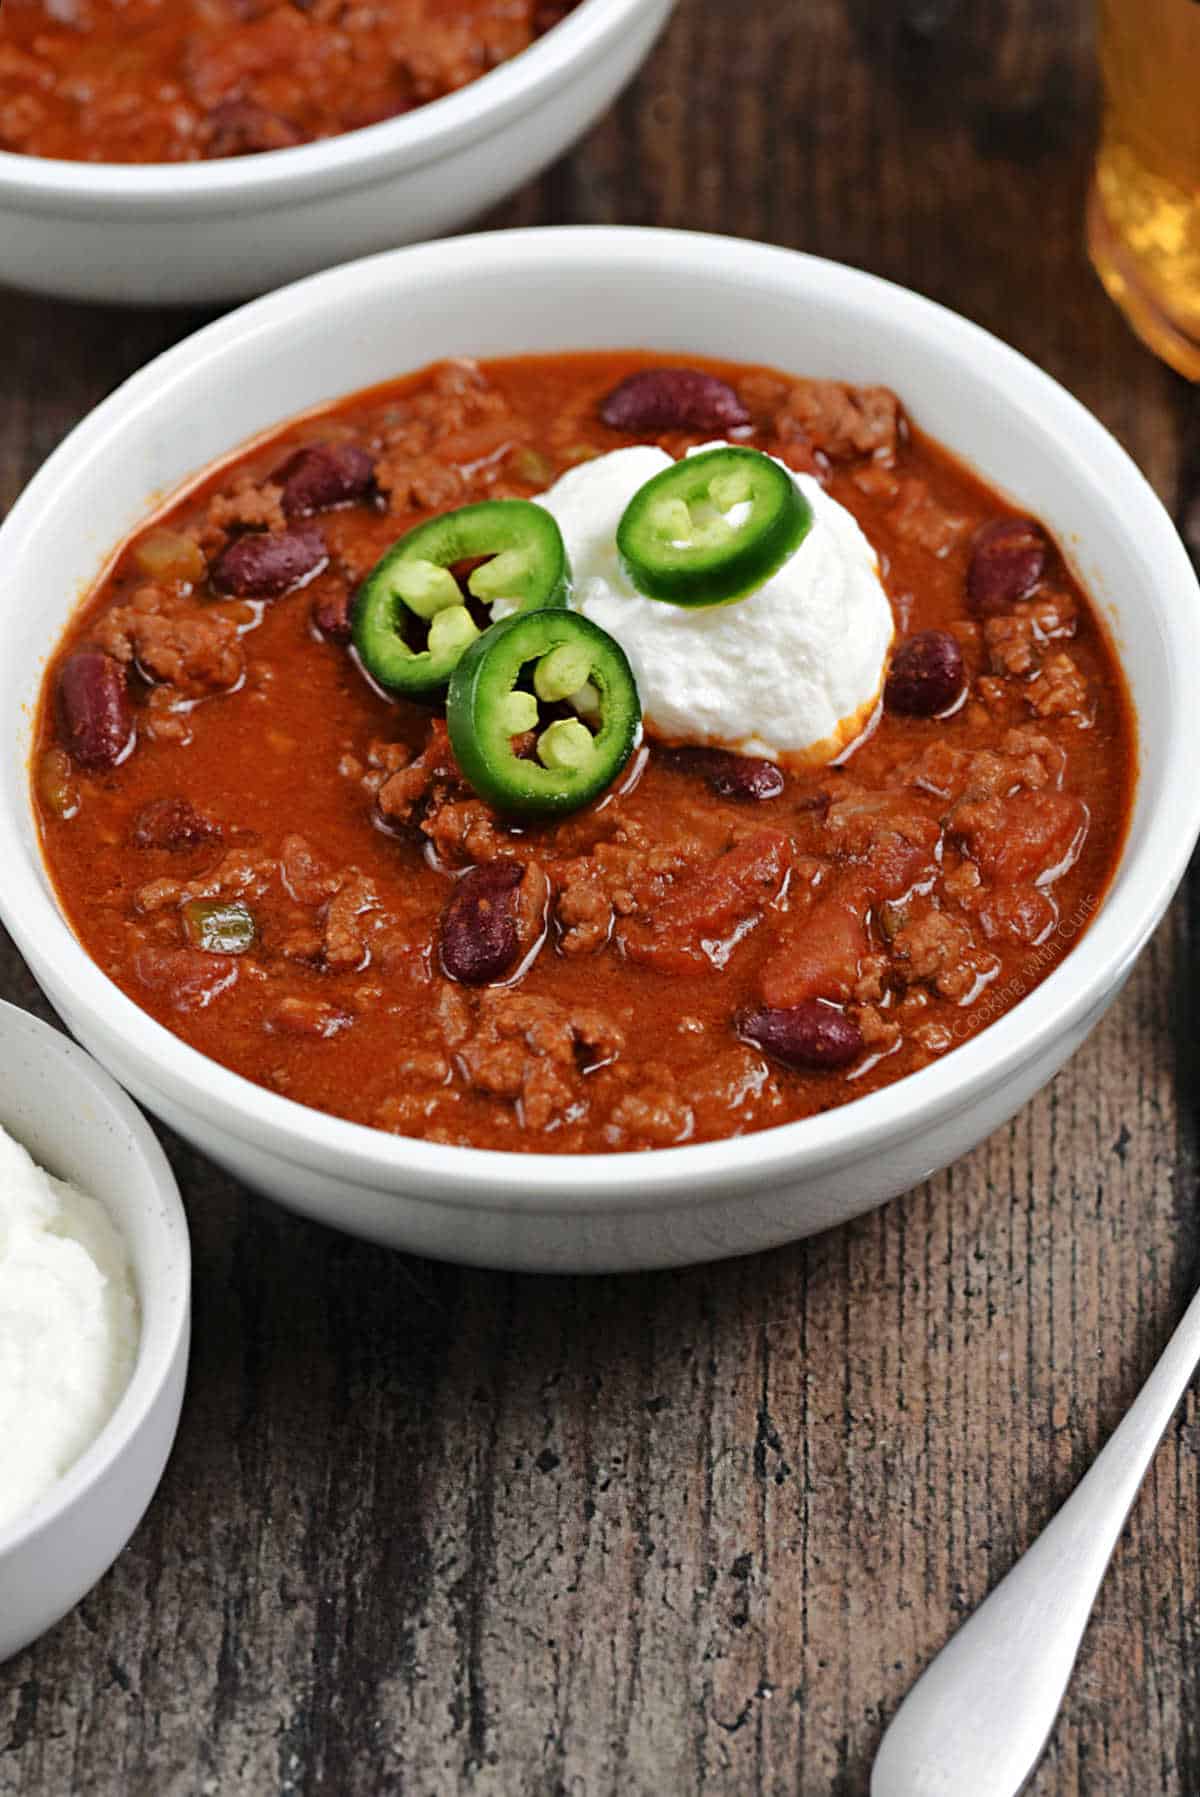
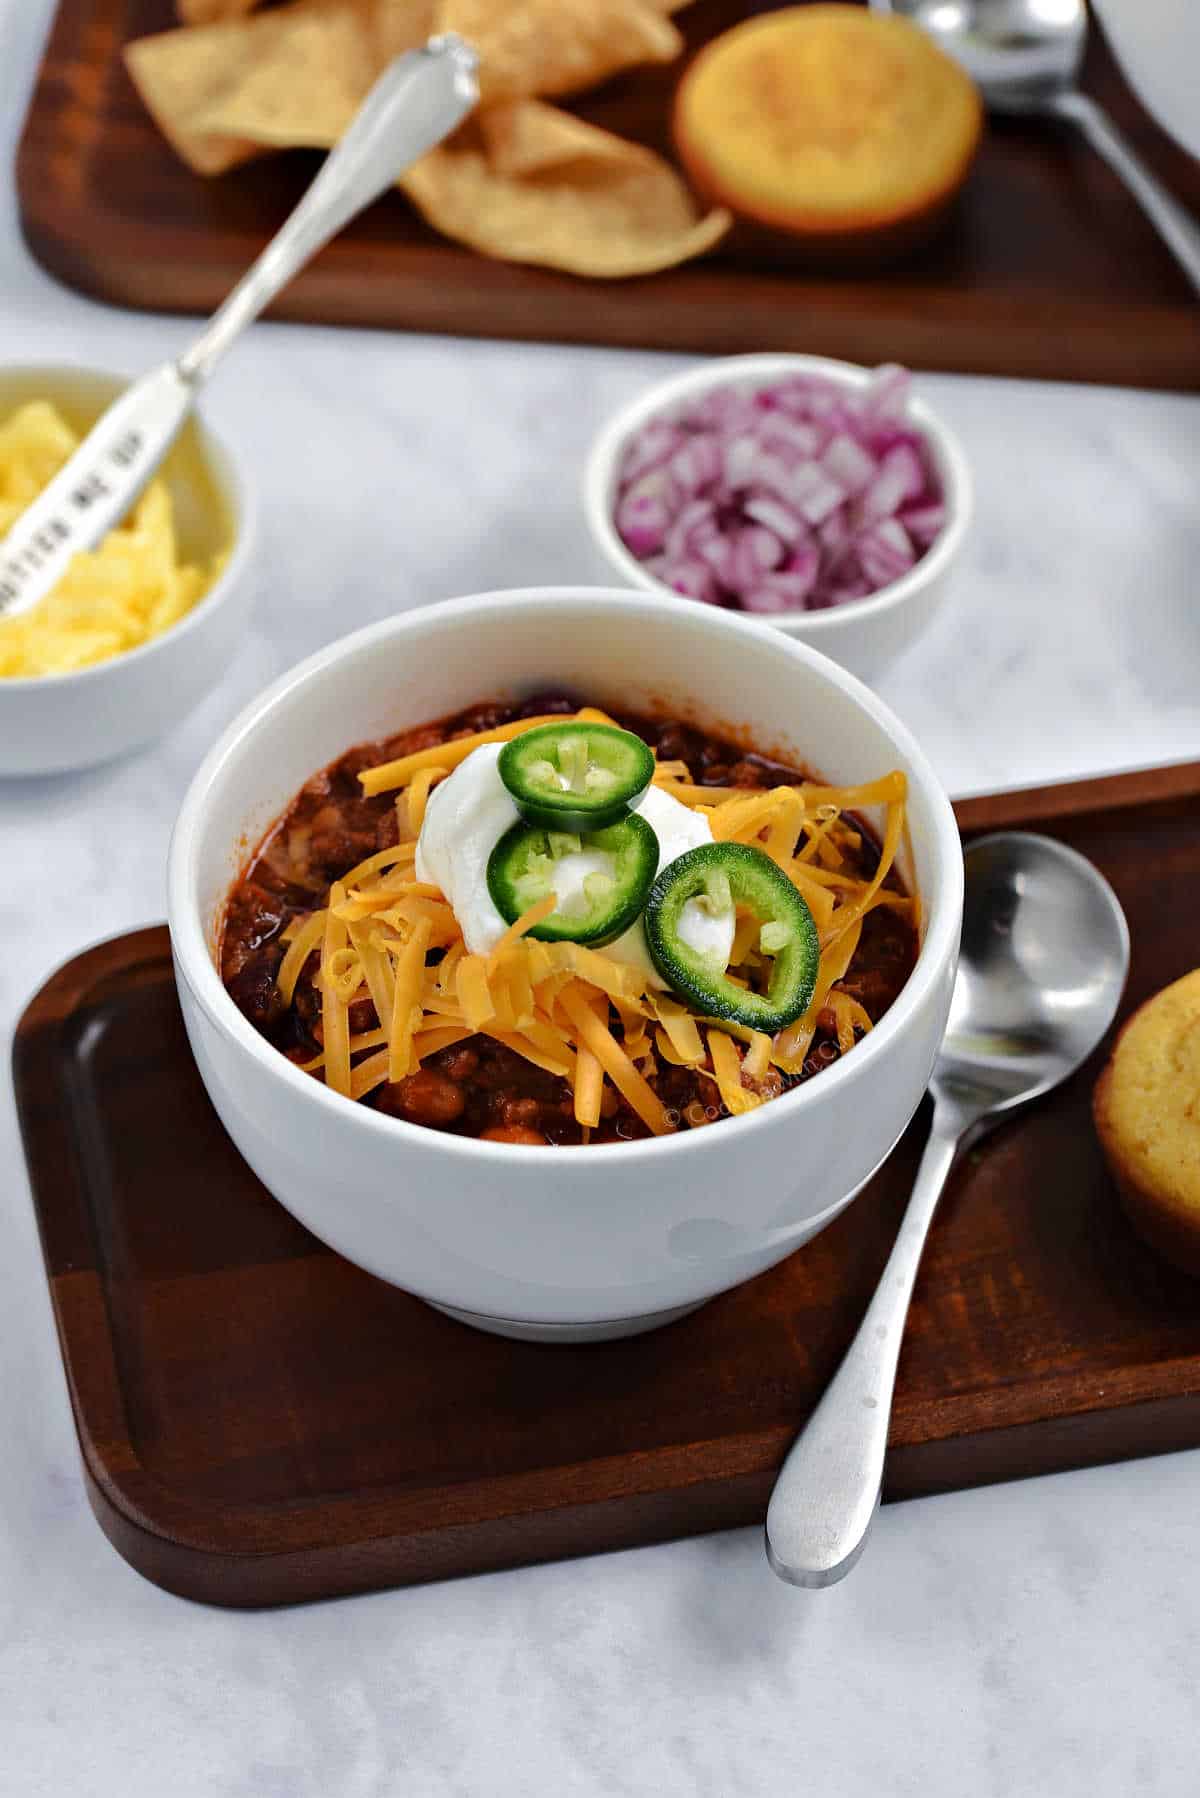
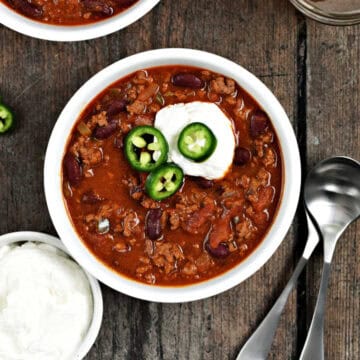
There’s nothing quite like a bowl of spicy chili packed with hearty beans to warm you up in cold weather. This classic chili recipe has earned its spot as a favorite comfort food, blending bold heat with rich, savory flavors.
Whether you’re hosting a game day gathering or craving a satisfying weeknight meal, a great chili can satisfy everyone’s cravings.
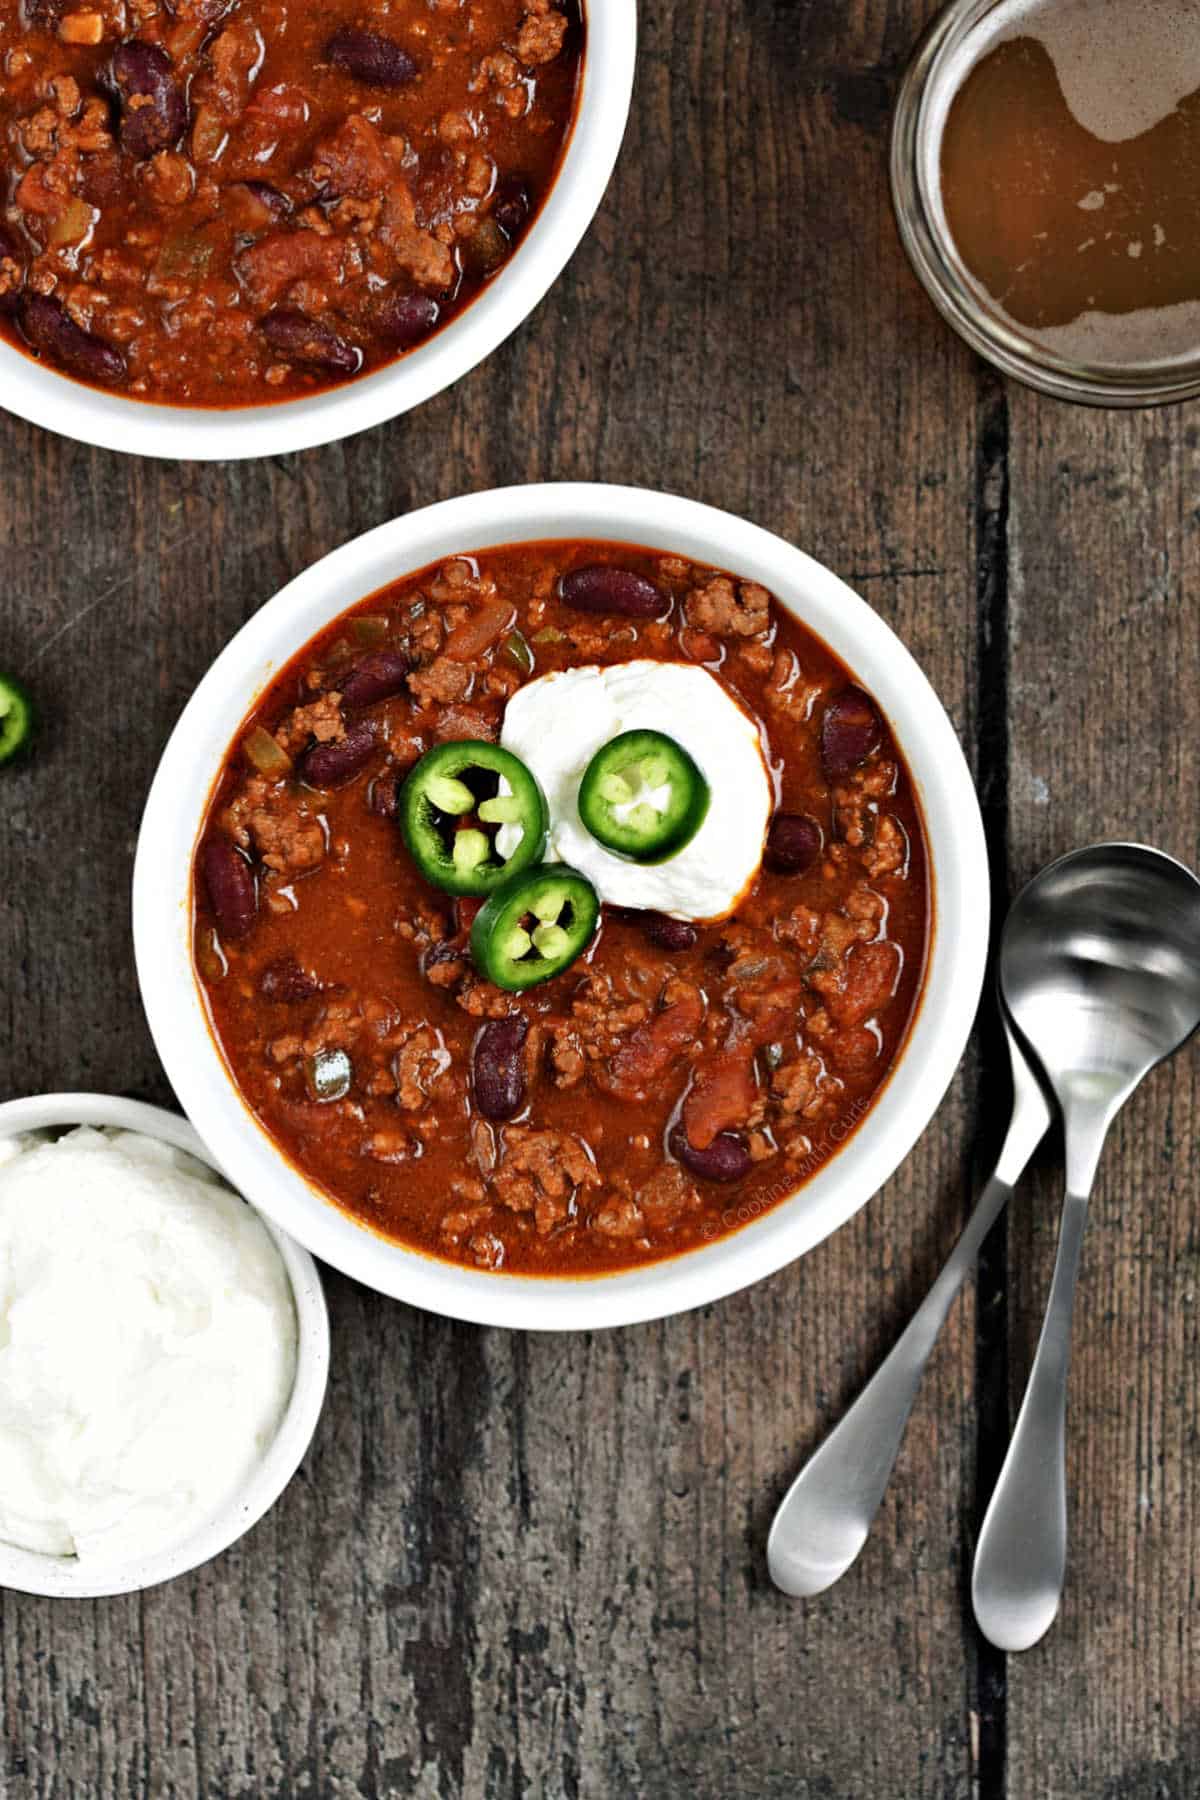
Every spoonful delivers a bold punch of heat that’s tempered by smoky, savory, and slightly sweet undertones, leaving you craving another bite. It’s a chili that warms you from the inside out, making it a hearty comfort food for those who dare to indulge in spice!
My son declared this “2 alarm chili” as is. He said it had the perfect layers of spice and flavors for a spicy chili, but then added more hot sauce and sprinkled in some Habanero – Jalapano – Arbol – and Ghost Pepper red chili flakes to get it closer to 5 alarm!
Ingredients for Spicy Chili with Beans
Creating the perfect spicy chili starts with choosing the right ingredients. Each ingredient adds to the dish’s bold flavor and hearty texture, making it a true crowd-pleaser.
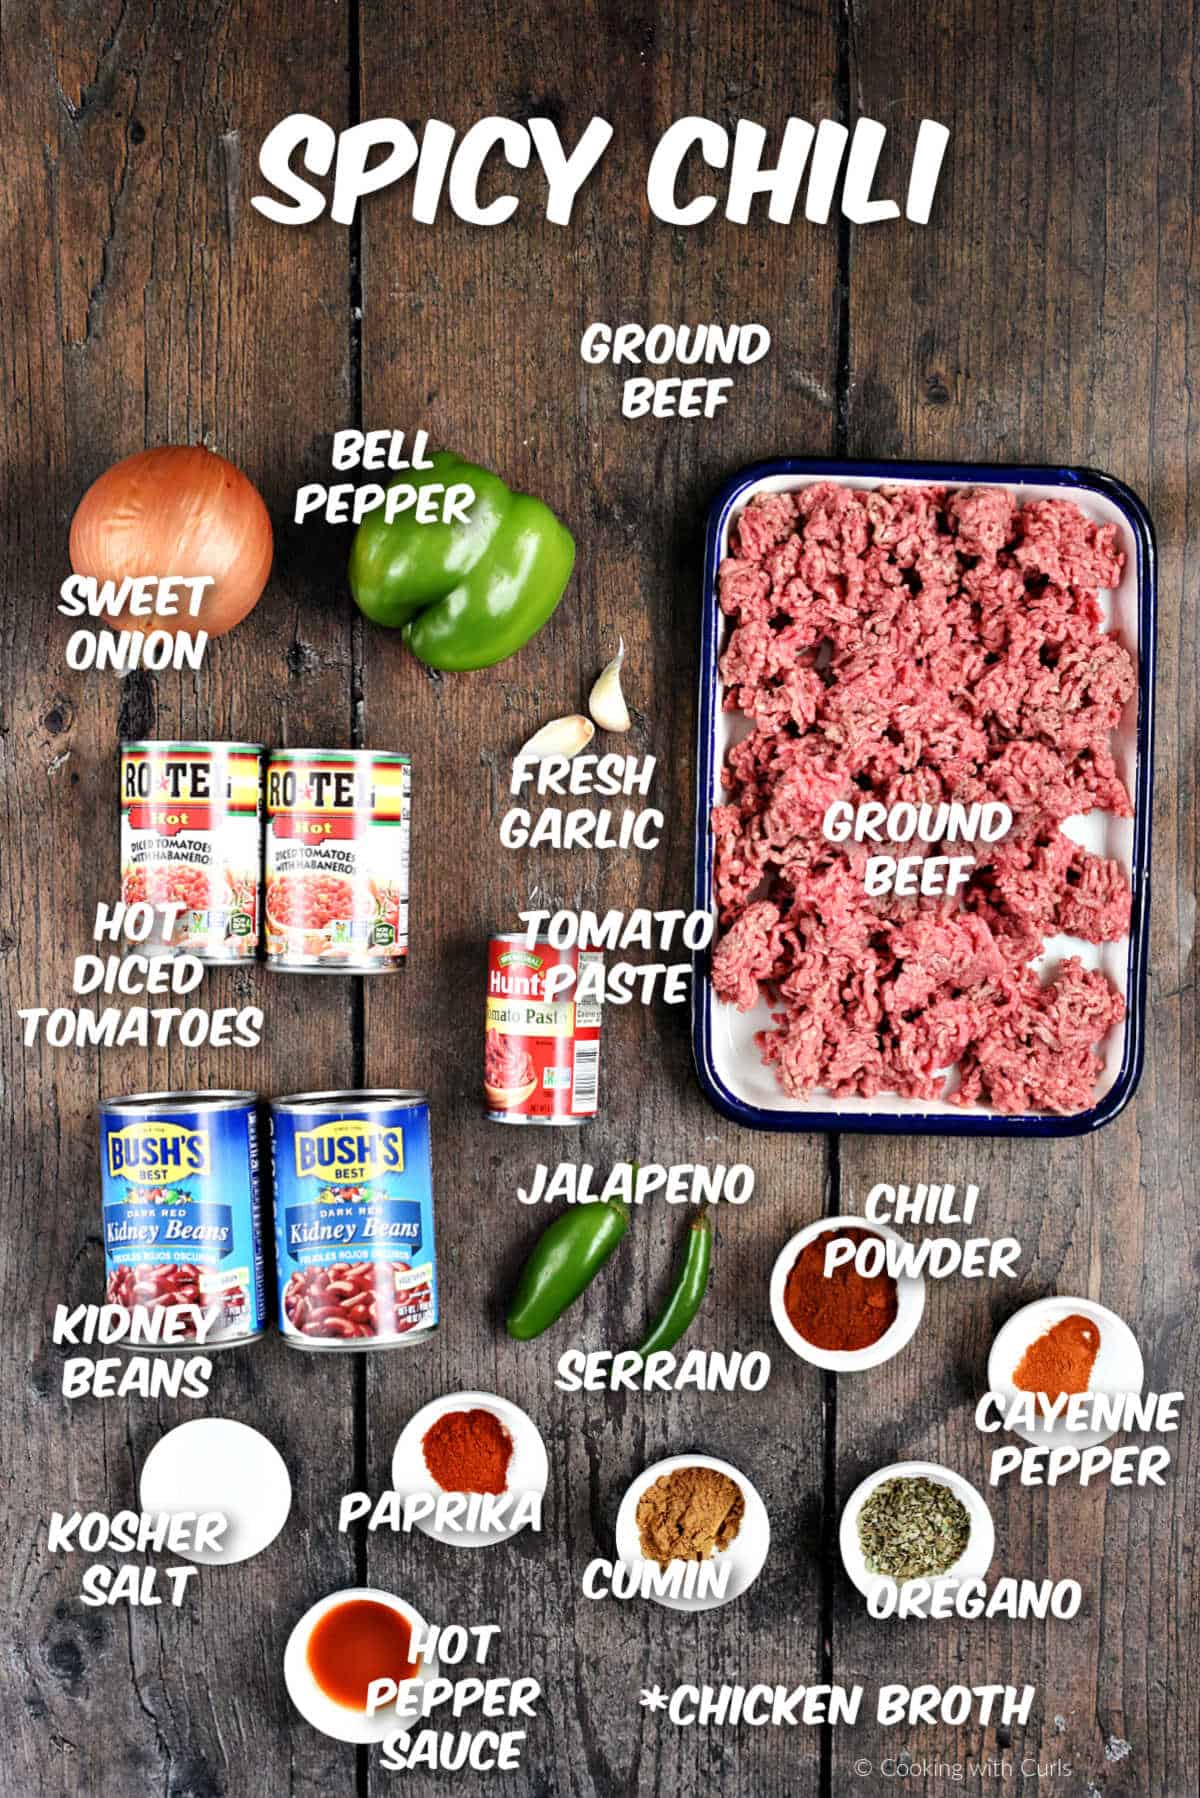
- Ground Beef: It provides a rich, savory base for the chili. Substitute ground turkey
- Canned Beans: Dark red kidney beans and black beans are the stars here. They add heartiness and texture.
- Tomatoes: Diced tomatoes with habanero chilies and their juices bring the chili together. Tomato paste adds thickness and a deeper tomato flavor.
- Chicken or Beef Broth: Adds moisture and rich flavor to the chili.
- Serrano & Jalapeño Peppers: For those who love the heat, fresh serrano and jalapeño chili peppers pack a spicy punch.
- Hot Pepper Sauce: A dash or two of your favorite hot sauce can level up the spice game.
- Garlic and Onion: These foundational ingredients add depth and aroma to the chili.
- Bell Peppers: Diced green pepper bring a subtle crunch and fresh taste to balance the spice.
- Chili Powder: This is non-negotiable. It’s the main flavor driver. For more heat and smokiness add a combination chipotle chili powder and regular chili powder.
- Cumin: Earthy and warm, cumin adds complexity.
- Oregano: A sprinkle of dried oregano enhances the herbal notes.
- Cayenne Pepper: Adjust this based on your heat preference—it’s what brings the fire.
- Paprika: Smoked paprika can add a subtle smokiness, while regular paprika offers a sweeter kick.
- Your favorite toppings: Sour cream, shredded cheddar cheese, avocado, salsa, diced red onion, sliced green onions, sliced chili peppers, etc.
Check out the printable recipe card below for the complete recipe and detailed instructions.
How to make Homemade Spicy Chili
Chop the veggies: Dice your onions, garlic, and bell peppers into small, uniform pieces so they cook evenly. Finely mince your jalapeño and serrano peppers, set aside. The oils from the peppers will stay on your fingers and burn your eyes or mouth if touched. You may want to wear gloves when handling them!
Prepare the meat: Keep ground beef in the refrigerator until just before cooking for freshness.
Measure the spices: Gather and measure all the spices in advance to make sure you do not forget any. Combine the chili powder, cumin, oregano, and cayenne in a small bowl, set aside.
Heat your pot: Start with a large, heavy-bottomed pot – like a Dutch oven. Add two tablespoons of olive oil over medium heat.
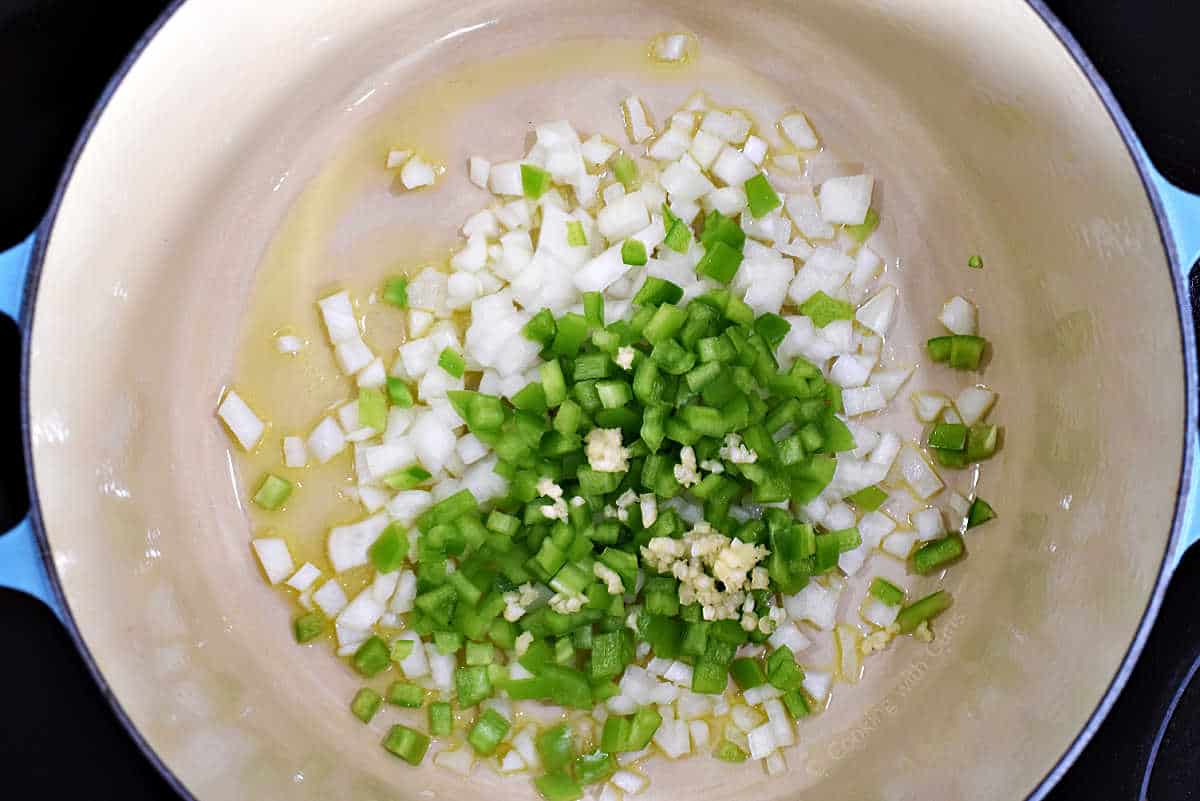
Sauté veggies: Toss in the onions, garlic, and bell peppers. Stir often, letting them soften and release their natural sweetness.
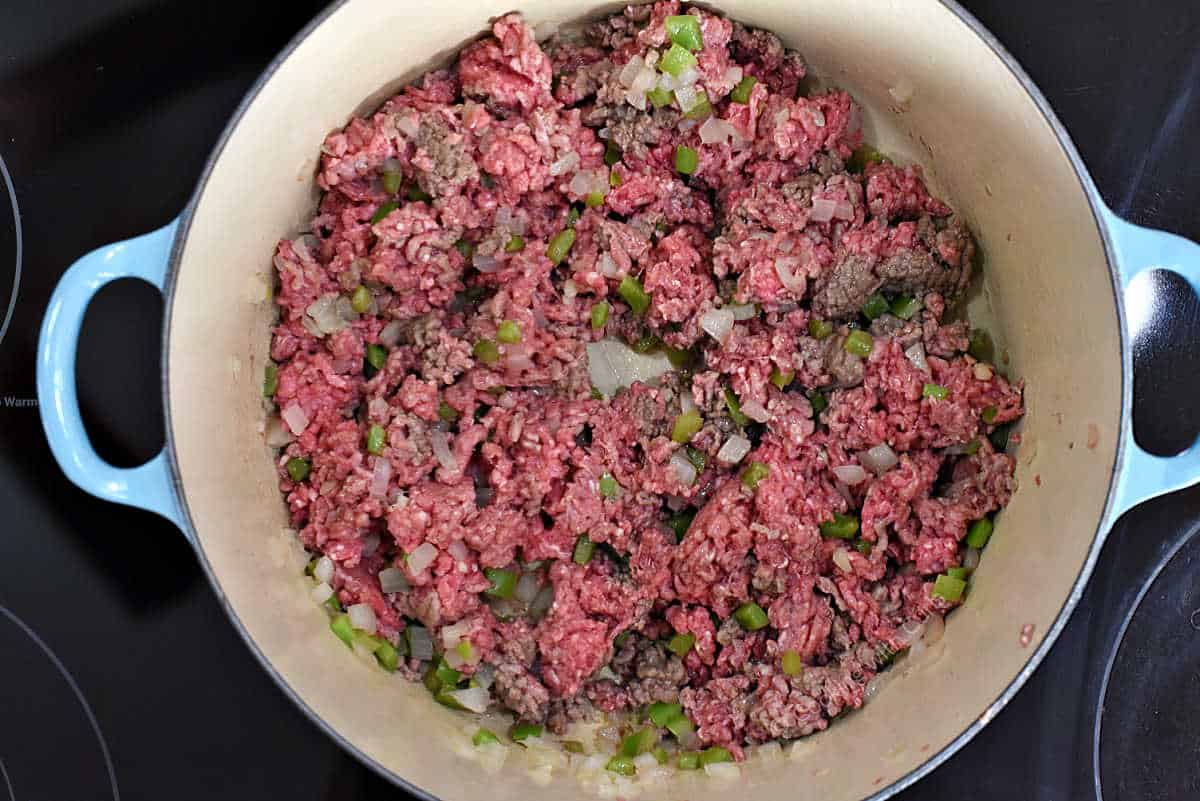
Brown the meat: Add the ground beef and cook until well-browned, about 5 to 7 minutes. Use a wooden spoon to break it into crumbles. Drain any excess fat, but leave a little for flavor.
Add spices: Sprinkle in the spice mix. Give it a good stir to coat the meat and veggies evenly. This “blooming” phase intensifies your chili’s flavor.
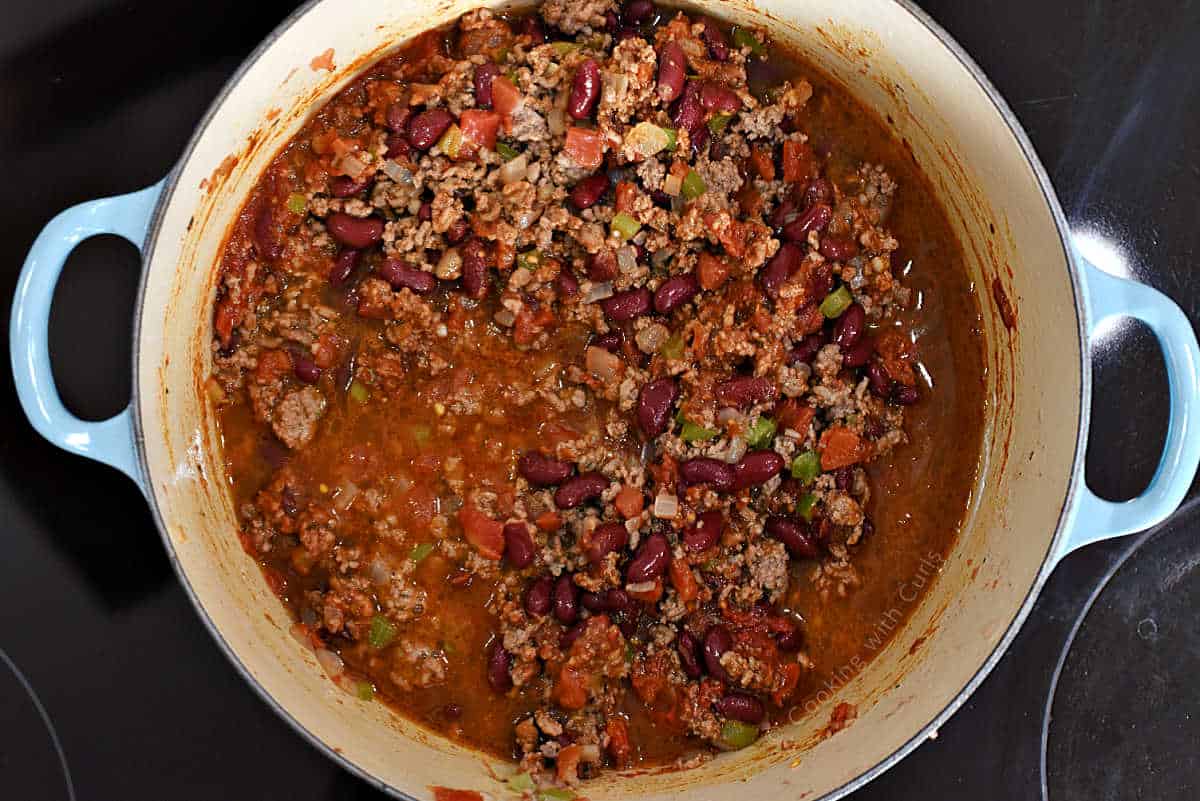
Add wet ingredients: Pour in the diced tomatoes, beans, and broth. Use the liquid to scrape up any browned bits stuck to the pot—those are packed with flavor!
Simmer: Bring everything to a gentle boil, then reduce the heat to low. Simmer, uncovered, for 30 minutes, stirring occasionally to prevent sticking.
Ladle chili into bowls and serve garnished with your favorite toppings.

Want to use a crockpot instead? No problem. Just transfer the browned meat, sautéed veggies, and other ingredients into the slow cooker. Set it on low for 6-8 hours or high for 3-4 hours.
Adjusting the Spice Level
Not all spice tolerances are created equal, and that’s okay. Here’s how to tweak the heat as your chili cooks:
- Too mild? Add more heat incrementally. Stir in a splash of hot sauce, diced green chiles, or even a dash of ghost pepper powder for the adventurous. Taste as you go to avoid overdoing it.
- Too spicy? No need to panic. Add a splash of cream, a dollop of sour cream, or even a pinch of sugar to balance it out. Adding additional beans or potatoes can also mellow the heat.
- Perfect balance: Remember, chili heats up more as it sits. Keep checking the taste, especially if you’re saving leftovers.
The perfect spicy chili is a harmonious blend of bold flavors and fiery heat that leaves your taste buds tingling.
Serving Suggestions
Toppings
Toppings can add flavor and texture to every bite. Whether you like creamy, crunchy, or spicy, there’s a topping that is perfect for your tastes. Here are some popular options:
- Shredded Cheese: Cheddar, Monterey Jack, or Pepper Jack melts beautifully and adds a rich, savory touch.
- Sour Cream or Greek Yogurt: These balance the spice with a cool and creamy texture.
- Chopped Onions: Whether diced red onion or sliced green onions, they add bite and sharpness.
- Diced Avocado or Guacamole: Creamy avocado pairs perfectly with the heat and brings a fresh, buttery taste.
- Sliced or Chopped Jalapeños: A must for spice lovers, fresh or pickled jalapeños add some kick.
- Crushed Tortilla Chips or Fritos: Adds crunch and a salty contrast.
- Fresh Cilantro: A sprinkle of cilantro brightens up the flavors and adds fresh flavor.
- Hot Sauce or Sriracha: Great for adding an extra layer of spice to an already bold dish.
Mix and match these to create your perfect bowl. You can even set up a topping bar to let everyone customize to their liking.
Accompaniments
A hearty bowl of chili deserves a great side dish to round out the meal. Here are a few classic and creative pairings to consider:
- Cornbread: Sweet, moist, or even spicy jalapeño cornbread complements the chili’s bold flavors.
- Rice: Steamed white or brown rice creates a neutral base to soak up all the spicy goodness.
- Baked Potatoes: A fluffy baked potato stuffed with chili makes for a filling and satisfying meal.
- Tortilla Chips: Perfect for scooping up chili or simply enjoying on the side.
- Coleslaw: A cool, crunchy coleslaw serves as a refreshing counterbalance to the rich chili.
- Breadsticks or Rolls: Simple, warm bread is a classic addition for dipping.
- Salad: A basic green salad with a light vinaigrette works well to keep the meal balanced.
Tips for the Perfect Chili
Perfecting chili is more than just following a recipe—it’s about layering flavors and taking time to let them develop. With a few simple tricks, you can turn a good chili into a great one.
Let It Sit
One of the best-kept secrets for making chili that sings with flavor? Patience. After cooking, let your chili rest for at least an hour, or better yet, overnight. Why? As it sits, the spices and ingredients meld together, creating a deeper, richer taste.
Think of it like letting a good soup or stew “marinate” in its own flavors—you’ll notice subtle notes you might have missed fresh off the stove. If you’re planning to serve it for an event, make it the day before. Resting time is the ultimate secret weapon for a homemade chili that’s unforgettable.
Make-Ahead and Storage
Chili is one of those rare dishes that tastes just as good—if not better—the next day, so don’t shy away from making extra. Here’s how to handle it:
- Refrigerating: Transfer your chili into airtight containers and store it in the refrigerator for up to 4 days. Let it cool slightly before refrigerating to avoid condensation.
- Freezing: For long-term storage, freeze chili in portion-sized batches. Use freezer-safe containers or heavy-duty resealable bags, removing as much air as possible. Chili will last in the freezer for up to 3 months.
- Reheating: When reheating, add a splash of water or broth to loosen it up, especially if it thickened while cooling. Reheat gently on the stove over medium-low heat, stirring occasionally, or microwave in short bursts to avoid overheating.
By planning ahead, you’ll not only enjoy chili fresh but also have an easy, delicious meal ready to go on busy weeknights.
More delicious stove top chili recipes
- Southwest Chili with Black Beans and Corn
- Jack Daniel’s Chili
- The Best Beer Chili – I love mine with Guinness!
Did you try this recipe? I’d love to see it!
Tag @cookingwithcurls on Instagram & Facebook and leave a ⭐️⭐⭐⭐⭐ review below!
Enjoy!!
Spicy Chili Recipe
Equipment
Ingredients
- 2 tablespoons olive oil
- 1 cup diced sweet onion
- .75 cup diced green bell pepper a large pepper
- 2 large cloves garlic minced
- 2 pounds ground beef I used 80/20
- 20 ounces Rotel diced tomatoes with habanero peppers two 10-ounce cans with liquid
- 1.75 cups chicken or beef bone broth regular broth or water works too
- 6 ounce can tomato paste
- 32 ounces dark red kidney beans two 16-ounce cans, rinsed and drained
- 1 large jalapeno pepper seeded and diced
- 1 serrano pepper seeded and diced
- 2 tablespoon chili powder
- 0.5 teaspoon cayenne pepper
- 1.5 teaspoons hot pepper sauce I used Louisiana hot sauce
- 2 teaspoons dried oregano
- 2 teaspoons cumin
- 1 teaspoon paprika
- 1 teaspoon kosher salt
- toppings of your choice see post for suggestions
Instructions
- Dice your onions, garlic, and bell peppers into small, uniform pieces so they cook evenly. Finely mince your jalapeño and serrano peppers. The oils from the peppers will stay on your fingers and burn your eyes or mouth if touched. You may want to wear gloves when handling them.
- Gather and measure all the spices in advance to make sure you do not forget any. Combine the chili powder, cumin, oregano, and cayenne in a small bowl, set aside.
- Heat a large, heavy-bottomed pot – like a Dutch oven. Add two tablespoons of olive oil over medium heat. Add onions, garlic, and bell peppers. Stir often until softened.
- Add the ground beef and cook until well-browned, about 5 to 7 minutes. Use a wooden spoon to break it into crumbles. Drain any excess fat, but leave a little for flavor.
- Sprinkle in the spice mix. Give it a good stir to coat the meat and veggies evenly.
- Pour in the diced tomatoes, beans, and broth. Use the liquid to scrape up any browned bits stuck to the pot—those are packed with flavor!
- Bring everything to a gentle boil, then reduce the heat to low. Simmer, uncovered, for 30 minutes, stirring occasionally to prevent sticking.
- Ladle chili into bowls and serve garnished with your favorite toppings.
Notes
- Stir in a splash of hot sauce, diced green chiles, or even a dash of ghost pepper powder incrementally for more heat. Taste as you go to avoid overdoing it.
- Add a splash of cream, a dollop of sour cream, or even a pinch of sugar to balance it out. Adding additional beans or potatoes can also mellow the heat if too spicy.
- After cooking, let your chili rest for at least an hour, or better yet, overnight. As it sits, the spices and ingredients meld together, creating a deeper, richer taste.
- Transfer your chili into airtight containers and store it in the refrigerator for up to 4 days. Let it cool slightly before refrigerating to avoid condensation.
- For long-term storage, freeze chili in portion-sized batches. Use freezer-safe containers or heavy-duty resealable bags, removing as much air as possible. Chili will last in the freezer for up to 3 months.
- When reheating, add a splash of water or broth to loosen it up, especially if it thickened while cooling. Reheat gently on the stove over medium-low heat, stirring occasionally, or microwave in short bursts to avoid overheating.