The Best Homemade Chocolate Pudding
This post may contain affiliate links. As an Amazon Associate I earn from qualifying purchases. For more information, please visit my disclosure page.
There is nothing more comforting, than a bowl of thick, rich, and creamy Homemade Chocolate Pudding! I’m talking about REAL chocolate pudding, made from scratch and cooked on the stove.
No boxes, no additives, artificial flavors, or weird aftertaste. Just good old decadent chocolate pudding like our grandmothers made using simple ingredients.
Are you a chocoholic too? You need to check out these chocolate recipes too! Instant Pot Chocolate Cheesecake, Chocolate Gravy, and Red Wine Chocolate Truffles.
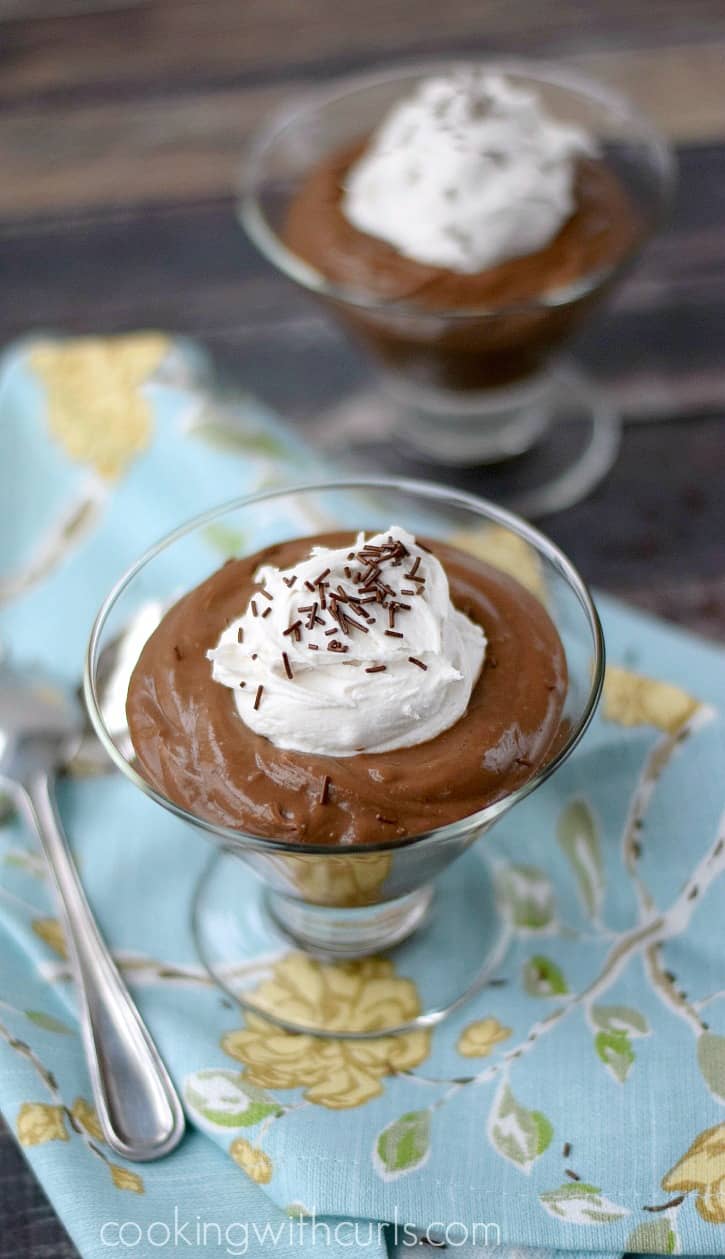
Okay, my grandmother would have never made her pudding with coconut milk, but I don’t have a choice. Shocked? Yes, that homemade pudding right there is dairy-free!!
I have made it both ways, in fact it is the filling for my Homemade Chocolate Pudding Pie, so I opted to go ahead and not name it dairy-free….it’s that good….everyone needs to try it!
The number one rule to make this homemade chocolate pudding recipe, you MUST have all of the ingredients ready BEFORE you start!
It’s not difficult to make, but you don’t want to overcook the pudding in any of the individual steps. Just go with it, it’s the way the recipe was written.
Ingredient list
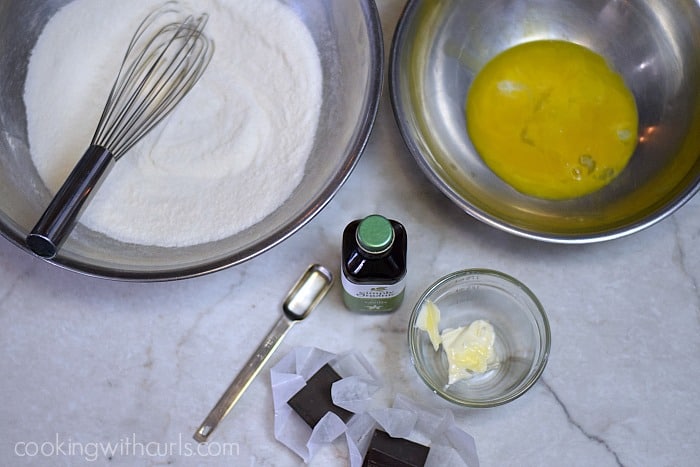
- Granulated sugar
- All-purpose flour
- Salt
- Whole milk or dairy-free milk
- Heavy cream or canned coconut milk
- Egg yolks
- Unsalted butter
- Pure vanilla extract
- Unsweetened dark chocolate
- Two metal bowls – wire whisk – large pot or double-boiler – a piece of plastic wrap
Be sure to check out the detailed printable recipe card below
How to make homemade chocolate pudding
Mix sugar, flour, and salt together in the top of a double – boiler OR in a stainless steel large mixing bowl.
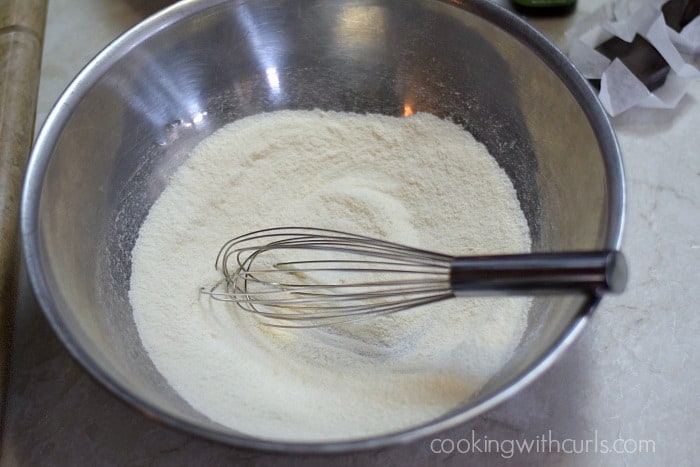
Stir in the milk and cream (or half & half, or coconut milks) and cook over simmering water in a large pot for 15 minutes, stirring constantly until thick.
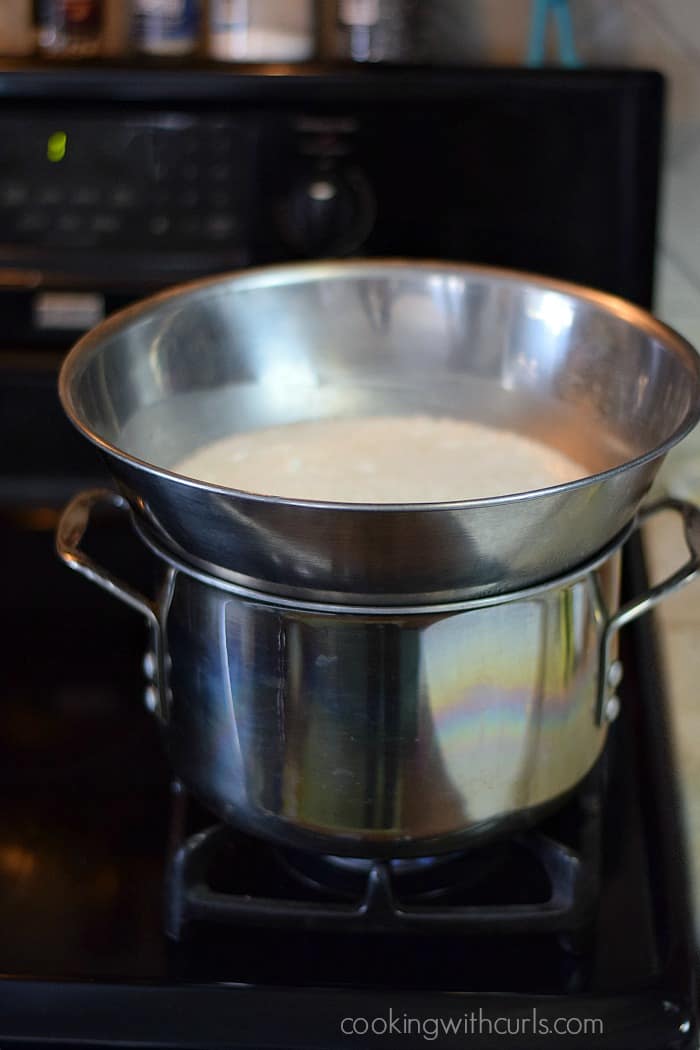
No fancy equipment here folks. Gradually add a small amount of hot mixture to a small bowl with the 3 egg yolks, whipping to prevent eggs from scrambling.
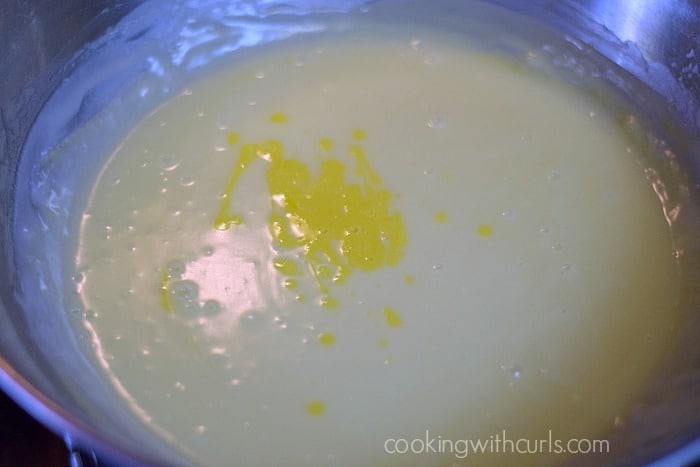
Chef’s refer to this as “tempering” the eggs.
Whisk the egg mixture into the hot milk mixture in the large bowl, and cook over medium heat for an additional 3 minutes.
Remove from heat and add the chocolate, stirring to combine.
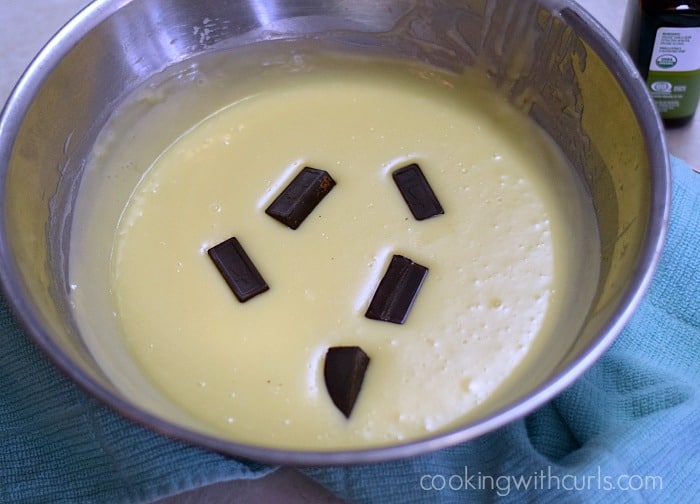
Remember, this bowl is REALLY HOT!! Protect your hands and your work surface from the heat. Add the vanilla and butter, stir to combine.
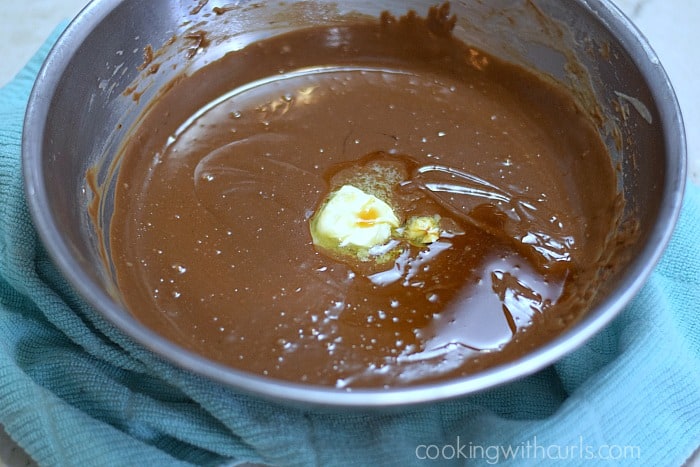
Your homemade chocolate pudding will already be thick and creamy.
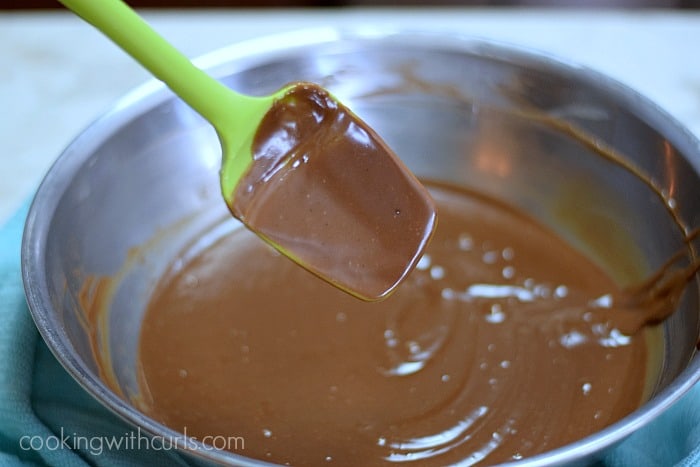
You can eat it while it is hot, if you really want to, but it’s best to cover with plastic wrap and place in the refrigerator to completely cool.
You can also divide the pudding into individual serving dishes if you prefer, and place a layer of plastic wrap on top of dish.
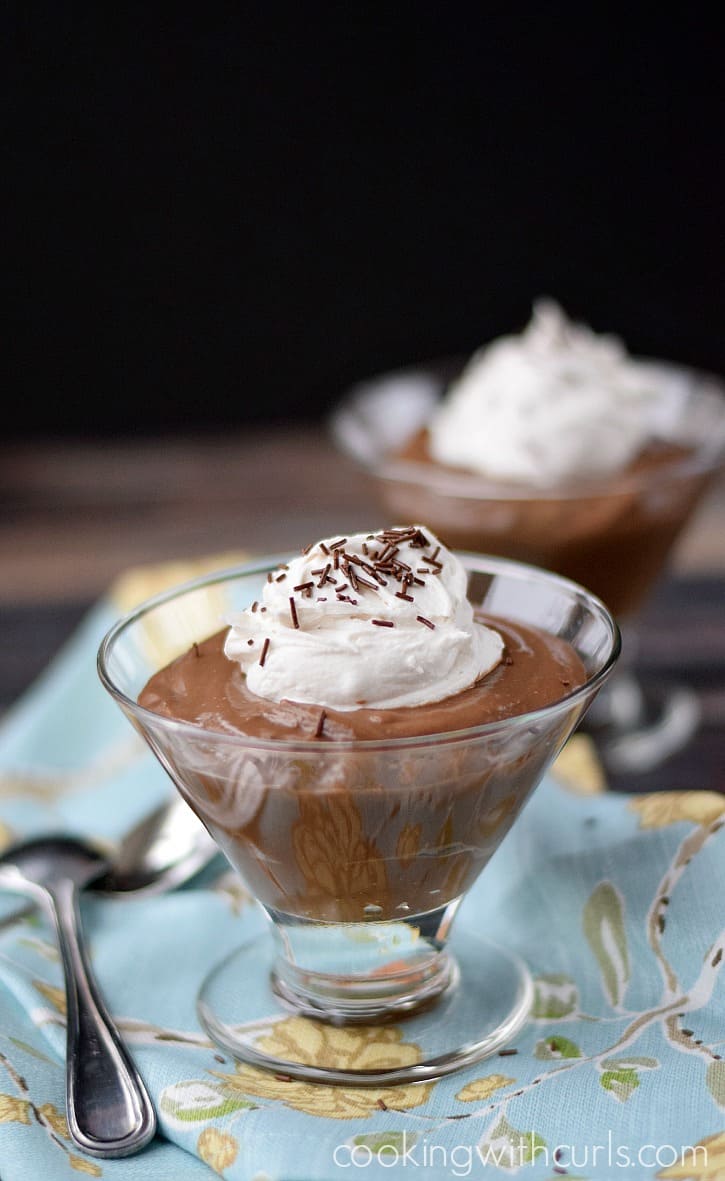
When ready to serve, you can top your creamy pudding with Coconut Whipped Cream, or regular whipped cream and chocolate shavings or fresh fruit if you’re feeling festive.
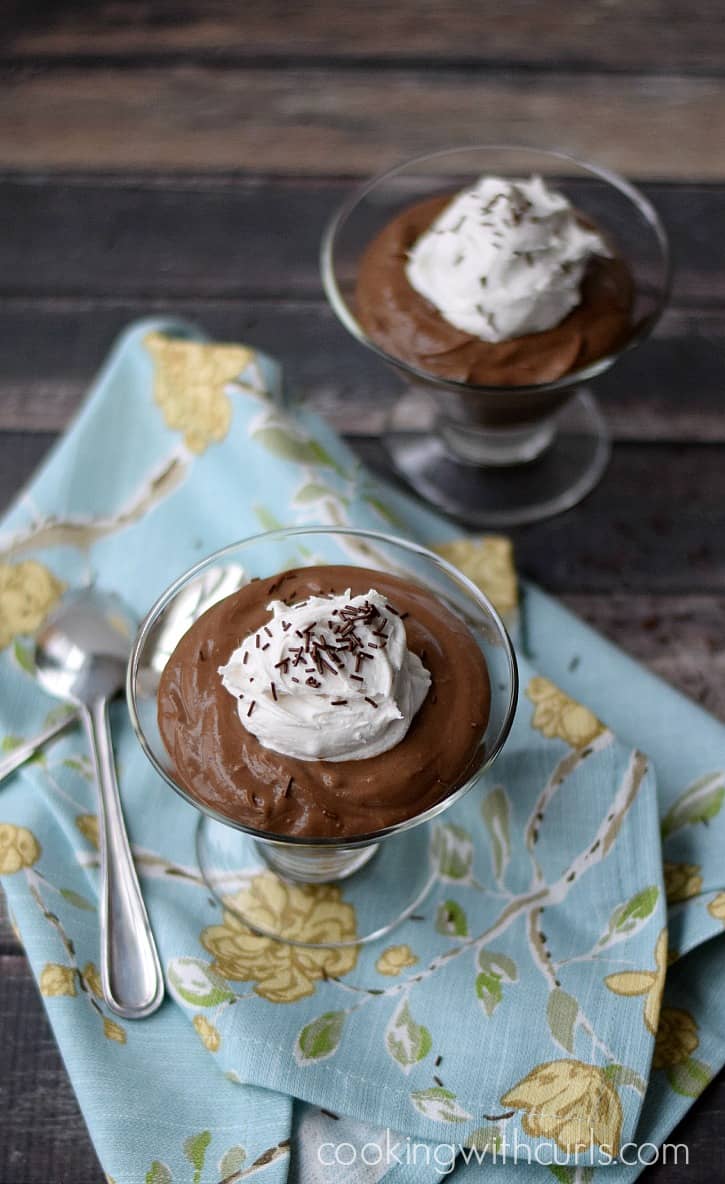
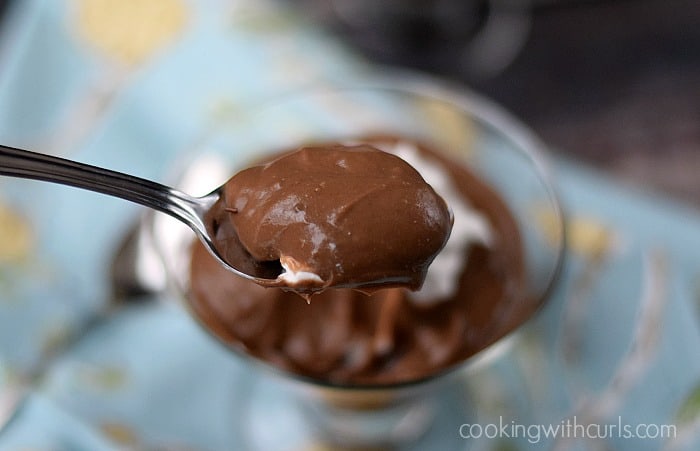
Oh, don’t forget the spoon.
It’s also fun to serve with Pie Crust Spoons.
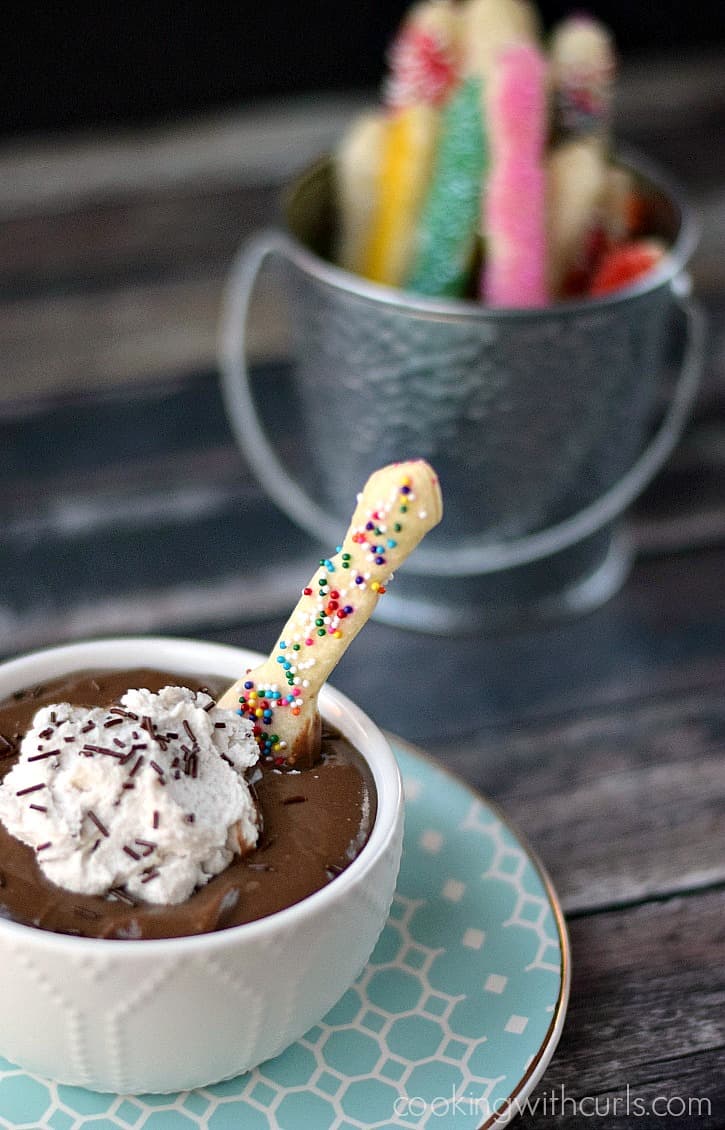
I won’t lie, this creamy chocolate pudding is very rich…but oh so worth it!
In a bowl, in a pie crust, you decide.
Recipe FAQs
To prevent lumpy pudding, make sure to whisk the mixture thoroughly while cooking and gradually add the dry ingredients to the wet ingredients while stirring constantly.
If you’re looking for a dairy-free option, you can use alternatives like almond milk, full fat coconut milk, or oat milk to create a creamy and satisfying pudding.
Not really. The amount of sugar used in this recipe is based on using unsweetened chocolate. If you use a sweetened chocolate, the pudding will be way too sweet!
When stored in an airtight container in the refrigerator, homemade chocolate pudding can typically last 3 to 5 days.
Certainly! Prepare the pudding a day in advance and refrigerate it until you’re ready to serve. This can be a convenient option for parties and gatherings.
More delicious chocolate desserts
When those late afternoon chocolate cravings hit, you need the perfect dessert, or a great snack with rich chocolate flavor to get you though!
- Chocolate Martini Mousse
- Chocolate Cream Pie
- Instant Pot Chocolate Lava Cakes
- Mini Chocolate Bundt Cake
- Old-Fashioned Chocolate Fudge Cake
If you love this recipe, please rate it five stars and help me share on facebook and to help other readers in our community!
Enjoy!!

Homemade Chocolate Pudding
Equipment
- Double-boiler or large pot with large metal mixing bowl
Ingredients
- 1 cup granulated sugar
- .33 cup all-purpose flour 1/3 cup + 1 tablespoon
- .25 teaspoon salt
- 1.5 cups whole milk coconut or Cashew milk (box)
- 1.5 cups heavy cream full-fat coconut milk in a can-shaken before opening
- 3 large egg yolks beaten
- 2 tablespoons unsalted butter or non-dairy butter
- 1 teaspoon pure vanilla extract
- 2.5 ounces unsweetened chocolate do not use sweetened chocolate
Instructions
Have all ingredients ready!
- Mix sugar, flour, and salt together in the top of a double – boiler OR in a large stainless steel bowl.
- Stir in the milk and cream (or half & half, or coconut milks) and cook over simmering water in a large pot for 15 minutes, stirring constantly until thick.
- Gradually add a small amount of hot mixture to a small bowl with the 3 egg yolks, whipping to prevent eggs from scrambling.
- Whisk the egg mixture into the hot milk mixture in the large bowl, and cook over medium heat for an additional 3 minutes.
- Remove from heat and add the chocolate, stirring to combine. Remember, this bowl is REALLY HOT!! Protect your hands and your work surface from the heat.
- Add the vanilla and butter, stir to combine. Your homemade chocolate pudding will already be thick and creamy.
- Cover with plastic wrap and place in the refrigerator to chill. You can also divide the pudding into individual serving dishes if you prefer, and place a layer of plastic wrap on top of dish.
- When ready to serve, you can top your creamy pudding with Coconut Whipped Cream, or regular whipped cream and chocolate shavings or fresh fruit.
Notes
- To prevent lumpy pudding, make sure to whisk the mixture thoroughly while cooking and gradually add the dry ingredients to the wet ingredients while stirring constantly.
- When stored in an airtight container in the refrigerator, homemade chocolate pudding can typically last 3 to 5 days.
- Nutrition Facts are calculated using dairy products.


Lisa,
I’ve never made homemade chocolate pudding. This looks like a great recipe to try. Pinned.
Annamaria
This looks very decadent! Chocolate pudding is one of my faves – gotta pin and gotta try!
G’day and YUM! Who can’t go for some chocolate pudding! I want to try this right now!
Thx for sharing at my Say Gday party; all submissions have been pinned!
Please stop back and say G’day and or spread the word about the new party, perhaps meeting a new friend or two!
Cheers! Joanne
Looks fantastic!
Nothing so delicious and traditional than a bowl of homemade chocolate pudding. Simple, pure and decadent on its own. Linking from Pint Sized Baker
Oh, I love homemade pudding! But I still haven’t found a chocolate one that I’m crazy about. Going to have to try this!
Homemade chocolate pudding is the best!!! Love the pie crust spoons too! 😉
Your pudding looks so thick and delicious!! Thanks for sharing!
Homemade pudding tastes so much better than store-bought. I can’t wait to try your recipe. I’m sure it will be amazing since I’ve loved all of your recipes that I’ve tried at home. Thank you for linking this one up at This Is How We Roll Thursdays!
I’m allergic to corn starch, meaning that all the box mixes and most of the store bought puddings are out. I LOVE pudding! Thanks for giving this recipe, I so want to make some, and a cream pie! Its been DECADES since I’ve had a chocolate cream pie!
Born and raised in Iowa. My (91 yo) mother still makes homemade pudding all the time. No plastic wrap on top for me – my favorite part is the skin on top!
Thanks for the recipes! My Gramma always made scratch pudding and it was wonderful!
SORRY FOR THE MISPELLED WORDS, FORGOT TO ‘SPELL-CHECK’