How to Make Kale Chips
This post may contain affiliate links. As an Amazon Associate I earn from qualifying purchases. For more information, please visit my disclosure page.
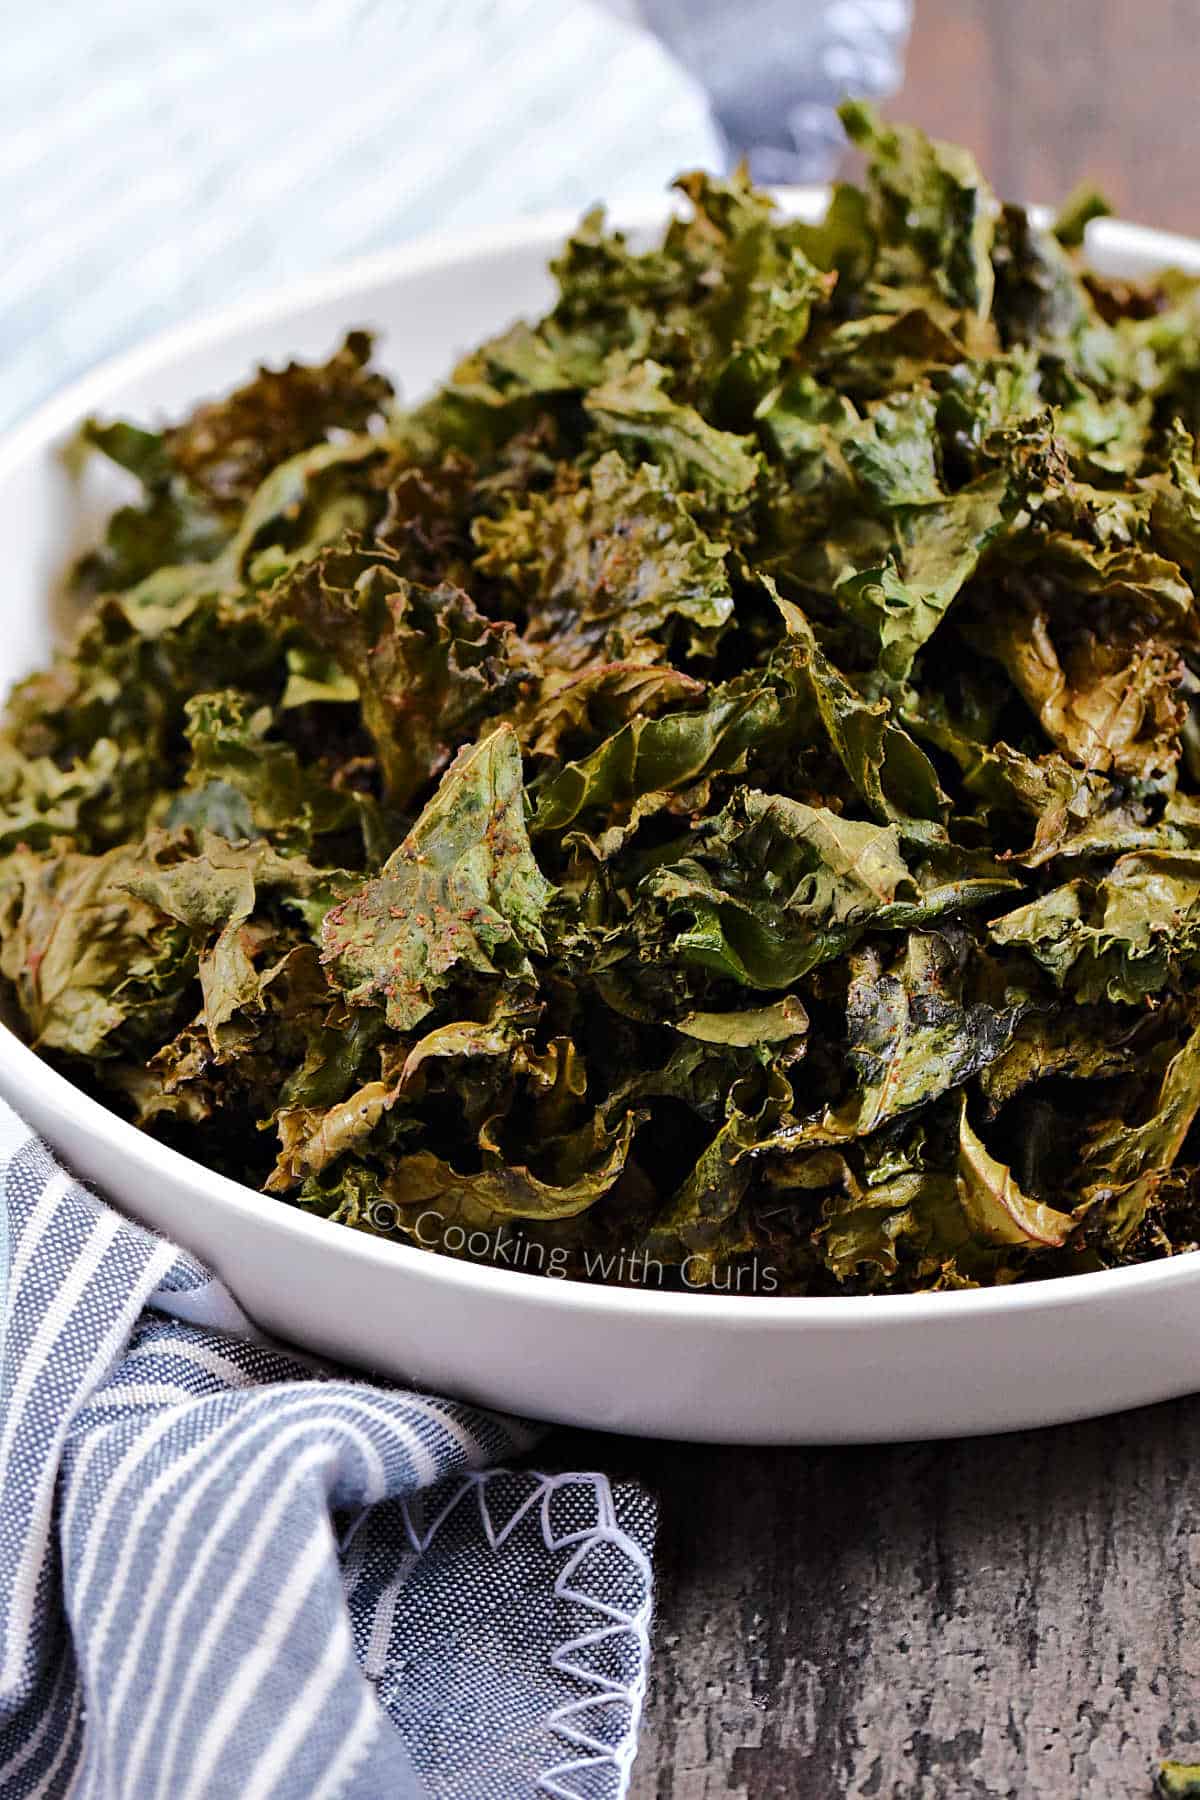
Have you ever wanted to learn how to make kale chips that are baked in an oven until light, crispy, and airy? Keep reading to get all of my tips for this easy to make snack made from fresh kale, olive oil, and simple seasonings.
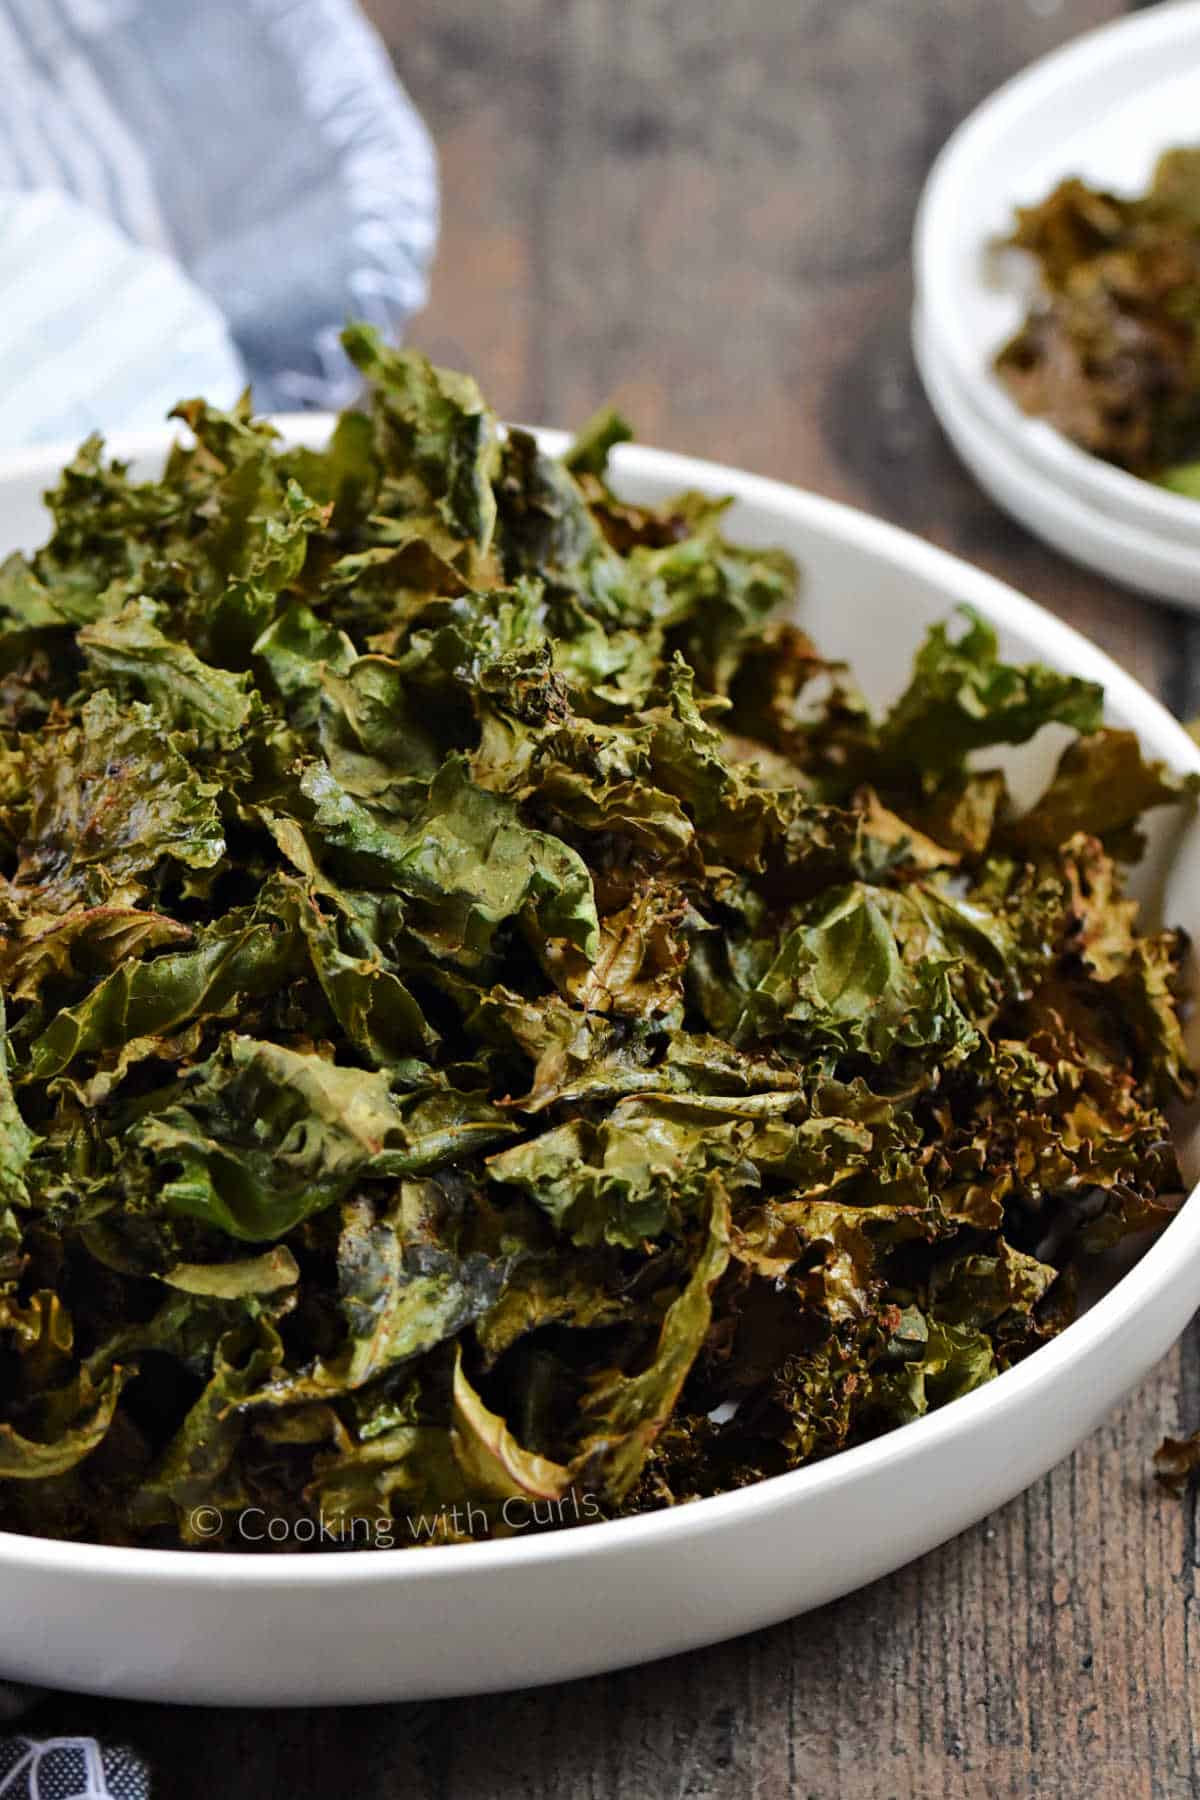
Yes you could purchase kale chips at the grocery store, but are they really worth $5.99 for a 2-ounce bag? I think not!
What you’ll need
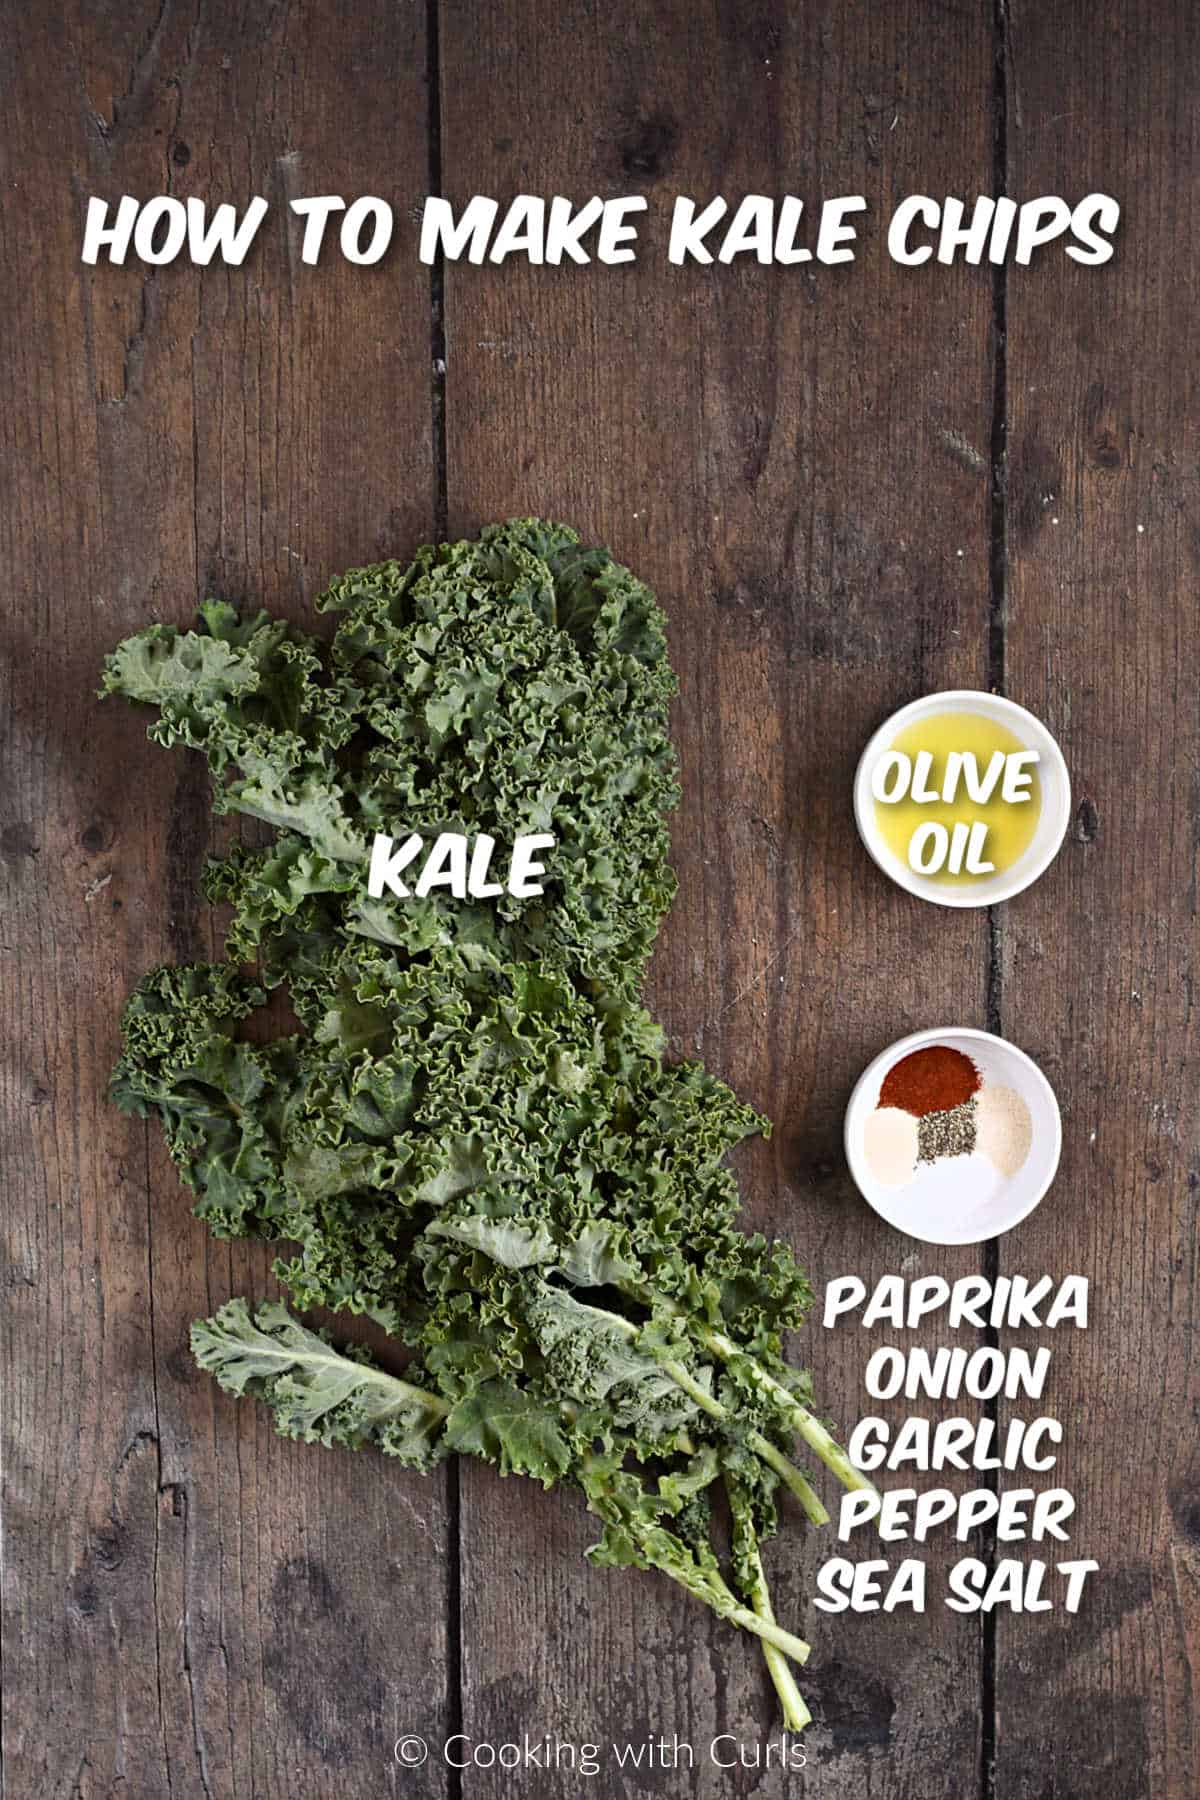
These flavorful kale chips are perfect for snacking and you can change up the seasonings however you like. I stuck with a super simple seasoning salt mixture, but plain sea salt or your favorite combination will work too!
- Fresh Kale – curly leaf varieties including Lacinato (dinosaur/Tuscan) which has a milder, sweeter flavor and thinner, softer leaves is the best option. Common green or red Russian are also delicious options and readily available.
- Olive Oil
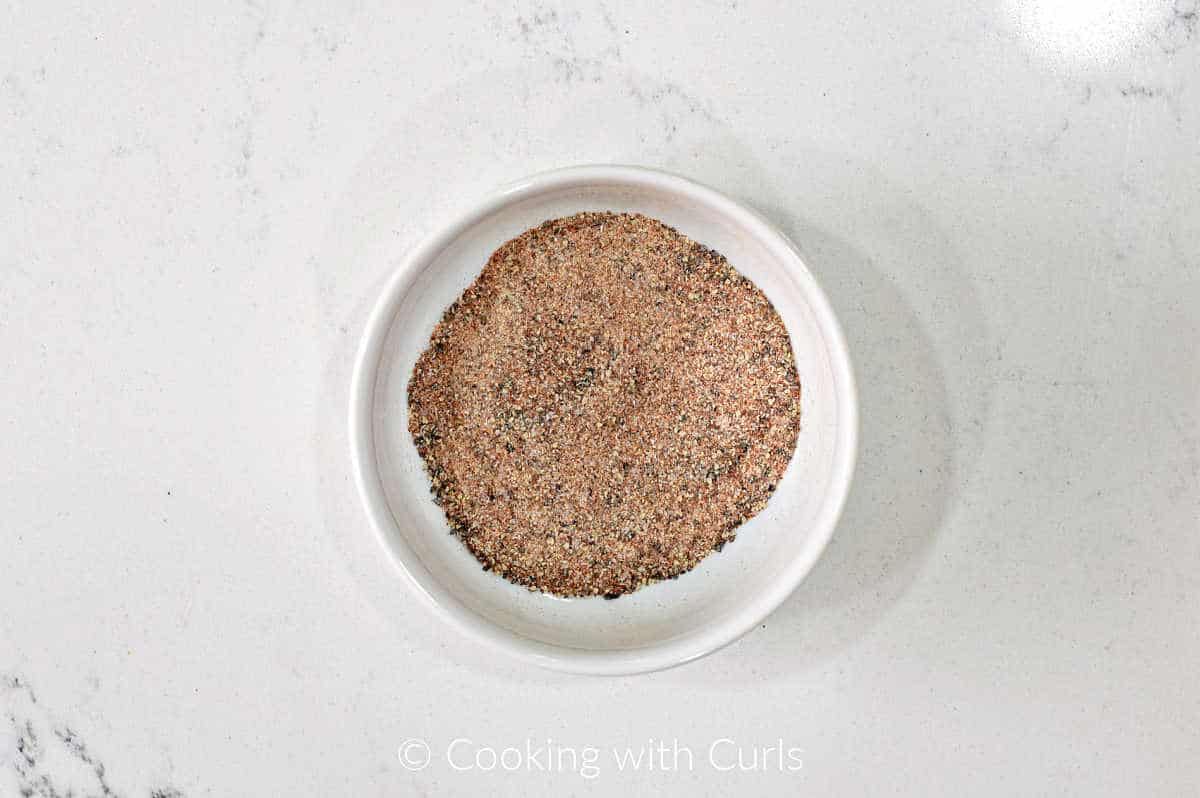
- Seasoned Salt – a combination of garlic powder, sea salt, paprika, black pepper, and onion powder.
- Two baking sheets with silicone baking mats.
Be sure to check out the detailed printable recipe card below
How to Make Kale Chips
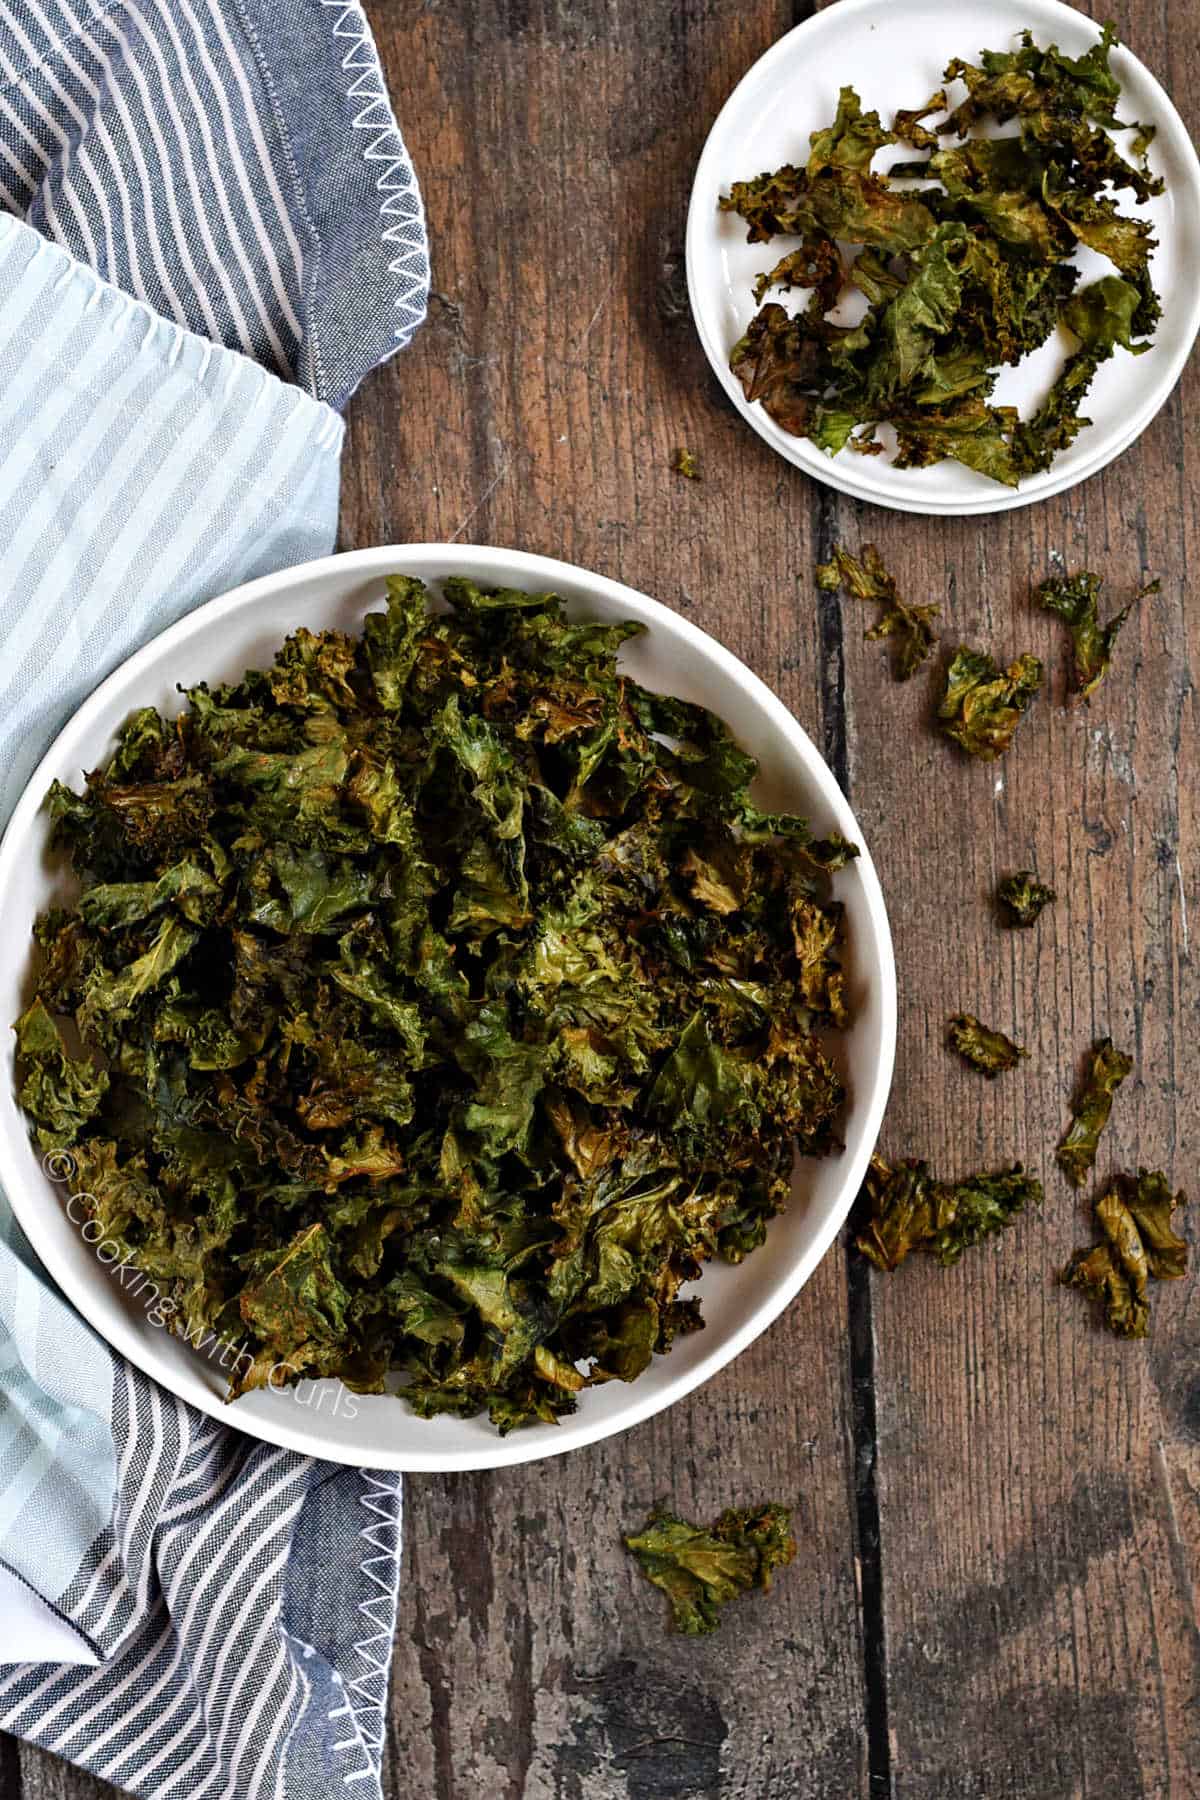
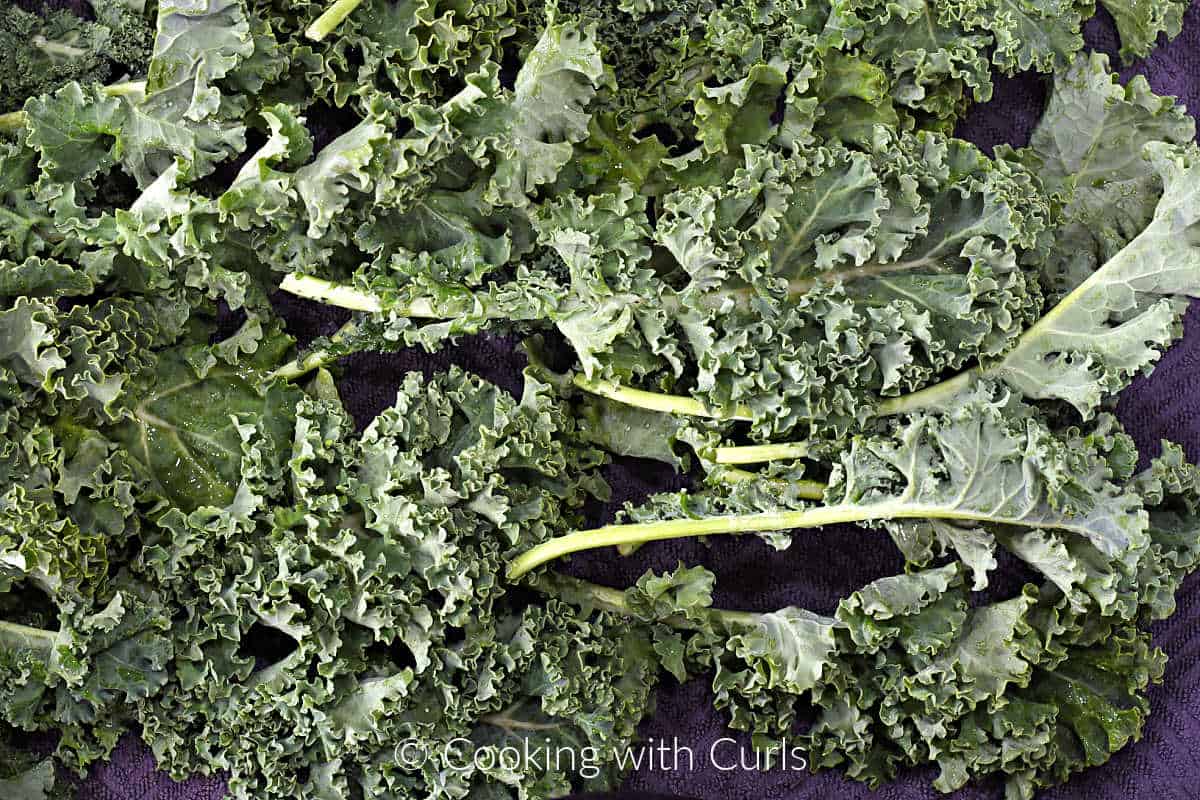
Wash and thoroughly dry kale completely before using. We do not want to steam the kale chips, we want dry and crispy.
Preheat oven to 300° F. Line two baking sheets with silicone liners or sheets of parchment paper and set aside.
Mix seasoning together in a small bowl and set aside.
Using a knife, remove the thick stem/rib that runs down the center of each section.
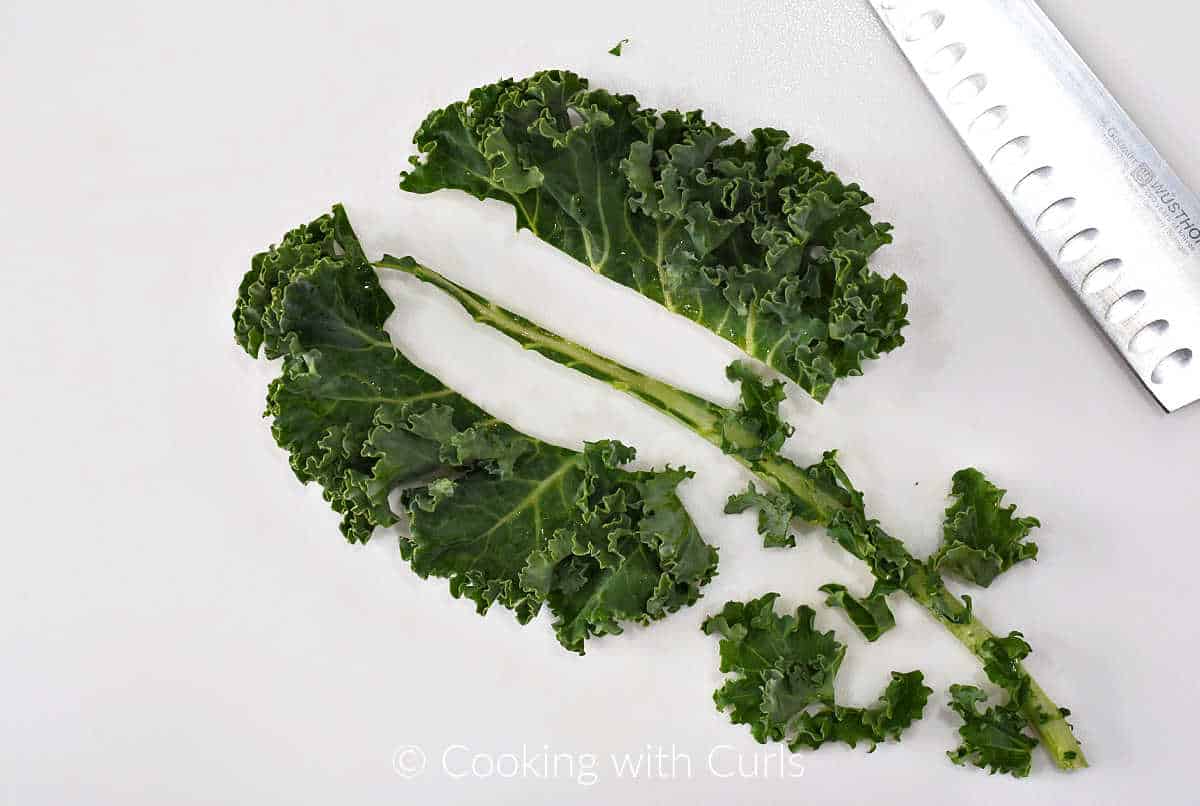
Tear or chop leafy green portion into small, bite-sized pieces.
Divide the kale pieces between the two baking sheets. Drizzle one-half tablespoon of oil over the kale on each baking sheet.
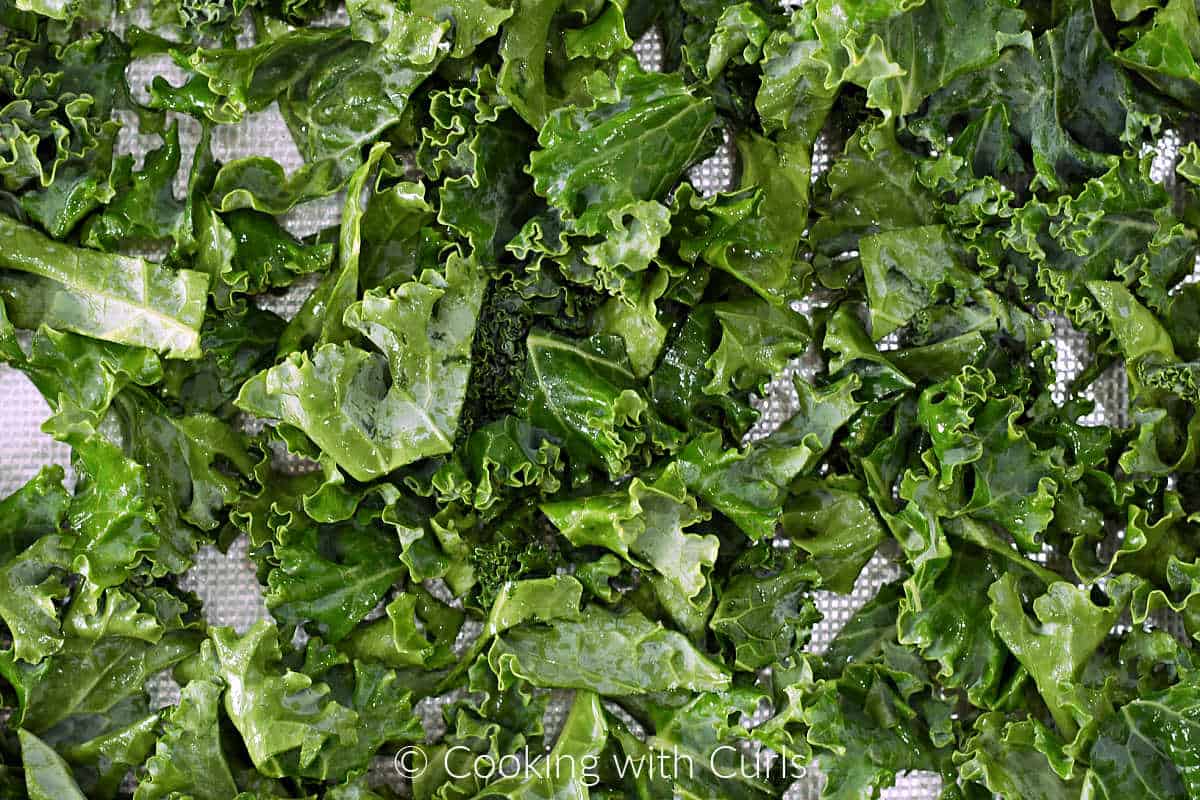
Rub each leaf with your fingers to massage the oil evenly over the kale leaves.
Sprinkle half of the seasoned salt mixture over each baking sheet and gently toss to coat the kale leaves.
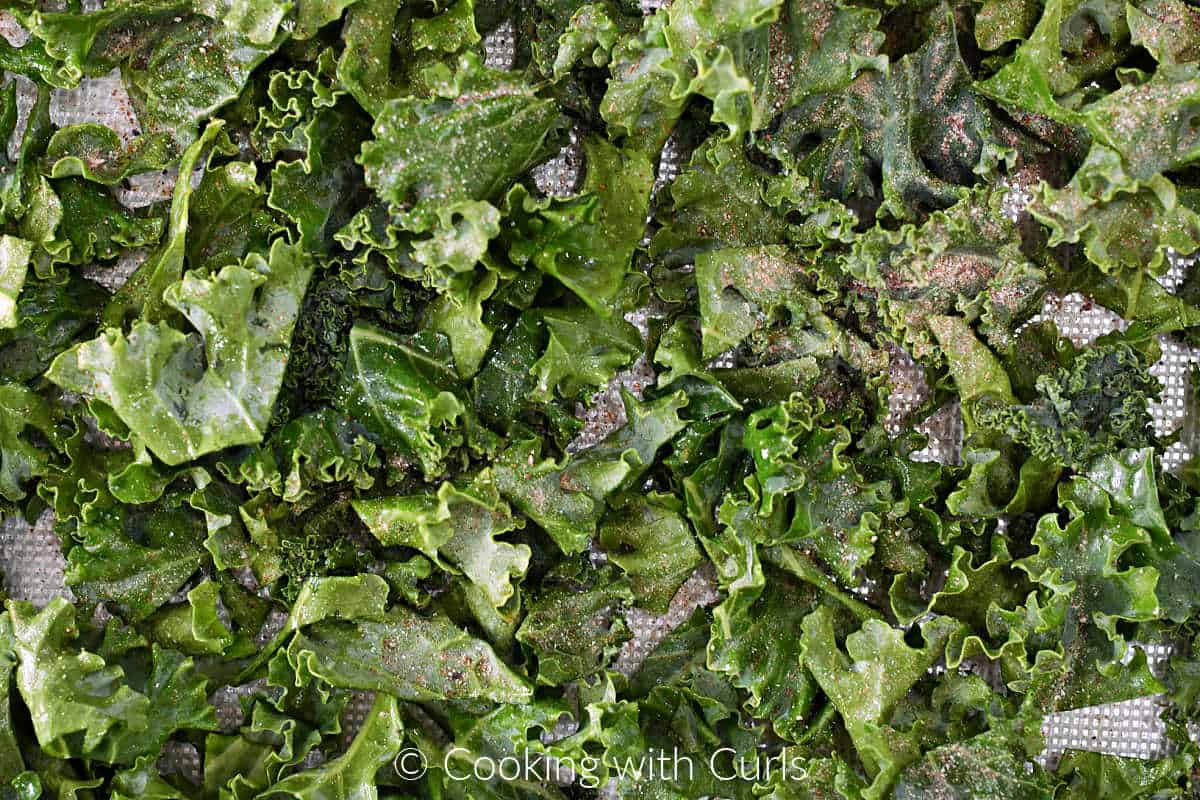
Spread kale pieces in a single layer evenly across both baking sheets.
Place baking sheets in pre-heated oven and bake for 10 minutes. Rotate pans in the oven and bake for an additional 10 to 15 minutes, or until they are still mostly green and have a bit of brown developing.
Do not overcook. They go from green to brown in the blink of an eye!
Allow to cool for 2 to 3 minutes to crisp up a bit more before serving.
Recipe Tips
- All ovens cook differently, baking times may vary. Keep an eye on them during the last 5 to 10 minutes the first time that you make them.
- You can skip the knife and tear small pieces of kale off the stalk if you prefer.
- To get kale pieces drier, faster use a salad spinner.
- If you do not mind washing an extra dish, you can also mix the kale pieces together with the oil and seasoned salt in a large bowl then spread out over the baking sheets.
- Kale chips taste best the day they are made, but can also be stored in an airtight container at room temperature for 5 to 7 days depending on humidity.
Seasoning Ideas
To add a bit of variety to your snacking, try using 1 to 2 teaspoons of your favorite seasoning, or swap out spices in the seasoned salt mixture:
- Taco Seasoning
- Greek Seasoning Blend
- Italian Seasoning
- Nutritional Dry Yeast to add a cheesy flavor
- Chili Powder for the paprika
- Smoked Paprika
- Dry Ranch dressing mix
- Cumin
Tools used
More crunchy snack recipes
- Sweet Potato Chips
- Cinnamon Sugar Pretzel Goldfish Crackers
- Baklava Hone-Glazed Walnuts
- Sesame Crackers
- Salsa Verde Popcorn
- Grinch Puppy Chow
If you love this recipe, please rate it five stars and help me share on facebook and to help other readers in our community!
Enjoy!!
Kale Chips
Ingredients
- 1 pound curly kale I used almost 2 bunches, sizes vary.
- 1 tablespoon olive oil
Seasoned Salt
- 0.5 teaspoon sea salt
- 0.5 teaspoon paprika
- 0.5 teaspoon garlic powder not garlic salt
- .25 teaspoon black pepper
- .25 teaspoon onion powder
Instructions
- Wash and thoroughly dry kale completely before using. We do not want to steam the kale chips, we want dry and crispy.
- Preheat oven to 300° F. Line two baking sheets with silicone liners or sheets of parchment paper and set aside.
- Mix seasoning together in a small bowl and set aside.
- Using a knife, remove the thick stem/rib that runs down the center of each section. Tear or chop leafy green portion into small, bite-sized pieces.
- Divide the kale pieces between the two baking sheets. Drizzle one-half tablespoon of oil over the kale on each baking sheet. Rub each leaf with your fingers to massage the oil evenly over the kale leaves.
- Sprinkle half of the seasoned salt mixture over each baking sheet and gently toss to coat the kale leaves. Spread kale pieces in a single layer evenly across both baking sheets.
- Place baking sheets in pre-heated oven and bake for 10 minutes. Rotate pans in the oven and bake for an additional 10 to 15 minutes, or until they are still mostly green and have a bit of brown developing. Do not overcook. They go from green to brown in the blink of an eye!
- Allow to cool for 2 to 3 minutes to crisp up a bit more before serving.
Notes
- All ovens cook differently, baking times may vary. Keep an eye on them during the last 5 to 10 minutes the first time that you make them.
- You can skip the knife and tear small pieces of kale off the stalk if you prefer.
- If you do not mind washing an extra dish, you can also mix the kale pieces together with the oil and seasoned salt in a large bowl then spread out over the baking sheets.
- Kale chips taste best the day they are made, but they can also be stored in an airtight container at room temperature for 5 to 7 days depending on humidity.




Never have, but always wanted to!!! I like the idea of using seasoned salt!
My Hubs loves Kale chips and has made them a few times. I like them ok but he is definitely a more salty snacker than me. You know I just want to top them with cheese. LOL Pinning anyway!
This makes me want to try kale! I know… I’m probably the only one. But, I think my sweet tooth takes over most of the time. So, this would be great to try… (=
Ok, totally need to do this! I love kale in salads but think this would be a great and easy alternate to chips. Pinning and trying soon chica! Thanks for sharing at Show Stopper Saturday!
Krista @ Joyful Healthy Eats
I love kale chips!! They’re such a great healthy snack. Thanks for sharing at Saturday Night Fever! Pinning now… See you again this Saturday!
These look great Lisa! I have always wanted to make Kale chips…might just have to do that now!
Hi Lisa, Kale chips are not for everyone but I have to say when I made them I wasn’t sure anyone would like them. I was surprised that the kids really enjoyed them, ate the entire batch then asked me to make them again. It’s just one of those ‘you never know’ foods.
Thanks for sharing this with Foodie Friends Friday Snack Foods party this week. I’m pinning and sharing.
That is so true Joanne! I liked them better than my kids did, my son wouldn’t even try them. They just seemed like something that you need to try at least once. 🙂
Gday Lisa! healthy indeed!
While I am not a personal fan of kale and kale chips, I love your step by step!
Thanks for sharing as part of Foodie Friends Friday Snack Party!
Cheers! Joanne
Thank you Joanne. They are not my favorite either, but made for a fun change. 🙂
I love kale chips. I have made my own as well as purchase the expensive ones. There is a vegan cashew cheese flavor that I love and is occasionally worth the price. Thanks for sharing on Foodie Friends Friday.
Ooooh, those sound good Michelle. I will have to look for those at the store! 🙂
I have never tried Kale chips BUT I need to. They sound delicious. Thank you so much for linking up to Saturday Dishes Snacks.
I pinned it.
Blessings,
Diane Roark